
To make delicious ice cream truffles, scoop your favorite ice cream into balls and freeze them until firm. Melt semisweet chocolate with a bit of coconut oil for coating. Quickly dip each ice cream ball in the melted chocolate, then roll in crushed nuts or sprinkles. Freeze until solid and enjoy! These bite-sized treats are perfect for parties or cozy nights. If you’re curious about tips for customization and serving, there’s more to discover.
Key Takeaways
- Scoop 2 cups of your favorite ice cream into balls and freeze them until firm.
- Melt 1 cup of semisweet chocolate chips with 1 tablespoon of coconut oil (optional) for dipping.
- Dip each ice cream ball in melted chocolate, then roll in crushed nuts or toppings of choice.
- Freeze the truffles again until firm, then store in an airtight container to prevent freezer burn.
- Customize flavors and toppings to create unique ice cream truffles for parties or special occasions.
History
Ice cream truffles, while a modern treat, have roots that trace back to the rich traditions of chocolate and frozen desserts. You mightn’t realize that the concept of combining chocolate and frozen delights dates back centuries. Early concoctions featured rich chocolate paired with ice, leading to the creamy textures you enjoy today. As culinary techniques evolved, chefs began experimenting with various flavors and textures, creating a delightful fusion of indulgence. The historical context of butter making also played a significant role in the development of creamy desserts, as butter’s versatility has been cherished in culinary traditions for centuries. Additionally, the use of essential oils in flavoring desserts has gained popularity, enhancing both taste and aroma. The truffle shape itself mirrors the traditional chocolate truffle, emphasizing elegance and decadence. Over time, these delightful bites became popular in gourmet settings, transforming into the indulgent ice cream truffles you savor now. The incorporation of butter’s composition into frozen desserts adds a rich creaminess that elevates the overall experience.
Recipe
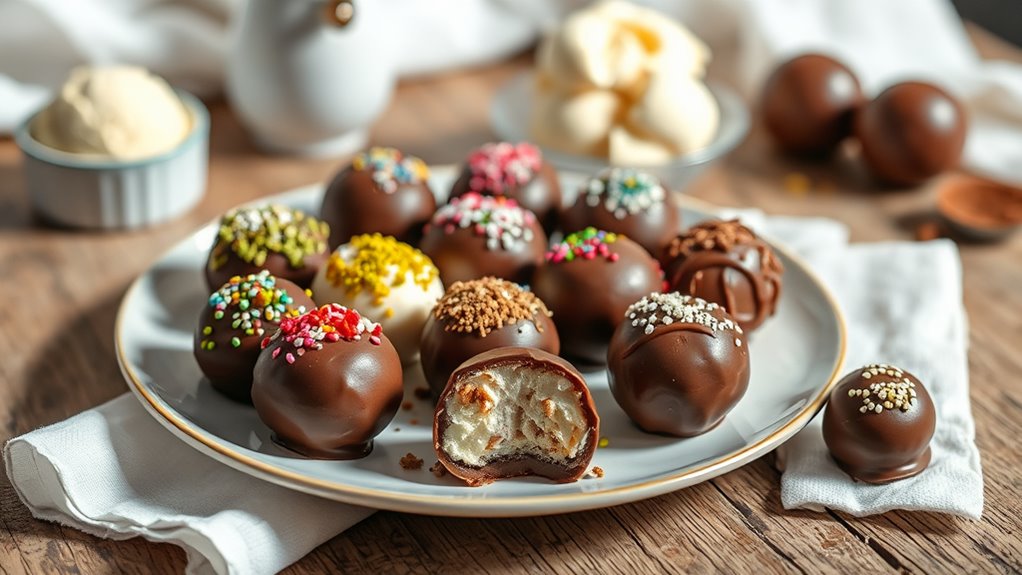
Ice cream truffles are a delightful twist on the classic chocolate truffle, combining the creaminess of ice cream with the rich flavors of chocolate. These bite-sized treats are perfect for parties, special occasions, or as a sweet indulgence for yourself. The best part is that you can customize them with your favorite ice cream flavors and toppings, making them a versatile dessert that caters to everyone’s taste.
To make ice cream truffles, you’ll need to freeze scoops of ice cream and then coat them in chocolate and toppings. The process is simple and fun, allowing you to get creative with different flavor combinations and textures. Once you have your truffles ready, you can serve them immediately or store them in the freezer for later enjoyment.
Ingredients:
- 2 cups of your favorite ice cream
- 1 cup of semisweet chocolate chips
- 1 tablespoon of coconut oil (optional)
- 1 cup of crushed nuts (e.g., almonds, walnuts, or pistachios)
- 1 cup of sprinkles or shredded coconut (optional)
To create the ice cream truffles, start by scooping the ice cream into small balls using a cookie scoop or spoon. Place the scoops on a parchment-lined baking sheet and freeze for at least 1-2 hours until solid.
In a microwave-safe bowl, melt the chocolate chips and coconut oil (if using) in 30-second intervals, stirring in between, until smooth. Once the ice cream scoops are frozen solid, dip each one into the melted chocolate, ensuring they’re fully coated, then roll them in your choice of crushed nuts, sprinkles, or shredded coconut.
Return the coated truffles to the baking sheet and freeze again until the chocolate is set. For best results, work quickly when dipping the ice cream scoops to prevent them from melting.
You can also experiment with different chocolate types, such as white or dark chocolate, and try adding flavor extracts to the melted chocolate for an extra twist. If you’re feeling adventurous, consider making a layered truffle by using different flavors of ice cream or adding a fudge center.
Enjoy your homemade ice cream truffles fresh, or store them in an airtight container in the freezer for up to two weeks!
Cooking Steps
To make these delicious ice cream truffles, you’ll start by scooping the ice cream into balls.
Next, dip each ball in melted chocolate and roll them in your favorite toppings.
Finally, freeze the truffles until they’re firm and store them in an airtight container for later enjoyment.
Step 1. Scoop Ice Cream Into Balls
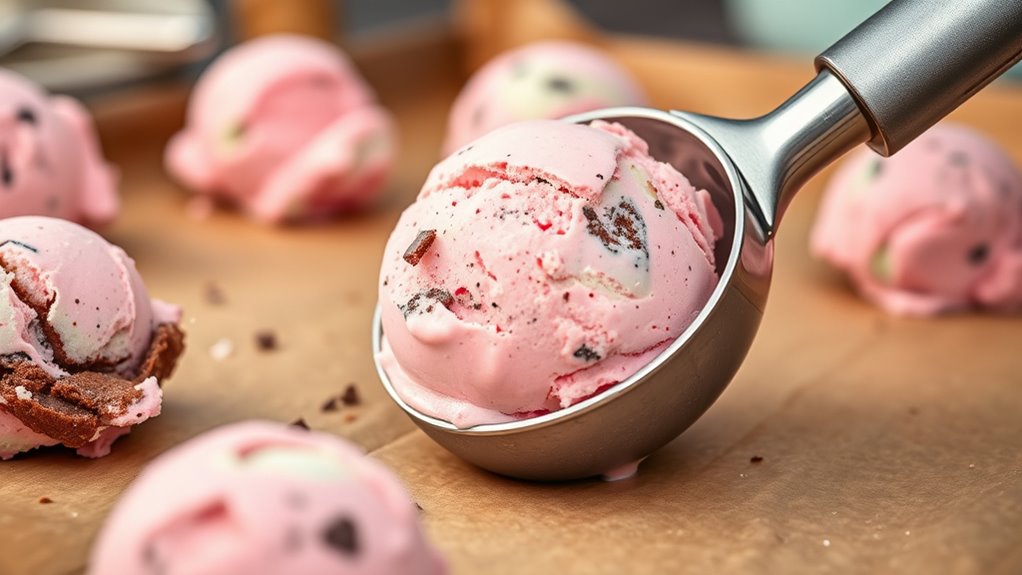
Grab a scoop and dig into your favorite ice cream flavor! Start by letting the ice cream sit at room temperature for a few minutes to soften. This makes it easier to work with.
Once it’s slightly softened, use your scoop to create uniform balls of ice cream. Aim for about one to two tablespoons per ball, depending on your preference. As you scoop, roll each ball between your hands to create a smoother shape.
If the ice cream gets too soft, pop the balls onto a parchment-lined tray and place them in the freezer for a few minutes to firm up.
Once you’ve scooped all the ice cream, you’re ready for the next delicious step!
Step 2. Dip in Melted Chocolate
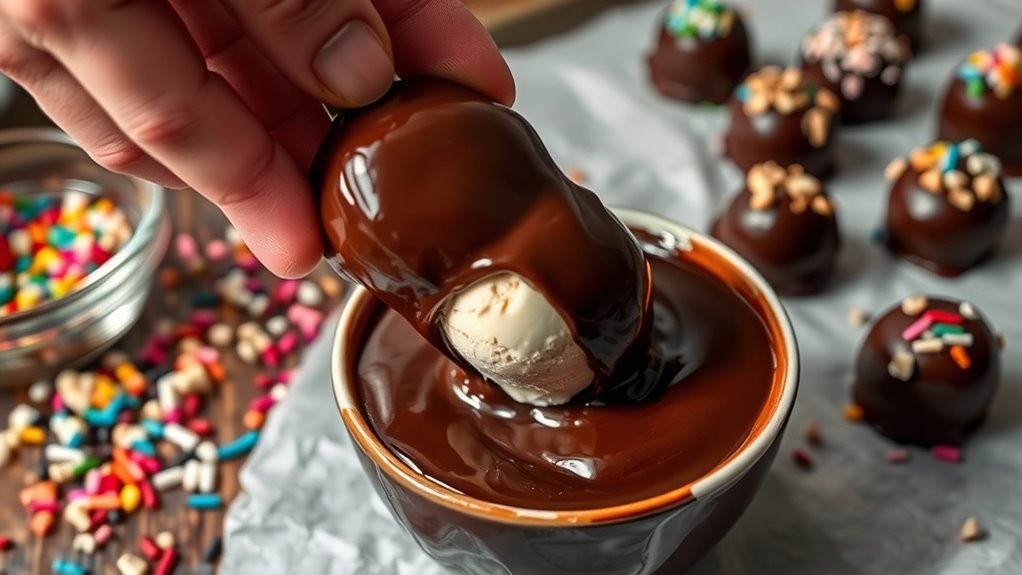
Now that your ice cream balls are ready, it’s time to coat them in a decadent layer of melted chocolate.
Begin by melting your chocolate in a microwave-safe bowl, heating it in short bursts and stirring until smooth. You want it to be warm but not too hot.
Next, take each ice cream ball and carefully dip it into the melted chocolate, using a fork to help with the process. Verify they’re fully coated, then gently tap the fork against the bowl to let excess chocolate drip off.
Place the chocolate-covered truffles on a parchment-lined baking sheet. Repeat this for all your ice cream balls, then pop them in the freezer for a few minutes to set the chocolate.
Enjoy!
Step 3. Roll in Toppings

After the chocolate coating has set, it’s time to enhance your ice cream truffles with a variety of toppings. Gather your favorites—chopped nuts, sprinkles, crushed cookies, or coconut flakes.
Take each truffle and gently roll it in your chosen topping, ensuring an even coating. If you want to get creative, you can mix and match different toppings for a unique flavor profile. Press the toppings lightly to help them stick, but be careful not to squish the truffles.
Once coated, place them back on the parchment-lined tray. This step not only adds texture but also enhances the visual appeal of your delicious treats.
Enjoy the process, and don’t be afraid to experiment with different combinations!
Step 4. Freeze Until Firm
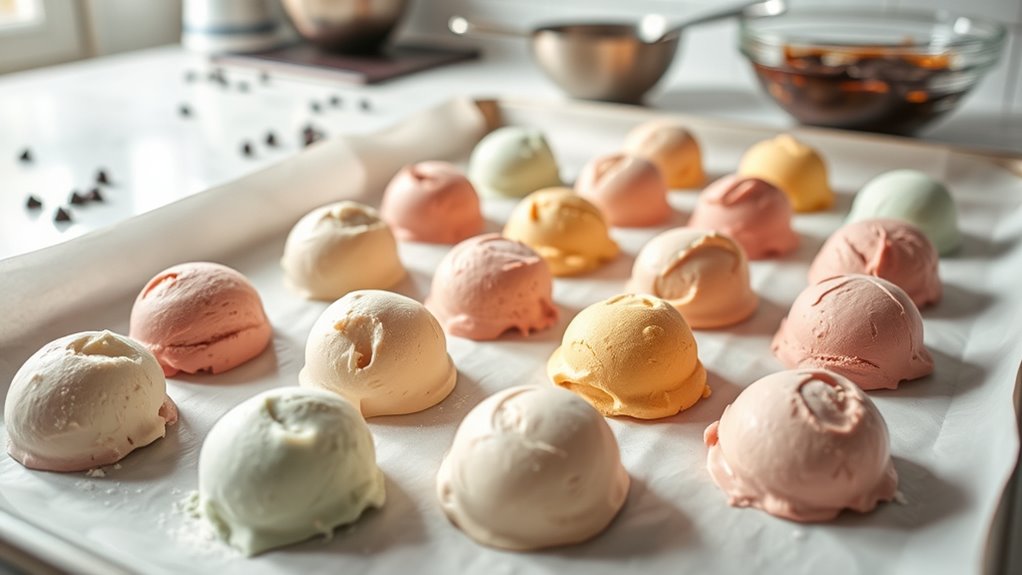
To guarantee your ice cream truffles hold their shape and remain delightful, it’s essential to freeze them until firm.
After rolling your truffles in toppings, place them on a parchment-lined baking sheet. Make certain they’re spaced out to prevent sticking.
Then, slide the baking sheet into the freezer. Allow them to chill for at least two hours, or until you can easily handle them without melting. This step guarantees that the ice cream sets properly, making your truffles easier to enjoy later. Additionally, the U.S. is the largest consumer of ice cream worldwide, highlighting the popularity of this treat.
If you want to prepare them ahead of time, you can freeze them longer, just remember to check on their firmness before serving.
Once they’re set, you’re ready for the next step in your truffle-making adventure!
Step 5. Store in an Airtight Container

Once your ice cream truffles are firm and ready to handle, it’s time to store them properly.
Start by selecting an airtight container that’s the right size to prevent excess air from getting in. Carefully place the truffles inside, making sure they don’t touch each other to avoid sticking.
If you’ve made a large batch, consider layering them with parchment paper between each layer for added protection. Seal the container tightly to lock in freshness and prevent freezer burn.
Label the container with the date so you can keep track of how long they’ve been stored. When you’re craving a sweet treat, simply pull out a truffle, and enjoy your delicious creation right from the freezer!
Final Thoughts
As you savor your homemade ice cream truffles, it’s clear that this delightful treat isn’t only easy to make but also a fun way to impress friends and family.
With just a few simple ingredients, you can create a dessert that looks and tastes gourmet. Experimenting with flavors and coatings lets you customize these truffles to suit any occasion.
Whether you’re hosting a party or enjoying a quiet night in, these truffles are sure to elevate your dessert game.
Don’t forget to share your creations on social media; your friends will be enthusiastic to join in on the fun.
Frequently Asked Questions
Can I Use Dairy-Free Ice Cream for Truffles?
You’ve just discovered that your favorite dessert can be made dairy-free, and it feels like a little miracle.
Yes, you can absolutely use dairy-free ice cream for truffles! It’ll create a delightful treat that everyone can enjoy, regardless of dietary preferences.
Just scoop, roll, and coat them in your choice of toppings.
You’ll be amazed at how delicious they turn out, proving that indulgence can be both tasty and inclusive.
Enjoy your creation!
How Long Do Ice Cream Truffles Last in the Freezer?
Ice cream treats can last quite a while in the freezer. Typically, if you store your ice cream truffles properly in an airtight container, they’ll stay fresh for about two to three months.
Just make sure to keep them away from strong-smelling foods, as they can absorb odors.
When you’re ready to enjoy them, just let them sit at room temperature for a few minutes to soften up for the perfect bite!
What Toppings Work Best for Ice Cream Truffles?
When you’re thinking about toppings, consider crunch, sweetness, and flavor. Crushed nuts add a satisfying crunch, sprinkles bring vibrant color, and chocolate drizzles enhance the sweetness.
You might also try crushed cookies for texture, shredded coconut for a tropical twist, or even a dusting of cocoa powder for a rich finish.
Each topping creates a unique experience, so mix and match to find your perfect combination that’ll elevate your treat to the next level!
Can I Make Ice Cream Truffles Ahead of Time?
Absolutely, you can make ice cream truffles ahead of time!
Just prepare them, freeze them until solid, and store them in an airtight container. They’ll keep well in the freezer for a few weeks, so you can enjoy them whenever you like.
Just remember to let them sit out for a few minutes before serving to soften slightly. That way, you’ll get the best texture and flavor when you indulge!
Are Ice Cream Truffles Suitable for Kids?
Absolutely, ice cream truffles are great for kids! They’re fun, bite-sized treats that appeal to kids’ love for sweet snacks.
You can customize them with different flavors and toppings, making them even more exciting. Just keep in mind any allergies or dietary restrictions.
With a little supervision, kids can even help make them, turning it into a fun activity. Overall, you’ll find they’re a hit at parties and gatherings!