Hand-churned ice cream is a fun, nostalgic process that brings everyone together. Start with quality ingredients like heavy cream, fresh milk, and local eggs for the best flavor. Mix and chill your creamy base before pouring it into a hand-crank machine, surrounded by ice and salt. Crank away for about 30 minutes to achieve the perfect texture. You can experiment with unique flavors and serve immediately for a delightful treat. Want to know more about the fun process?
Key Takeaways
- Use a rich base of heavy cream, fresh milk, and local eggs to enhance flavor and texture.
- Prepare the ice cream mixture, chill it over an ice bath, and pour it into the ice cream maker.
- Layer ice and coarse salt around the mixture to facilitate freezing, using about 10 pounds of coarse salt.
- Hand-crank for about 30 minutes, stirring every 30 minutes to ensure a creamy texture and minimize ice crystal formation.
- Serve immediately for the best flavor, and store leftovers in an airtight container in the freezer.
The Joy of Hand-Churned Ice Cream

When you think of summer days, nothing embodies that joy quite like hand-churned ice cream. You can feel the excitement as everyone gathers, taking turns cranking the machine.
This method not only creates a nostalgic experience but also results in a creamier consistency. The hand-cranking technique incorporates air and breaks up ice crystals, making it superior to other methods.
Using fresh, high-quality ingredients adds to the charm, allowing you to customize flavors based on seasonal fruits or your personal preferences.
Elevate your ice cream experience by using fresh, high-quality ingredients to create unique flavors that celebrate the season.
As you churn for about 30 minutes, you’ll notice the ice cream becoming hard to turn—this is when you know it’s ready!
Enjoying this delightful homemade treat brings families together, creating cherished memories for years to come.
Essential Ingredients for Success
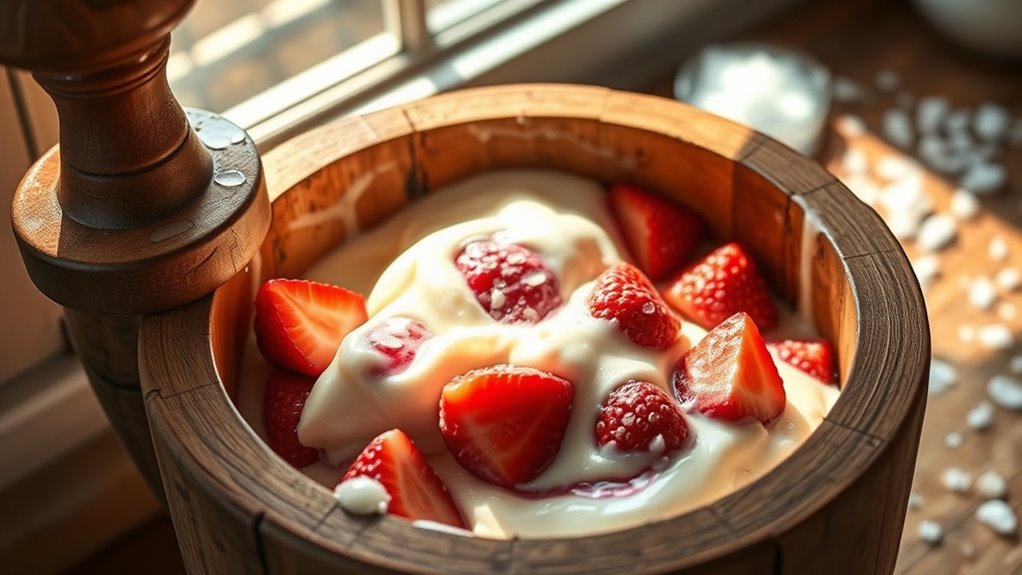
To craft the perfect hand-churned ice cream, you need to focus on the quality of your ingredients.
Think about rich milk and cream, along with your favorite flavorings, whether it’s classic vanilla or seasonal fruits.
Quality of Ingredients
Quality ingredients play an essential role in crafting exceptional hand-churned ice cream, directly influencing its flavor and texture.
Using heavy cream and fresh milk elevates your ice cream, creating a rich, creamy base that’s hard to beat. When you opt for local, high-quality ingredients like eggs and sugar, you enhance the overall taste, making each scoop a delightful experience.
Remember, the type of sugar matters too; choosing natural or organic options can boost sweetness without overpowering the flavor.
Don’t forget to wash and prepare any add-ins, like seasonal fruits, properly.
Flavoring Options Available
How can you create truly memorable hand-churned ice cream? Start with high-quality cream for that smooth and creamy texture.
You’ve got a range of flavoring options to choose from! Classic vanilla can shine with real vanilla beans, while fresh seasonal fruits like strawberries or peaches add a delightful twist.
Don’t shy away from infusions; steep herbs like mint or spices like cinnamon in your cream to elevate the flavor profile.
To make it even more exciting, consider mix-ins like chocolate chips, nuts, or swirls of caramel for added texture and complexity.
If you want a richer experience, using a custard base with eggs can enhance cream flavor and stability, making your ice cream truly unforgettable.
Seasonal Add-Ins Ideas
While experimenting with hand-churned ice cream, incorporating seasonal add-ins can elevate your creation to new heights. Using these ingredients not only enhances flavor but also adds a fresh twist.
Here are some ideas to try:
- Seasonal fruits: Think strawberries, peaches, or blueberries for natural sweetness.
- Herbs: Basil, mint, or lavender can infuse unique flavors; consider making a syrup.
- Natural sweeteners: Local honey or maple syrup pairs beautifully with your ingredients.
- Add-ins: Crushed cookies, chocolate chips, or toasted nuts add delightful texture.
Mix these add-ins just before your ice cream reaches a soft-serve consistency to keep everything crunchy and vibrant.
Enjoy the creativity and deliciousness of your seasonal hand-churned ice cream!
Preparing the Ice Cream Mixture
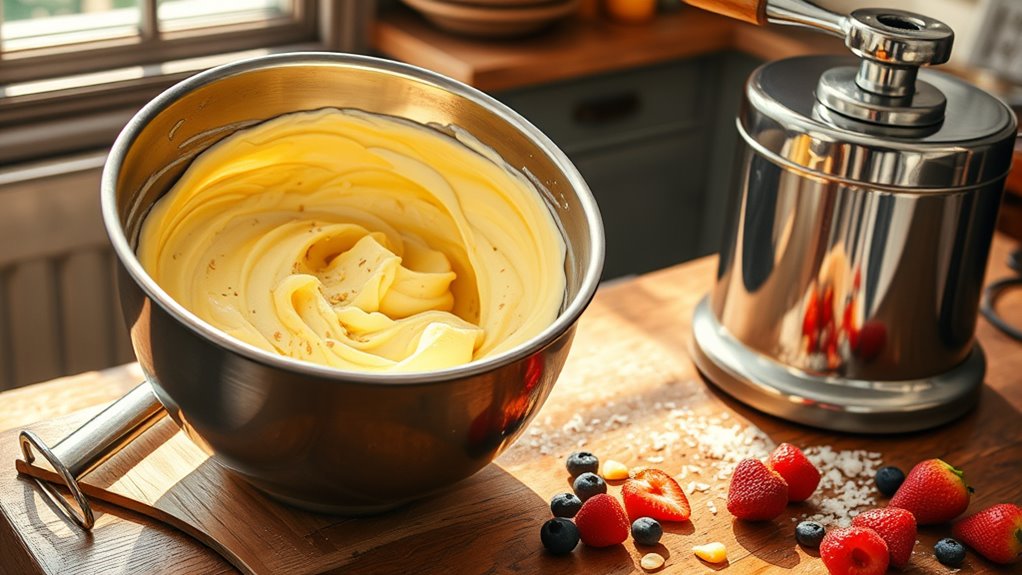
To create a delicious hand-churned ice cream, you’ll want to start with a rich base that combines sugar, eggs, and, if you like, cream. Stir these ingredients together thoroughly, but hold off on adding the milk just yet.
By mixing the sugar and eggs first, you guarantee an even distribution of flavors in your ice cream mixture. Once that’s done, pour in the milk to maintain the right consistency.
If you want to customize your ice cream recipe, consider adding seasonal ingredients like fresh strawberries or crushed cookies. Just make certain to prepare these add-ins properly by washing and removing any stems or pits.
Finally, chill your mixture over an ice bath before churning it to achieve the best freezing.
Setting Up the Ice Cream Maker
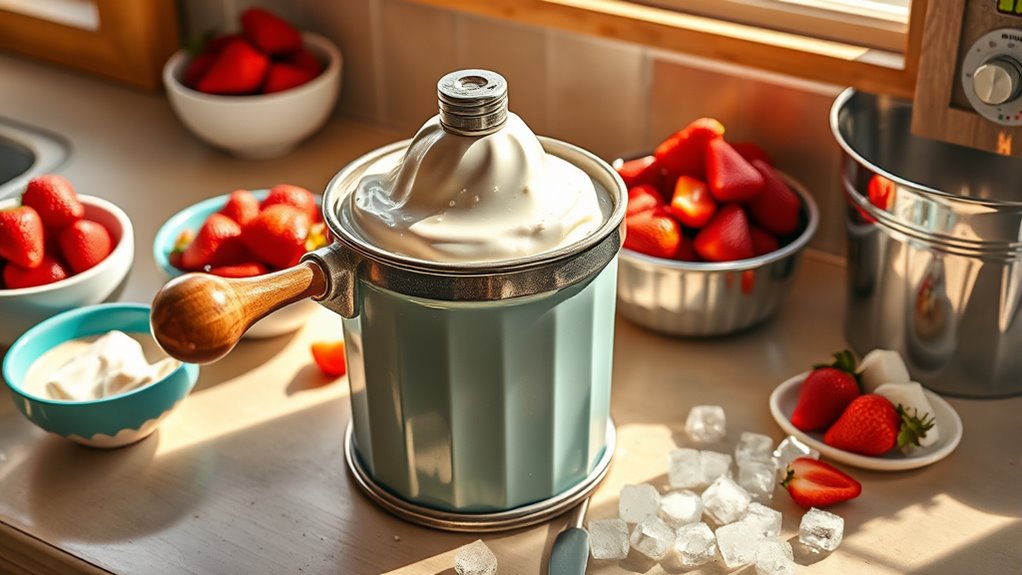
To get your hand-crank ice cream maker ready, start by gathering essential equipment like a sturdy 4-5 quart model and a wooden bucket for ice and salt.
Prepare your ice cream mixture and pour it into the container, layering ice and coarse salt around it for the freezing process.
Finally, set everything on a flat surface and gather a few friends to help with the cranking!
Essential Equipment Needed
Setting up your hand-crank ice cream maker requires a few essential pieces of equipment to guarantee a successful churn.
First, you’ll need an old-fashioned hand-crank ice cream machine, ideally with a 4-5 quart capacity.
Next, gather a sturdy wooden bucket to hold the ice and salt mixture, which is vital for freezing.
You’ll also need roughly 10 pounds of coarse salt to lower the melting temperature of the ice, ensuring a creamy texture.
Finally, consider enlisting 2-4 friends to help with the cranking process, making it more enjoyable.
- Hand-crank ice cream machine
- Wooden bucket
- Coarse salt (10 pounds)
- Ice and salt mixture
With these essentials, you’re all set for a delightful ice cream experience!
Ingredient Preparation Steps
Once you’ve gathered all your ingredients, focus on selecting high-quality, fresh items like local milk, cream, and sugar to create the best flavor and texture for your hand-churned ice cream.
In a mixing bowl, combine sugar, eggs, and vanilla, stirring thoroughly before adding the milk last for a smooth mixture.
Carefully pour this prepared mixture into the quart container of your ice cream maker, leaving some space at the top for expansion as it freezes.
Next, pack the wooden bucket with alternating layers of ice and coarse salt, which helps create the cold environment necessary for freezing.
Finally, assemble the ice cream maker, ensuring all parts are secure before you start the cranking process to achieve the perfect consistency.
Assembly and Churning Process
With your ice cream mixture prepared and ready, it’s time to set up your hand-crank ice cream maker.
Start by pouring the mixture into the quart container, adding milk last for smoothness. Next, fill the wooden bucket with alternating layers of ice and rock salt.
Follow these steps for a successful assembly and churning process:
- Use about 10 pounds of rock salt to enhance freezing.
- Alternate layers of ice and rock salt for better insulation.
- Crank the handle for 30 to 45 minutes, until it’s hard to turn.
- Serve immediately for a soft texture or freeze further for a firmer consistency.
This method creates a delightful ice cream that’s perfect for warm days!
The Churning Process Explained
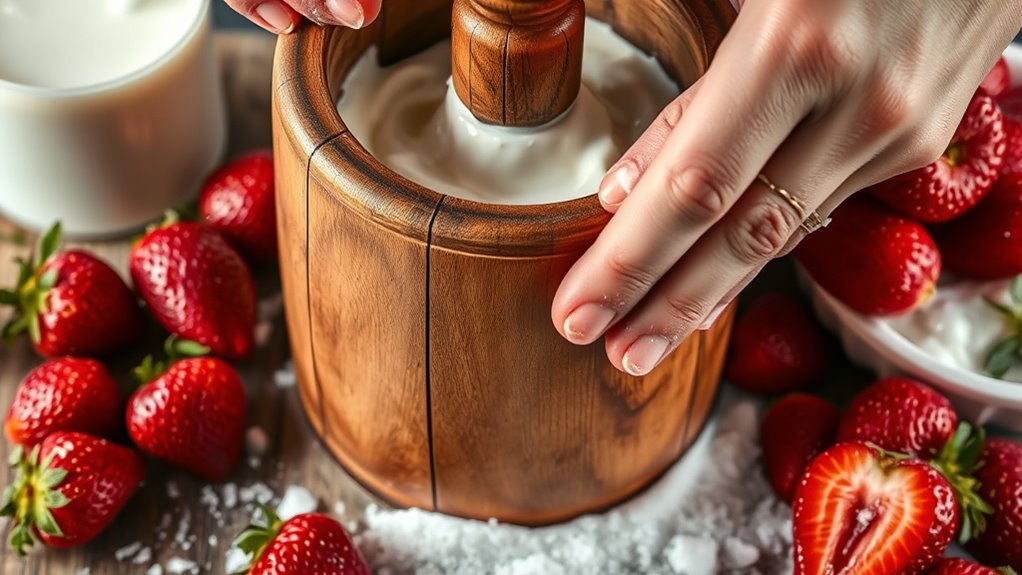
As you begin the churning process, alternating layers of ice and rock salt surround the ice cream container in a wooden bucket, creating a chilly environment essential for freezing.
The rock salt lowers the freezing point of the ice, resulting in a colder ice bath that helps freeze your ice cream mixture more efficiently.
You’ll need to crank continuously for about 30 minutes, during which air is incorporated into the mixture, leading to a smoother texture.
Once you notice the ice cream is hard to turn, it’s a sign that it’s ready.
You can serve it immediately for a soft texture or place it in the freezer for additional firmness.
Enjoy the fruits of your labor!
Achieving the Perfect Texture
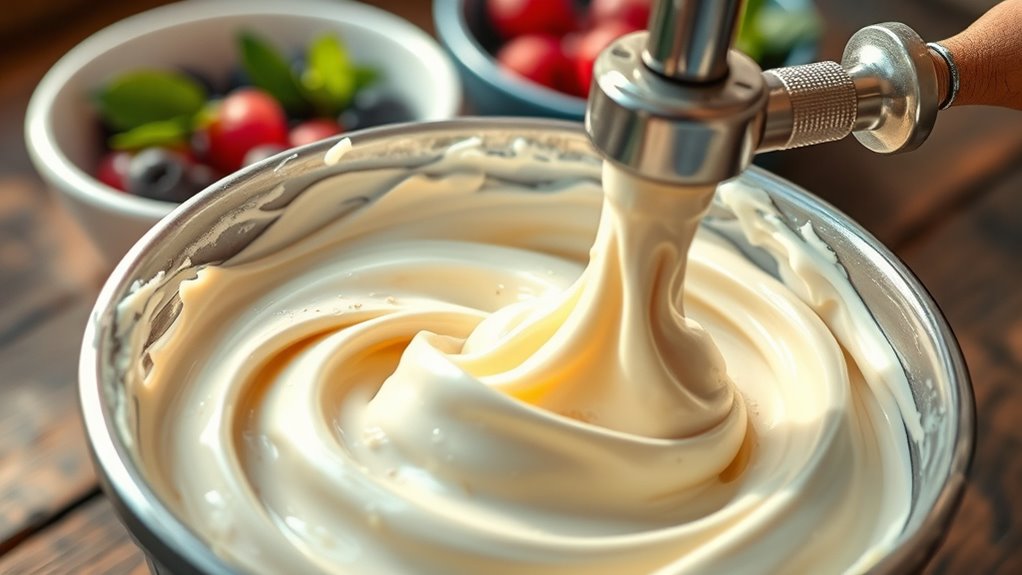
The churning process not only freezes your ice cream mixture but also plays an essential role in creating the perfect texture. By hand-churning ice cream, you incorporate air, which helps break up tiny ice crystals, resulting in a light and creamy finish.
Here are some tips to achieve that ideal texture:
- Use a custard base with egg yolks for a richer mouthfeel.
- Stir the mixture every 30 minutes while freezing to minimize large ice crystal formation.
- Add cream to thicken and enhance the indulgent texture.
- Maintain a consistent temperature in the ice bath using salt and ice to freeze the mixture quickly.
Follow these steps, and you’ll enjoy the smooth, creamy ice cream you crave!
Flavor Variations to Try
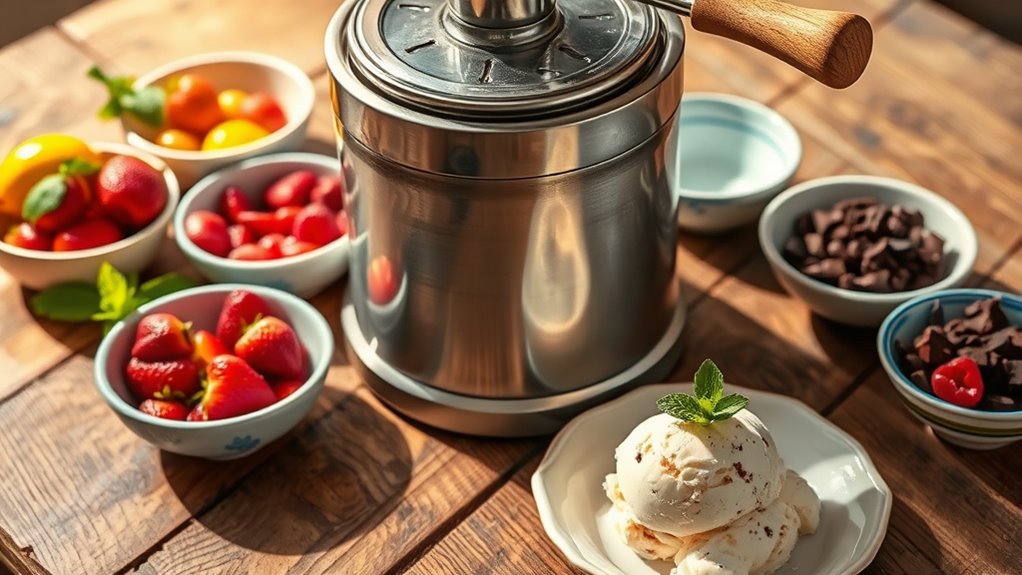
When it comes to flavor variations, don’t be afraid to get creative with unique combinations and seasonal ingredients.
Try infusing your ice cream base with Earl Grey tea for a fragrant twist, or swirl in some lemon curd for a revitalizing zing.
With endless possibilities, your hand-churned ice cream can become a canvas for your culinary imagination.
Unique Flavor Combinations
Exploring unique flavor combinations can elevate your hand-churned ice cream to new heights.
By experimenting with these ideas, you can create homemade ice cream that surprises and delights:
- Stracciatella: Drizzle melted chocolate into the mixture before it finishes churning for delightful chocolate flakes.
- Earl Grey Infusion: Steep tea bags in the cream during custard preparation for a refined flavor profile.
- Lemon Curd Swirl: Swirl homemade lemon curd into frozen yogurt for a tangy contrast.
- Honey-Chamomile: Steep chamomile tea in cream and sweeten with honey for a soothing dessert.
These unique flavor combinations won’t only impress your friends but also make your ice cream experience truly unforgettable!
Seasonal Ingredients Ideas
Incorporating seasonal ingredients into your hand-churned ice cream can transform each batch into a delightful celebration of flavors.
Use fresh summer fruits like strawberries or peaches in your base for vibrant sweetness that highlights the season. For a revitalizing twist, experiment with herbs like basil or mint, either infused into the cream or as mix-ins. Ice cream can be enjoyed in moderation, but be mindful of its high sugar and fat content. Incorporating nutritional considerations can help you balance flavor with health, making it possible to enjoy treats while still focusing on healthy dessert options.
Don’t forget about roasted nuts such as pecans or almonds—chopped and toasted, they’ll add crunch and depth.
When autumn rolls around, seasonal spices like pumpkin pie spice or cinnamon can create warm, comforting flavors.
For a truly unique ice cream, swirl in homemade lemon curd or raspberry sauce, adding tartness and a stunning visual treat to your dessert.
Additionally, consider using unique ice cream flavors that incorporate local produce to elevate your creations and surprise your taste buds.
Enjoy the seasonal bounty!
Serving and Enjoying Your Creation

To truly savor your hand-churned ice cream, serve it immediately after churning for the best texture and flavor. It’ll be soft and fluffy right out of the churn, making it a delightful treat.
Use a warmed scoop or spoon to easily serve your homemade creation without melting it too quickly. To enhance your experience, consider these tips:
- Garnish with fresh fruit, chocolate sauce, or nuts to complement flavors.
- Enjoy your ice cream fresh; it’s best consumed soon after making.
- Store leftovers in an airtight container in the freezer.
- Allow hardened ice cream to soften for a few minutes at room temperature before serving again.
With these tips, you’ll elevate your ice cream enjoyment!
Maintenance Tips for Your Ice Cream Maker
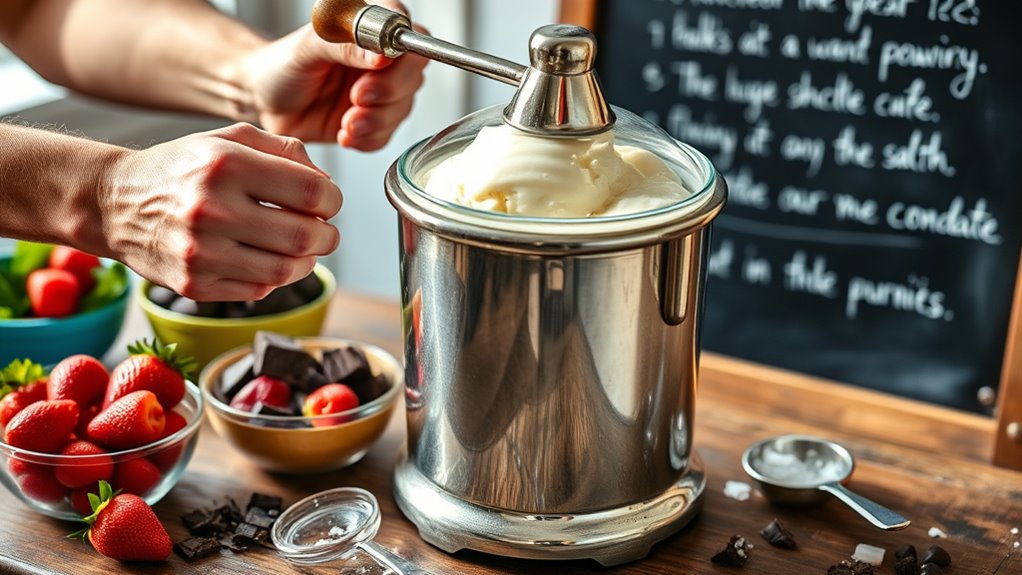
Maintaining your hand-crank ice cream maker is essential for ensuring it operates smoothly and lasts for years.
After each use, thoroughly rinse all parts to remove any salt and residue, preventing corrosion and buildup.
Regularly grease the machine’s moving parts with food-safe oils to keep everything running smoothly and extend the lifespan of your churned ice maker.
Store your ice cream maker in a dry place to avoid moisture damage, which can lead to rust.
Inspect the rubber gasket and seals for wear, replacing them as needed to maintain airtight functionality.
If your ice cream maker has wooden components, treat them with mineral oil periodically to keep the wood hydrated and prevent cracking.
Follow these maintenance tips for peak performance!
Sharing the Experience With Friends and Family

After ensuring your hand-crank ice cream maker is in top shape, it’s time to gather your loved ones for a delightful experience.
Making ice cream without the usual machine turns into a fun, communal activity that everyone can enjoy. Here are some tips to enhance your ice cream-making adventure:
- Take turns cranking to foster teamwork and shared responsibility.
- Add a friendly competition to see who can churn the fastest.
- Encourage conversations and laughter to strengthen your bonds while creating memories. Engaging in such activities can significantly contribute to a better senior living experience as it promotes social interaction and emotional well-being.
- Savor the anticipation of indulging in your freshly made ice cream together. Additionally, sharing this joyful experience can enhance your relationships, much like how new holders control 50% of supply in the crypto market reflects a shift in community dynamics.
Frequently Asked Questions
How Does a Hand Crank Ice Cream Maker Work?
A hand crank ice cream maker works by combining a mixture of cream, sugar, and flavorings in a container surrounded by ice and salt.
When you turn the crank, a dasher stirs the mixture, incorporating air and preventing large ice crystals. The rock salt lowers the freezing point of the ice, helping to absorb heat from the mixture more effectively.
After about 20 to 45 minutes of cranking, you’ll have smooth, creamy ice cream!
What Is the Process of Churning Ice Cream?
Churning ice cream involves mixing the base ingredients as they freeze, which helps incorporate air and creates a smoother texture.
You’ll need to regularly stir or crank the mixture to break up ice crystals. This process usually takes about 30 minutes, and you’ll know it’s ready when it becomes tough to turn the crank.
Depending on how long you churn, you can achieve a softer or firmer texture for your ice cream.
Why Is My No Churn Ice Cream Not Freezing?
You might think your no-churn ice cream should freeze perfectly, but there are a few reasons it’s not solidifying.
If you’ve incorporated too much air or used low-fat cream, it can lead to an icy texture.
Also, insufficient freezing time is essential; aim for at least 4 hours.
Finally, too much sweetened condensed milk raises the sugar concentration, lowering the freezing point.
Make sure you blend well, but don’t overwhip for the best results!
What’s the Difference Between Churned Ice Cream and Regular Ice Cream?
Churned ice cream and regular ice cream differ mainly in texture and production methods.
When you churn ice cream, you continuously mix the base as it freezes, incorporating air and creating a smoother texture.
Regular ice cream often includes stabilizers and emulsifiers for texture and shelf life.
With churned ice cream, you get a creamier consistency and vibrant flavor, especially when it’s made fresh.
Conclusion
Now that you’ve mastered the hand-churning technique, you can truly savor the fruits of your labor. With a little practice, you’ll be able to whip up delicious flavors that’ll have everyone coming back for more. Remember, the joy of making ice cream isn’t just about the final product; it’s about the memories you create along the way. So, gather your friends and family, and let the good times roll while you enjoy your homemade treats together!


