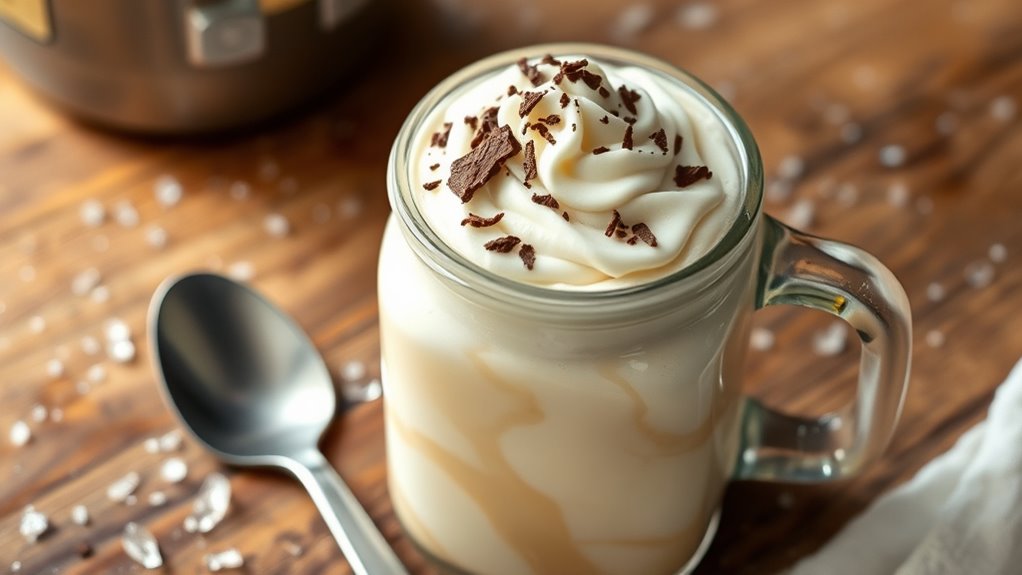
If you don’t have a blender, you can still make a delicious milkshake using just melted or softened ice cream. Start by pouring the softened ice cream into a bowl and add flavorings like chocolate syrup, fruit, or cookies. Mix vigorously with a handheld mixer or shake everything in a sealed jar to combine all ingredients. Adjust the texture with added milk or more ice cream until it’s perfect. Keep going to discover simple tips for the best results.
Key Takeaways
- Soften or melt ice cream slightly to make mixing easier without a blender.
- Use a handheld mixer or manual shaking to blend ingredients until smooth and creamy.
- Combine melted ice cream with flavorings in a bowl, then mix with a spoon or whisk.
- For thicker shakes, add more ice cream or a splash of milk; for flavor, include fruits or syrups.
- Pour into a glass, add toppings if desired, and enjoy your homemade milkshake without a blender.

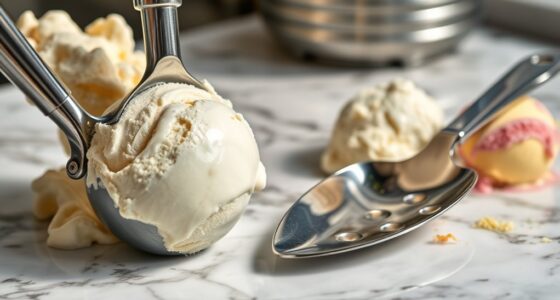
You don’t need a blender to make a delicious milkshake; with a few simple tools and ingredients, you can blend your favorite flavors easily. If you don’t have a blender on hand, don’t worry—handheld mixers and even manual shaking are all you need to create a creamy, satisfying milkshake. The key is to start with melted ice cream, which acts as the base. Let your ice cream sit out for a few minutes until it’s soft enough to work with, or microwave it for about 10 seconds to soften without melting completely. Once your ice cream is ready, you can add flavorings like chocolate syrup, fruit, or cookies directly into the bowl.
No blender needed—soften ice cream and mix with flavors using handheld mixers or manual shaking.
If you own a handheld mixer, this becomes your best friend in the process. Simply insert the beaters into the softened ice cream mixture and turn it on low to start blending. Move the mixer around the bowl to ensure all ingredients combine smoothly. The handheld mixer’s powerful motor will break down the ice cream into a thick, creamy consistency, mimicking the results of a traditional blender. Keep mixing until the mixture is uniform and slightly fluffy, then taste and adjust sweetness or flavorings if needed. Additionally, choosing the right mixer speed can greatly influence the texture and smoothness of your milkshake.
In the absence of a handheld mixer, manual shaking is a simple alternative. Transfer your softened ice cream and any additional ingredients into a sturdy, sealable jar or container. Seal it tightly and shake vigorously for about 30 seconds to a minute. The motion breaks down the ice cream and incorporates any added flavors evenly. For a more thorough mix, you can open the jar, stir with a spoon or whisk, then reseal and shake again. This method works well when you want control over the texture and don’t mind a bit of effort.
Whether you’re using handheld mixers or manual shaking, the process is quick and adaptable. For a thicker milkshake, add more ice cream or a splash of milk to loosen the mixture. If you prefer a fruit-flavored shake, toss in fresh or frozen fruit before blending or shaking. Once your milkshake reaches the desired consistency, pour it into a glass, top with whipped cream or sprinkles if you like, and enjoy your homemade treat. No blender needed—just a little creativity, your favorite ingredients, and these simple tools to make a delicious milkshake anytime!
Frequently Asked Questions
Can I Use Frozen Yogurt Instead of Ice Cream?
You can definitely use frozen yogurt instead of ice cream for your milkshake, and it works as a tasty alternative dessert. Frozen yogurt adds a tangy flavor and a slightly lighter texture, making your shake less rich but still delicious. Simply melt the frozen yogurt slightly, then blend it with milk or your favorite mix-ins. It’s a quick, easy switch that keeps your treat cool and satisfying without needing ice cream.
How Long Should I Wait for the Ice Cream to Melt?
You should wait about 5 to 10 minutes for the ice cream to melt, depending on your room temperature. Keep an eye on the melting time to achieve the right ice cream consistency—soft but not too soupy. Stir occasionally for even melting. Once it’s smooth and creamy, you can blend or mix it with other ingredients to make a delicious milkshake without a blender.
Can I Add Toppings Directly to Melted Ice Cream?
You might wonder if you can add toppings directly to melted ice cream. The truth is, some toppings are more compatible than others; for example, chocolate chips or cookie crumbles blend well, enhancing flavor combinations. Avoid overly soft or watery toppings like fresh fruit, which can make the mixture too runny. So, choose toppings that add texture and flavor without compromising the consistency of your melted ice cream for the best milkshake experience.
Is It Safe to Heat Ice Cream for Melting?
You might wonder if it’s safe to heat ice cream for melting. Generally, heating methods like gentle stovetop or microwave can be safe if done carefully, but you should prioritize dairy safety. Avoid high heat or boiling, which can cause bacteria growth or alter texture. Always melt slowly and evenly, stirring frequently, to prevent overheating. Remember, proper heating guarantees your melted ice cream stays safe to enjoy and makes tasty milkshake bases.
What Tools Can I Use if I Don’t Have a Spoon?
If you don’t have a spoon, you’re facing a mountain of a challenge! Instead, get creative with alternative utensils like a fork, a chopstick, or even a small spatula. You can also use a clean plastic lid, a butter knife, or a sturdy straw. These creative tools can help you scoop, stir, and mix your melted ice cream effectively, turning your kitchen into a DIY shake station.
Conclusion
So next time you’re without a blender, remember that creativity can turn melted ice cream into a delicious milkshake. I once whipped up a treat using just a jar and a spoon when my blender broke—like turning a simple spoon into a magic wand. It’s a reminder that sometimes, all you need is a little resourcefulness and a dash of patience. After all, great things often come from unexpected tools and a bit of improvisation.


