
This guide shows how to make tasty ice cream at home using a kid-friendly ice cream maker. It’s perfect for children and beginners, taking about 30 to 45 minutes from start to finish. Follow these clear steps to create your own frozen treat and enjoy a fun, hands-on activity.

Electric Ice Cream Maker for Kids – Countertop Soft Serve, Sorbet, Gelato, Frozen Yogurt
- ✔ Capacity: 1.2 quarts
- ✔ Material: BPA-free
- ✔ Includes: Recipe book

Tovla Jr. Kids Ice Cream Science Maker Kit | Reusable Tools & Visual Recipes | Ages 5-12
- ✔ Ages: 5-12
- ✔ Includes: Silicone ingredient bags, shaker, scoop, bowls, spoons, stickers, booklet
- ✔ Material: Reusable silicone and plastic

Dash My Mug Ice Cream Maker – Makes Single Serving of Gelato, Frozen Yogurt, Sorbet & More – Aqua, 2 Bowls
- ✔ Color: Aqua
- ✔ Number of Bowls: 2
- ✔ Capacity: Single serving
Difficulty: Beginner | Time: 30-45 minutes
What You’ll Need
Tools & Materials:
- Kid-friendly ice cream maker
- Measuring cups and spoons
- Mixing bowls
- Spoon or spatula
Knowledge:
- Basic understanding of measuring ingredients
- Ability to follow simple instructions
Ensure the ice cream maker is clean before use. Have all ingredients ready beforehand for smooth operation.

Fun Electric Ice Cream Maker Machine for Kids - Best Countertop Ice Cream Machine for Homemade Soft Serve, Sorbet, Gelato, Frozen Yogurt - Fun Small Personal Dessert Maker for Families, Easy to Clean
HOMEMADE ICE CREAM IN 20 MINUTES - Just add ingredients, press the button & let the ice cream...
As an affiliate, we earn on qualifying purchases.
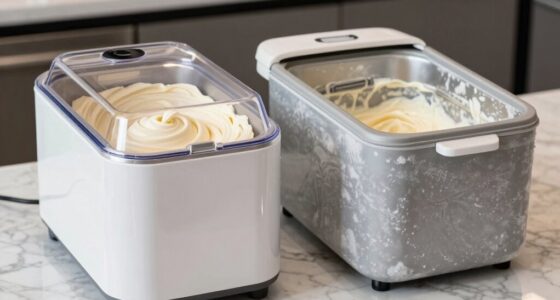
Electric Ice Cream Maker for Kids – Countertop Soft Serve, Sorbet, Gelato, Frozen Yogurt
This electric model stands out for making up to 1.2 quarts of ice cream in about 20 minutes, making it ideal for families who want quick results. Its charming animal shapes (Penguin, Unicorn, etc.) make it especially appealing to kids, transforming ice cream making into a fun activity. Compared with more complex STEM kits, it’s straightforward to operate, though its small batch size and reliance on pre-frozen bowls mean it’s less suited for larger gatherings or frequent use. It’s perfect for small kitchens or as a gift that combines entertainment with ease of use.
Pros:
- Quickly makes up to 1.2 quarts of ice cream in 20 minutes
- Appealing animal-shaped designs stimulate kids’ interest
- Compact size fits small kitchens and apartments
- Easy to clean with dishwasher-safe parts
Cons:
- Limited batch size for bigger families or parties
- Requires supervision for young children due to electrical components
- Dependent on pre-freezing the bowl, which adds prep time
Best for: Families seeking quick, fun, and easy ice cream making with young children
Not ideal for: Large groups or those wanting to make bulk batches regularly
Bottom line: A fun, quick, and compact choice best suited for small families or as a gift for young ice cream enthusiasts.
“A fun, quick, and compact choice best suited for small families or as a gift for young ice cream enthusiasts.”

Tovla Jr. Kids Ice Cream Science Maker Kit | Real Reusable | Ages 5-12
STEM Meets Sweet Treats – Kids discover the science of ice cream while making their own delicious creations....
As an affiliate, we earn on qualifying purchases.
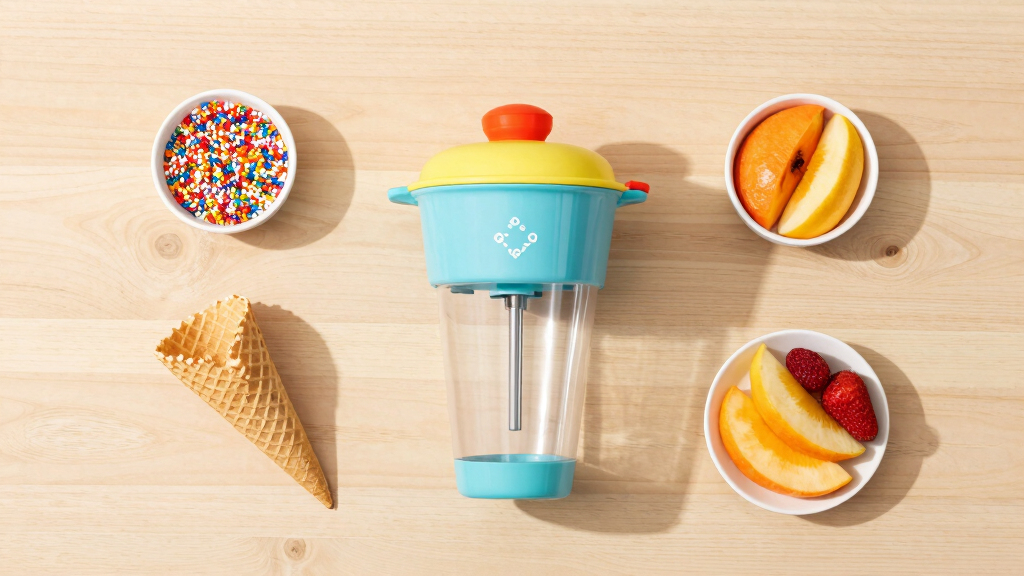
Tovla Jr. Kids Ice Cream Science Maker Kit | Reusable Tools & Visual Recipes | Ages 5-12
This STEM activity kit makes ice cream making both educational and fun, perfect for kids aged 5-12. It includes reusable silicone tools, visual recipes, and accessories that teach kids the science behind ice cream. Compared to electric machines, it’s less about quick results and more about learning, making it ideal for classrooms or summer projects. Its reusable components encourage sustainability, but younger children will need adult supervision to navigate the steps. While excellent for learning, it doesn’t produce large quantities or diverse dessert types beyond ice cream activities.
Pros:
- Encourages STEM learning through hands-on experiments
- Reusable tools promote sustainability and durability
- Includes visual step-by-step instructions for independence
- Makes an educational gift for summer or school projects
Cons:
- Requires adult supervision for younger children
- Limited to ice cream activities, may need additional ingredients
- Some small parts may pose a choking hazard for very young kids
Best for: Parents and educators wanting a hands-on science activity that teaches basic principles of freezing and mixing
Not ideal for: Those seeking quick, large batches of ice cream or dessert variety
Bottom line: A fantastic educational tool that combines science with fun, best suited for curious kids and classroom activities.
“A fantastic educational tool that combines science with fun, best suited for curious kids and classroom activities.”

Dash My Mug Ice Cream Maker - Makes Single Serving of Gelato, Frozen Yogurt, Sorbet & More - Easy to Clean & Use - Aqua, 2 Bowls
Ice & Easy: The Dash My Mug Ice Cream Maker lets you create single-serve, parlor-quality ice cream at...
As an affiliate, we earn on qualifying purchases.
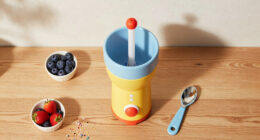
Dash My Mug Ice Cream Maker – Makes Single Serving of Gelato, Frozen Yogurt, Sorbet & More – Aqua, 2 Bowls
The Dash My Mug offers a portable solution for individual ice cream treats. Its compact design and quick freeze technology make it ideal for small kitchens, dorm rooms, or busy parents wanting a quick snack for one. Compared with larger countertop models, it’s limited to single servings, which may be a drawback for families or parties. Its ease of disassembly and cleaning are major plus points, but pre-freezing the mug adds an extra step that can slow down the process. Still, its versatility for different frozen desserts makes it a handy gadget for personal use.
Pros:
- Compact and portable, perfect for small spaces
- Easy to use with quick freeze technology
- Disassembles for simple cleaning
- Versatile—makes gelato, sorbet, and frozen yogurt
Cons:
- Limited to single servings, not suitable for groups
- Requires pre-freezing of the mug, adding prep time
- Takes some time to freeze the mixture before serving
Best for: Individuals or small households who want a quick, portable ice cream fix
Not ideal for: Large families or those wanting to make multiple servings at once
Bottom line: A convenient, personal-sized ice cream maker for quick treats, best suited for individuals or dorm rooms with limited space.
“A convenient, personal-sized ice cream maker for quick treats, best suited for individuals or dorm rooms with limited space.”
As an Amazon Associate we earn from qualifying purchases.
Before You Start
Check that the ice cream maker parts are assembled correctly. Make sure you have enough space in the freezer for the ice cream maker’s bowl, and confirm the machine is unplugged before preparing ingredients.
Step-by-Step Instructions
Step 1: Prepare the ice cream mixture
In a mixing bowl, combine 1 cup of heavy cream, 1/2 cup of milk, 1/3 cup of sugar, and 1 teaspoon of vanilla extract. Mix well with a spoon until the sugar dissolves.
Tip: Use cold ingredients for a smoother texture. Adjust sweetness by adding more or less sugar as desired.
Check: The mixture should be uniform, with no visible sugar granules, and smell fragrant of vanilla.
Step 2: Chill the mixture
Pour the mixture into the refrigerator and chill for at least 15 minutes. This helps improve texture and freezing efficiency.
Tip: If in a hurry, use the freezer for 10 minutes, but avoid freezing solid before pouring into the ice cream maker.
Check: Mixture is cold to the touch and slightly thickened.
Step 3: Assemble the ice cream maker
Follow the manufacturer’s instructions to assemble the ice cream maker. Typically, place the chilled bowl into the machine, attach the paddle, and plug in the device.
Tip: Make sure the parts are securely fitted to prevent leaks and ensure proper mixing.
Check: The machine is assembled correctly, and the paddle turns freely when powered on.
Step 4: Pour the mixture into the machine
Slowly pour the chilled mixture into the ice cream maker’s bowl, avoiding overfilling.
Tip: Leave some space for expansion during freezing, usually about 1/2 inch from the top.
Check: Mixture is evenly distributed and no spills occur during pouring.
Step 5: Start the ice cream maker
Turn on the machine and let it run for 20-30 minutes, or until the ice cream reaches a soft-serve consistency.
Tip: Listen for the motor noise; it should run smoothly without unusual sounds.
Check: Ice cream is thickened and has a soft, creamy texture, pulling away from the sides of the bowl.
Step 6: Transfer to freezer for final setting
Using a spatula, transfer the ice cream into a freezer-safe container. Cover and freeze for an additional 2-3 hours to firm up.
Tip: Stir the ice cream once or twice during freezing to improve texture.
Check: Ice cream is firm but scoopable, with a smooth texture and no ice crystals.
Common Mistakes to Avoid
- Overfilling the ice cream maker’s bowl — Fill only up to the recommended level, leaving space for expansion during freezing.
- Using ingredients that aren’t cold enough — Chill the mixture thoroughly before pouring into the machine to ensure proper freezing.
- Running the machine too long or too short — Follow the recommended run time and check consistency periodically to avoid overfreezing or underfreezing.
- Not cleaning the machine after use — Wash all parts with warm, soapy water immediately after making ice cream to prevent buildup.
Troubleshooting
Problem: Ice cream is too soft after initial churning
Solution: Transfer it to a container and freeze for an additional 2-3 hours to firm up.
Problem: Ice cream is icy or grainy
Solution: Ensure the mixture was chilled properly before freezing and avoid overfreezing during the initial churning.
Problem: Machine motor stops or makes noise
Solution: Check for correct assembly, ensure the bowl is properly attached, and do not overload the machine.
What Success Looks Like
The finished ice cream is firm yet scoopable, with a smooth, creamy texture and even consistency. It should hold its shape when scooped and have a pleasant flavor of vanilla or chosen ingredients.
Next Steps
Clean the machine parts thoroughly after use. Experiment with different flavors and mix-ins for variety. Store leftover ice cream in an airtight container in the freezer. Repeat the process to make more batches or different recipes.
Frequently Asked Questions
Can I use alternative ingredients like dairy-free milk?
Yes. Substitute with suitable dairy-free options like almond or coconut milk, adjusting the sugar accordingly. Ensure the mixture still thickens properly during churning.
How long does homemade ice cream last in the freezer?
Typically, 1-2 weeks for best quality. Keep it in an airtight container to prevent ice crystals and flavor loss.
Can I add mix-ins like chocolate chips or fruit?
Yes. Add mix-ins during the last 5 minutes of churning or fold them into the ice cream before the final freezing step.
Is this process safe for children?
Yes, with adult supervision. Make sure children understand safety around the machine and handle ingredients carefully.