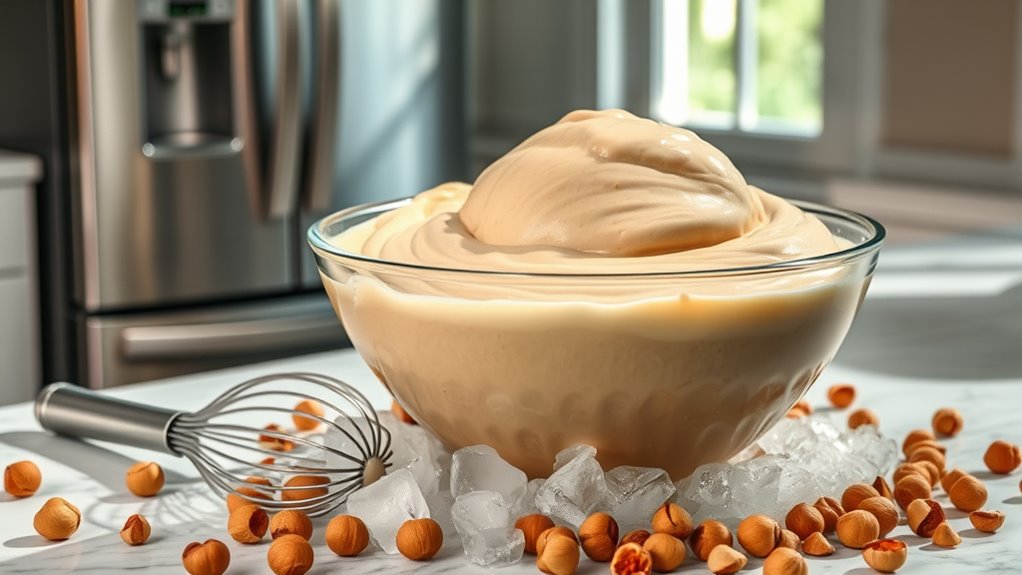
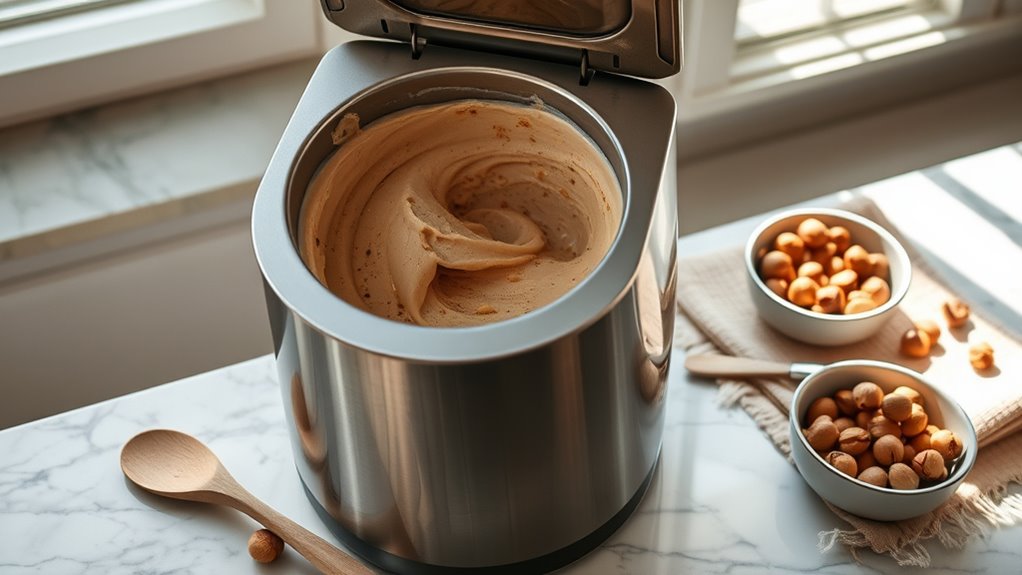
To make delicious hazelnut ice cream at home, start by toasting 1 cup of hazelnuts at 350°F for about 10-12 minutes. Blend the toasted nuts with 2 cups of heavy cream and chill. Then, mix in 3/4 cup of sugar, 1 teaspoon of vanilla, and a pinch of salt. Churn the mixture in an ice cream maker until creamy, then freeze for a few hours. You’ll find tips for customizations and serving occasions next.
Key Takeaways
- Combine toasted hazelnuts with heavy cream and milk, then chill the mixture for a smooth base.
- Blend in sugar, vanilla extract, and salt for enhanced flavor before churning.
- Use an ice cream maker to churn the mixture until it reaches a soft-serve consistency.
- Transfer the churned ice cream to an airtight container and freeze for several hours for a firmer texture.
- Customize the recipe by adding chocolate chips, caramel swirls, or fruit purees for unique variations.
History
The history of hazelnut ice cream is as rich and delightful as its flavor.
You’ll find that this creamy treat has roots in ancient culinary traditions, particularly in Mediterranean regions where hazelnuts thrive. In Italy, gelato artisans began experimenting with various flavors, and hazelnuts quickly became a favorite.
By the 19th century, hazelnut ice cream gained popularity across Europe, thanks to its unique, nutty taste and creamy texture. As you indulge in this dessert, you’re savoring a blend of history and innovation.
The nutty essence of hazelnuts, combined with sweet cream, creates a harmonious balance that’s hard to resist. Today, it remains a beloved choice, often featured in gourmet ice cream parlors around the world.
Recipe
Indulging in homemade hazelnut ice cream is a delightful way to enjoy the rich, nutty flavor of hazelnuts combined with the creamy texture of ice cream. This recipe is perfect for warm summer days or as a sweet treat to impress your friends and family. With just a few simple ingredients, you can create a luxurious dessert that’s both sophisticated and comforting. The roasting of the hazelnuts enhances their flavor and adds depth to the ice cream, making every bite a creamy, nutty bliss.
Homemade hazelnut ice cream offers a rich, nutty flavor and creamy texture, perfect for impressing friends and family.
Before you begin, verify you have an ice cream maker ready, as it will help achieve that smooth and creamy texture that makes homemade ice cream so irresistible. If you don’t have an ice cream maker, you can still follow this recipe; just be prepared to mix the ice cream by hand every 30 minutes to break up ice crystals as it freezes. With a little patience, you’ll be rewarded with a delicious treat that’s worth every effort.
Ingredients:
- 1 cup hazelnuts, toasted and chopped
- 2 cups heavy cream
- 1 cup whole milk
- 3/4 cup granulated sugar
- 1 teaspoon vanilla extract
- 1/4 teaspoon salt
- 4 large egg yolks
In a medium saucepan, combine the heavy cream, whole milk, sugar, vanilla extract, and salt. Heat the mixture over medium heat until it’s hot but not boiling, stirring occasionally.
In a separate bowl, whisk the egg yolks until they’re light in color. Gradually add a small amount of the hot cream mixture to the yolks while whisking to temper them. Then, slowly whisk the egg yolk mixture back into the saucepan.
Cook over low heat, stirring constantly, until the mixture thickens enough to coat the back of a spoon. Remove from heat, and stir in the toasted hazelnuts. Allow the mixture to cool, then chill in the refrigerator for at least 4 hours or overnight.
Once chilled, churn the mixture in your ice cream maker according to the manufacturer’s instructions. Transfer the ice cream to a container and freeze for at least 4 hours before serving.
For the best flavor and texture, consider using fresh, high-quality hazelnuts, and make certain they’re well toasted to enhance their natural oils. If you prefer a smoother texture, you can blend the mixture before churning to eliminate any small pieces of hazelnuts.
Additionally, feel free to experiment by adding chocolate chips or swirls of chocolate fudge for an extra treat. Enjoy your homemade hazelnut ice cream as a standalone dessert or paired with your favorite toppings!
Cooking Steps
To make your delicious hazelnut ice cream, you’ll start by toasting the hazelnuts until they’re golden.
Next, blend the toasted hazelnuts with cream and let the mixture chill for 30 minutes.
After that, add sugar and vanilla before churning it in your ice cream maker for that perfect creamy texture.
Step 1. Toast Hazelnuts Until Golden

Start by preheating your oven to 350°F (175°C) for the perfect toasting temperature.
While the oven heats up, spread your raw hazelnuts in a single layer on a baking sheet. This helps them toast evenly.
Once the oven’s ready, place the baking sheet inside and set a timer for about 10 to 12 minutes. Keep an eye on them, as they can burn quickly.
You’ll know they’re done when they turn a golden brown and emit a delicious nutty aroma.
Once toasted, carefully remove the sheet from the oven and let the hazelnuts cool completely. This step enhances their flavor, making your ice cream even more delightful.
Enjoy the rich, toasted taste as you prepare for the next steps!
Step 2. Blend Hazelnuts With Cream

With your toasted hazelnuts cooled and ready, it’s time to blend them with cream for that rich, nutty flavor.
Start by placing the hazelnuts in a food processor. Pulse them until they’re finely ground, but be careful not to turn them into a paste.
Next, add in your heavy cream, along with any sweeteners or flavorings you desire, like vanilla extract. Blend the mixture on medium speed until it becomes smooth and well-combined. You want a creamy consistency that incorporates the nutty essence of the hazelnuts.
If you prefer a bit of texture, you can reserve a handful of chopped hazelnuts to stir in later. This step enhances the overall experience of your delicious hazelnut ice cream.
Step 3. Chill Mixture for 30 Minutes

Chilling the mixture for 30 minutes is essential for achieving a smooth, creamy texture in your hazelnut ice cream.
Once you’ve blended the hazelnuts with the cream, transfer the mixture into a bowl or container to cool. Make sure to cover it with plastic wrap or a lid to prevent any unwanted odors from affecting the flavor.
Placing it in the refrigerator allows the ingredients to meld together, enhancing the overall taste. While it chills, you can use this time to clean up your workspace or prepare any toppings you’d like for later.
After 30 minutes, you’ll notice a difference in the mixture’s consistency, making it ready for the next steps in your ice cream-making journey. Enjoy!
Step 4. Add Sugar and Vanilla

Now that your mixture has chilled, you can enhance the flavor by adding sugar and vanilla.
Start by measuring out the sugar; about three-quarters of a cup should do the trick, but feel free to adjust based on your sweetness preference. Pour the sugar into your chilled mixture and stir thoroughly until it’s fully dissolved.
Next, add one teaspoon of pure vanilla extract for that aromatic kick. Stir again to guarantee the vanilla is evenly distributed throughout the mixture. This step is essential, as it balances the rich hazelnut flavor and adds depth.
Once combined, give it a taste. If you want it sweeter, add a little more sugar and mix again until you reach your desired flavor.
Step 5. Churn in Ice Cream Maker

After you’ve mixed in the sugar and vanilla, it’s time to churn your mixture in the ice cream maker.
Pour the mixture into the ice cream maker’s bowl, making sure not to overfill it, as the ice cream will expand while churning.
Turn on the machine and let it run according to the manufacturer’s instructions, typically around 20 to 30 minutes.
You’ll notice the mixture thickening and becoming creamy as it churns.
Keep an eye on the texture; you want it to be soft-serve consistency.
Once it reaches that point, it’s ready for the next step.
If you prefer a firmer texture, transfer your churned ice cream to an airtight container and freeze for a few hours before serving.
Enjoy!
Final Thoughts
As you savor the rich, nutty flavor of homemade hazelnut ice cream, it’s clear that this delightful treat is worth every effort. You’ve crafted something special, and each spoonful is a reflection of your hard work.
This ice cream isn’t just a dessert; it’s a celebration of flavors that can elevate any occasion. You can easily customize it, adding chocolate chips or a swirl of caramel for an extra touch.
Remember, sharing this treat with friends and family makes it even more enjoyable. So whether you serve it at a gathering or indulge in a quiet moment alone, you’ll appreciate the satisfaction of your creation.
Immerse yourself in this sweet experience, and let each bite remind you of your culinary achievement.
Frequently Asked Questions
Can I Use Roasted Hazelnuts for This Recipe?
Imagine walking through a cozy café, the aroma of roasted hazelnuts wafting through the air.
You’re wondering if you can use those roasted hazelnuts in your recipe. The good news is, you absolutely can!
Roasted hazelnuts add a deeper flavor and delightful crunch to your dish. Just chop them up, and fold them in.
You’ll enhance the taste and create a wonderful texture that’ll impress everyone who tries it. Enjoy!
How Long Does Hazelnut Ice Cream Last in the Freezer?
Hazelnut ice cream can last in the freezer for about two to three months if stored properly.
To keep it fresh, make sure it’s in an airtight container to prevent freezer burn. You might notice a change in texture or flavor after that time, so it’s best to enjoy it sooner rather than later.
Just remember to let it sit at room temperature for a few minutes before scooping for the best results!
Is There a Dairy-Free Version of Hazelnut Ice Cream?
Yes, there’s definitely a dairy-free version of hazelnut ice cream!
You can use coconut milk or almond milk as a base, which adds creaminess without the dairy. Just blend your choice of non-dairy milk with roasted hazelnuts, sweetener, and any flavorings you like.
Churn it in an ice cream maker, and you’ll have a delicious treat that everyone can enjoy.
It’s a great way to satisfy your cravings while staying dairy-free!
Can I Add Chocolate to the Hazelnut Ice Cream?
Imagine swirling rich, velvety chocolate into a nutty delight—sounds tempting, right? You can definitely add chocolate to your hazelnut ice cream!
Whether you’re folding in chocolate chunks or drizzling in melted chocolate, it’ll create a decadent, creamy treat.
Just keep in mind the balance of flavors; too much chocolate might overpower the hazelnut.
What Toppings Pair Well With Hazelnut Ice Cream?
When you’re looking for toppings to complement hazelnut ice cream, think about flavors that enhance its nutty richness.
Chopped dark chocolate or chocolate sauce adds a delightful contrast. Fresh berries, like raspberries or strawberries, provide a revitalizing balance.
You might also try crushed pralines or caramel sauce for added sweetness. A sprinkle of sea salt can elevate the overall taste, making each bite even more indulgent.
Enjoy mixing and matching your favorites!


