
To make coconut milk ice cream, combine 2 cans of full-fat coconut milk, 1/2 cup of maple syrup or honey, 1 teaspoon of vanilla extract, and a pinch of salt in a bowl. Freeze the mixture for about 6 hours, stirring every 30 minutes. For a creamier texture, chill the mixture before freezing or use an ice cream maker. Add your favorite mix-ins like chocolate chips or fruit. Keep going to discover more about this delightful treat!
Key Takeaways
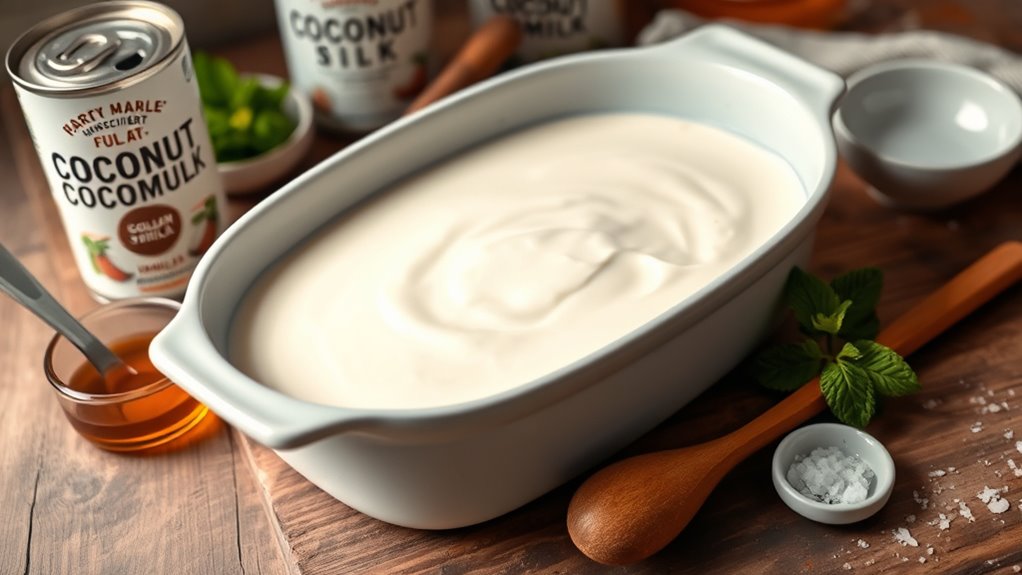
- Combine 2 cans of full-fat coconut milk, 1/2 cup of maple syrup or honey, 1 teaspoon of vanilla extract, and a pinch of salt.
- Chill the coconut milk mixture in the refrigerator for 2-4 hours or overnight for better flavor.
- Pour the mixture into a shallow dish or freezer-safe container and freeze for about 6 hours, stirring every 30 minutes.
- For a creamier texture, use an ice cream maker by churning the chilled mixture for 20-30 minutes.
- Customize your ice cream by adding optional mix-ins like shredded coconut, chocolate chips, or fruit before freezing.

Amazon Basics Silicone Rectangular Baking Mat, Non-Stick, Reusable, Dishwasher Safe, Food Safe, Heat Resistant, 16.5" x 11.6", Beige/Gray, 2-Pack
- Package Includes: 2 silicone baking mats
- Reusable Design: Food-safe and eco-friendly
- Non-Stick Surface: No oil or sprays needed
As an affiliate, we earn on qualifying purchases.
History
Coconut milk ice cream has roots that stretch back centuries, particularly in tropical regions where coconuts thrive.
You mightn’t realize that indigenous cultures have long embraced the creamy texture and rich flavor of coconuts in their desserts. In places like Southeast Asia, locals have crafted variations of coconut-based frozen treats, often blending them with tropical fruits or sweeteners like jaggery.
As global trade expanded, coconut milk ice cream found its way into various cuisines, adapting to regional tastes. By the 20th century, it gained popularity in Western countries, celebrated for its dairy-free appeal.
This delightful dessert not only offers a revitalizing taste but also reflects a rich cultural heritage that continues to inspire modern culinary creations.
Recipe
Coconut milk ice cream is a delightful and creamy treat that’s perfect for those looking for a dairy-free alternative to traditional ice cream. This recipe combines the rich flavor of coconut milk with a few simple ingredients to create a smooth and satisfying dessert that’s sure to please everyone.
Whether you’re enjoying it on a hot summer day or serving it at a dinner party, this coconut milk ice cream will impress your guests and satisfy your sweet tooth.
Impress your guests and indulge your cravings with this creamy coconut milk ice cream, perfect for any occasion.
To make this ice cream, you’ll need to gather some basic ingredients and follow a few simple steps. The great thing about this recipe is that it requires no ice cream maker, so you can easily whip it up at home with minimal equipment.
The result is a luscious and silky ice cream that captures the essence of coconut and can be customized with various flavors and mix-ins to suit your tastes.
Ingredients:
- 2 cans of full-fat coconut milk
- 1/2 cup of maple syrup or honey
- 1 teaspoon of pure vanilla extract
- A pinch of salt
- Optional mix-ins: shredded coconut, chocolate chips, or fruit
Cooking Instructions:
In a mixing bowl, combine the coconut milk, maple syrup (or honey), vanilla extract, and salt, and whisk until smooth and well combined.
Pour the mixture into a shallow dish or a freezer-safe container, cover it, and place it in the freezer for about 6 hours or until firm.
Every 30 minutes during the first 2-3 hours, stir the mixture with a fork to break up any ice crystals, which will help create a creamy texture.
Extra Tips:
For a more intense coconut flavor, you can toast some shredded coconut and mix it in just before freezing.
If you prefer a sweeter ice cream, feel free to adjust the amount of sweetener to taste.
Additionally, if you want to make a chocolate version, simply add cocoa powder to the mixture before freezing.
Remember to let the ice cream sit at room temperature for a few minutes before scooping, as this will make it easier to serve.
Enjoy your homemade coconut milk ice cream!
Cooking Steps
To make your coconut milk ice cream, you’ll start by chilling the coconut milk mixture.
Once it’s nice and cool, you’ll blend in your sweetener thoroughly before moving on to the next steps.
Let’s get into the details of freezing it and adding flavorings!
Step 1. Chill Coconut Milk Mixture
Chilling your coconut milk mixture is an important step that guarantees your ice cream turns out creamy and smooth.
After you’ve combined your ingredients, pour the mixture into a glass or metal container. Cover it tightly with a lid or plastic wrap to prevent any unwanted odors from affecting the flavor.
Place the container in the refrigerator for at least 2 to 4 hours, or until it’s thoroughly chilled. If you have the time, letting it chill overnight can enhance the flavors even more.
This chilling process helps the coconut milk to thicken and assures a better texture once you churn it.
Don’t skip this crucial step; it makes a significant difference in the final product!
Step 2. Blend in Sweetener Thoroughly
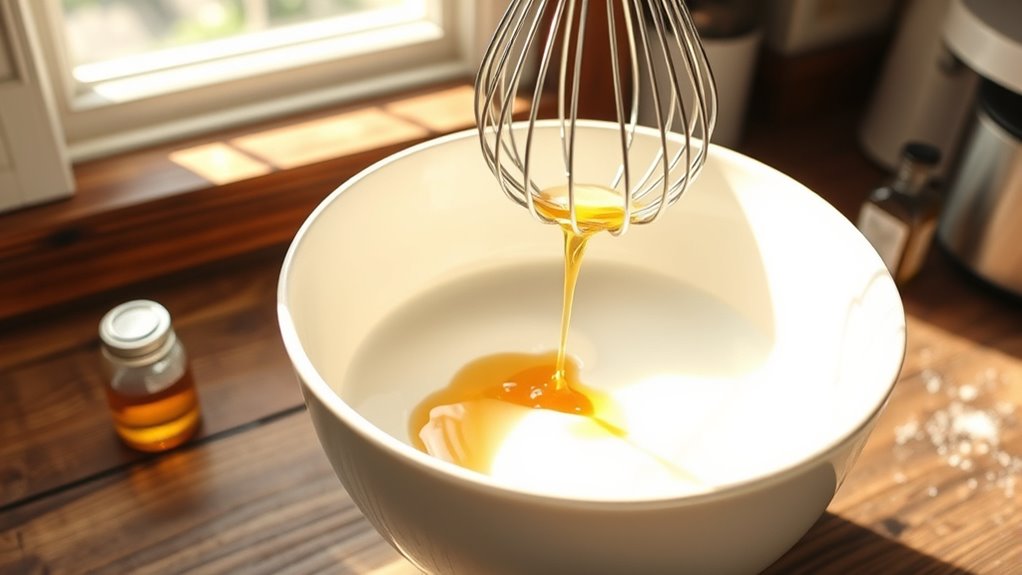
Once your coconut milk mixture is chilled, it’s time to blend in the sweetener thoroughly.
Start by choosing your preferred sweetener—whether it’s agave syrup, maple syrup, or sugar. Add it to the chilled mixture, and use a whisk or an immersion blender to combine them well.
Make sure the sweetener dissolves completely, ensuring a smooth and creamy texture in your ice cream. Taste the mixture, and adjust the sweetness if needed; you can always add a bit more sweetener if you like it sweeter.
Keep blending until you achieve a uniform consistency, with no granules left. This step is essential for a delightful final product, so don’t rush it—give it the attention it deserves!
Step 3. Freeze in Ice Cream Maker
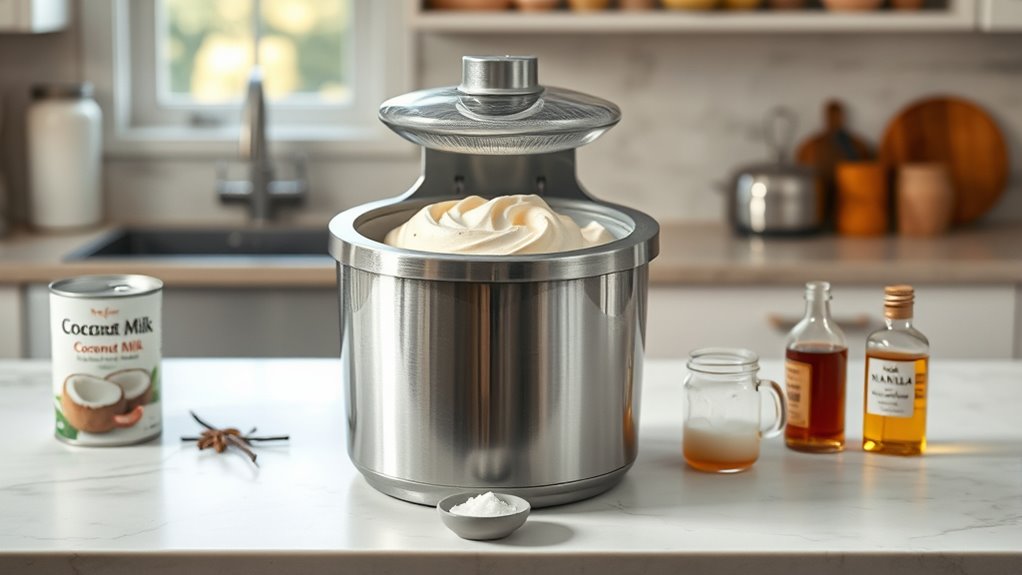
As you prepare to freeze your mixture, make sure your ice cream maker is ready to go.
If you haven’t already, chill the ice cream maker’s bowl in the freezer for at least 24 hours.
Once everything’s set, pour your blended coconut milk mixture into the ice cream maker.
Turn it on and let it churn according to the manufacturer’s instructions—usually around 20 to 30 minutes.
You’ll notice the mixture thickening and taking on a creamy texture.
Keep an eye on it; when it reaches a soft-serve consistency, it’s time to stop.
If you prefer a firmer texture, transfer the ice cream to an airtight container and freeze for a few hours before serving.
Enjoy your homemade treat!
Step 4. Add Flavorings and Mix

Before you start churning your coconut milk mixture, add flavorings to elevate your ice cream. You can use natural extracts like vanilla, almond, or coconut for a delicious base.
Consider adding cocoa powder for a chocolate twist or fresh fruit puree for a fruity flavor. If you want a little extra sweetness, stir in some maple syrup or agave nectar.
Don’t forget spices! A pinch of cinnamon or nutmeg can add warmth and depth. Once you’ve chosen your flavorings, mix them well into the coconut milk mixture until everything’s combined.
Taste it to see if you need to adjust the sweetness or add more flavor. This step is essential, as it sets the stage for a delightful ice cream experience!
Step 5. Serve and Enjoy Immediately
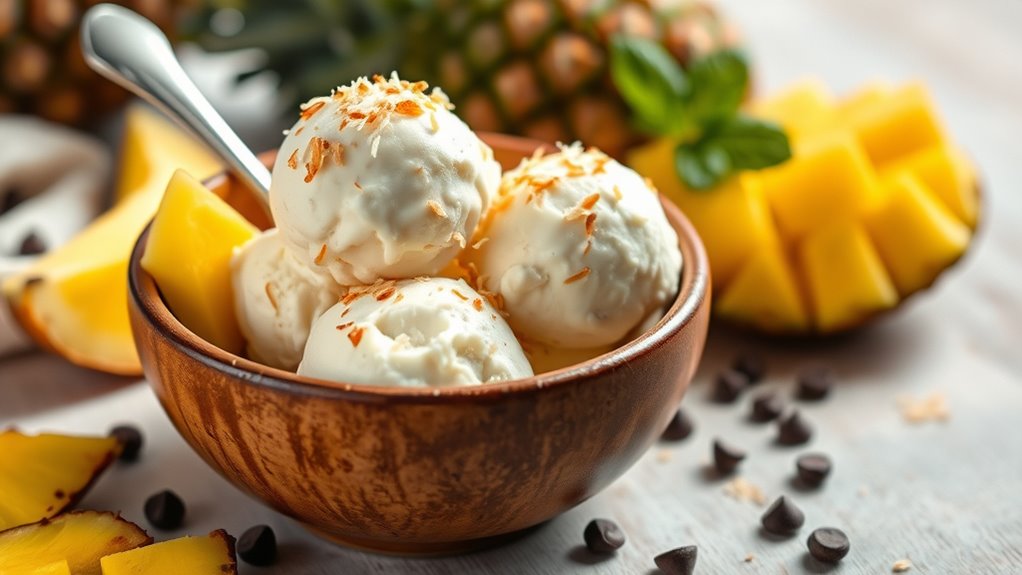
After churning your coconut milk ice cream mixture to a creamy consistency, it’s time to serve and indulge in your delicious creation.
Grab your favorite bowls or cones, and scoop generous portions of the ice cream. The creamy texture and rich coconut flavor will be hard to resist!
If you’d like, top it off with fresh fruit, chocolate sauce, or nuts to enhance the experience. Enjoy it right away for the best texture and flavor.
If you have leftovers, transfer the ice cream to an airtight container and store it in the freezer. Just remember, the longer it sits, the firmer it’ll become, so savor every moment of your delightful treat while it’s fresh!
Final Thoughts
While making coconut milk ice cream can seem intimidating at first, you’ll soon discover it’s a rewarding and delicious endeavor.
With just a few simple ingredients and some patience, you can create a creamy, dairy-free treat that satisfies your sweet tooth.
Don’t hesitate to experiment with flavors and mix-ins to personalize your ice cream; the possibilities are endless!
Remember, homemade ice cream is all about enjoying the process, so have fun with it.
Whether you share it with friends or savor it alone, you’ll appreciate the effort you put in.
So grab your ice cream maker, embrace your creativity, and indulge in the delightful world of coconut milk ice cream.
It’s sure to become a favorite in your dessert repertoire!
Frequently Asked Questions
Can I Use Sweetened Coconut Milk Instead of Unsweetened?
Absolutely, you can use sweetened coconut milk instead of unsweetened!
In fact, it’ll transform your dish into a sugary paradise that’ll make your taste buds dance with joy.
Just remember, sweetened coconut milk is like adding a spoonful of sunshine, so you might want to adjust the other sweeteners you’re using.
If you’re craving a sweeter flavor, go for it!
Your creation will be a delightful treat that everyone will love.
How Long Can Coconut Milk Ice Cream Be Stored?
You can store coconut milk ice cream for about two to three weeks in the freezer.
Make sure you keep it in an airtight container to prevent freezer burn and maintain its creamy texture.
If you notice any changes in flavor or texture, it’s best to discard it.
Always give it a quick stir before serving, as it may harden a bit.
Enjoy your treat while it’s fresh!
Is Coconut Milk Ice Cream Dairy-Free?
Imagine a world where creamy treats dance on your taste buds without a hint of dairy. That’s exactly what coconut milk ice cream offers! Yes, it’s dairy-free, making it a delightful option for those avoiding lactose.
Made from the rich, velvety goodness of coconut milk, it’s a blissful indulgence that won’t weigh you down. So, plunge into it and savor every spoonful, knowing you’re enjoying a dessert that’s kind to your tummy!
Can I Add Fruit to the Ice Cream Mixture?
Absolutely, you can add fruit to the ice cream mixture!
Chopped fruits like strawberries, bananas, or mangoes enhance the flavor and add a revitalizing twist. Just make sure to blend them well if you prefer a smooth texture or leave them chunkier for a more rustic feel.
You might want to adjust the sweetness based on the fruit’s natural sugar. Enjoy experimenting with different combinations to find your perfect mix!
What Is the Best Way to Serve Coconut Milk Ice Cream?
To serve your ice cream, scooping it into chilled bowls or cones keeps it from melting too quickly.
You can sprinkle fresh fruit, nuts, or chocolate chips on top for added flair. Drizzling a bit of honey or maple syrup enhances the sweetness, too.
If you want a more elegant presentation, use an ice cream scoop to create perfect rounds and garnish with mint leaves.
Enjoy it right away for the best experience!