To see if you’ve successfully tempered chocolate at home, dip a small spoon or parchment paper into your melted chocolate, then let it sit at room temperature. If it hardens quickly with a shiny, smooth finish, you’ve nailed it. Streaks or dull spots mean you need to reheat and re-seed. Keep practicing, and you’ll master perfect tempering—keep going to discover even more tips and tricks for glossy, professional results.
Key Takeaways
- Dip a spoon or parchment paper into the tempered chocolate and let it sit; it should harden quickly with a glossy finish.
- Properly tempered chocolate will set at room temperature without streaks or dull spots.
- The chocolate should develop a firm snap when broken or bitten into.
- If the chocolate remains dull or streaky, reheat gently and re-seed to improve tempering.
- Consistent results and a shiny, smooth surface indicate successful tempering at home.
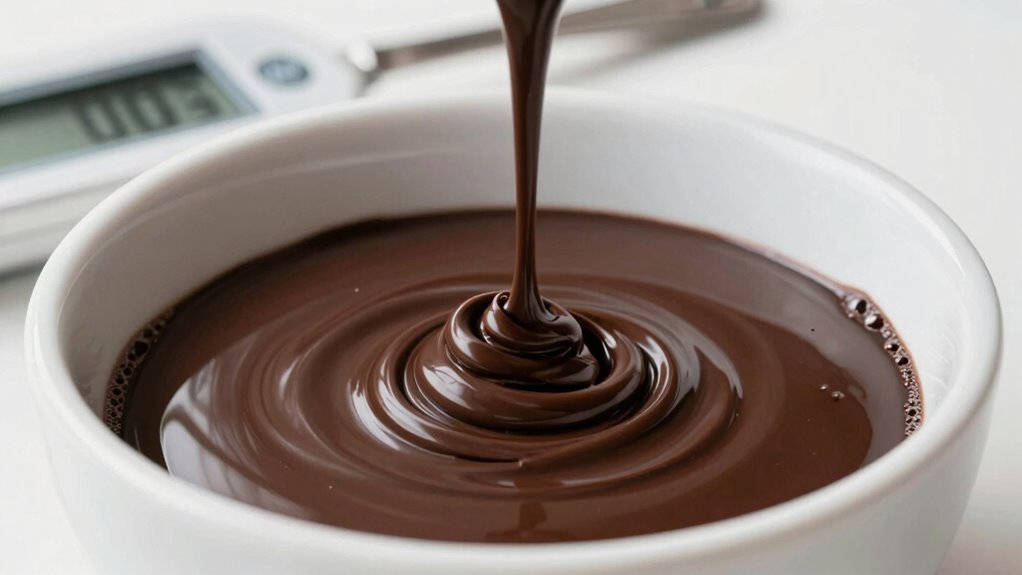
Tempering chocolate at home might seem tricky, but with the right techniques, you can achieve glossy, smooth results perfect for candies, coatings, or decorations. Mastering this process elevates your candy making and dessert decoration skills, giving your treats a professional look and texture. When you temper chocolate correctly, it develops a shiny finish and a firm snap that’s hard to beat with untempered chocolate. The key is to control the temperature carefully, ensuring the cocoa butter crystals form properly. While it might seem intimidating at first, understanding the basic steps and doing a simple test can boost your confidence and help you perfect your results.
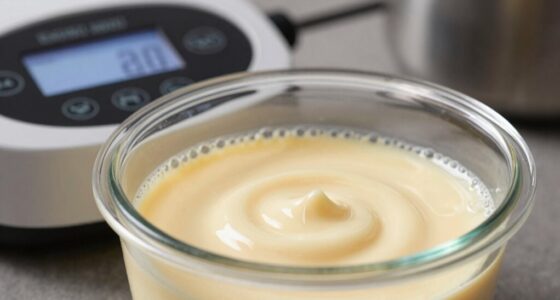
One of the easiest ways to confirm you’ve successfully tempered chocolate is the “seeding method.” After melting your chocolate and cooling it slightly, you add small pieces of unmelted chocolate (seeds) and stir until they melt completely. This process encourages the formation of the right type of cocoa butter crystals. Once the chocolate reaches the proper temperature range—about 88-90°F (31-32°C) for dark chocolate—you test its temper. Dip a small spoon or piece of parchment paper into the chocolate and let it sit at room temperature. If the chocolate hardens quickly with a glossy finish and without streaks or spots, you’ve nailed the temper.
Use the seeding method: add unmelted chocolate pieces to cooled melted chocolate and stir until smooth.
This simple test is invaluable for candy making and dessert decoration because it ensures your chocolates will set smoothly and shine beautifully. When you pour tempered chocolate into molds or use it to coat truffles and bonbons, a well-tempered batch will result in a professional look and satisfying texture. For cake decorators, tempered chocolate is fantastic for creating shiny plaques, delicate curls, or intricate designs that add a polished touch to your desserts. Achieving the perfect temper means your decorations won’t melt or lose their luster easily, making your presentation more impressive.
If your test shows dullness or streaks, don’t get discouraged. You can reheat the chocolate gently and repeat the seeding process or use a microwave or double boiler to bring it back to temperature. Patience is key—sometimes, a little more stirring or careful temperature control makes all the difference. Remember, the goal is to develop stable cocoa butter crystals, which give your chocolate that classic glossy appearance and firm texture. With practice, you’ll develop an eye for the right consistency and temperature, making the tempering process second nature.
Ultimately, that simple test is your best friend in the kitchen. It gives you instant feedback, allowing you to adjust as needed and ensure your chocolate is perfectly tempered for all your candy making and dessert decoration projects. Once you get the hang of it, you’ll enjoy creating beautifully finished confections that wow friends and family alike.
Frequently Asked Questions
Can I Temper Chocolate Without a Thermometer?
Yes, you can temper chocolate without a thermometer by using visual cues and your tempering tools. For dark chocolate, look for a glossy surface and a firm snap when broken. For milk and white chocolates, observe for a shiny appearance and smooth texture. Use a spatula and a cool surface to help control temperature. Practice and experience will help you develop a feel for the right temper, even without a thermometer.
How Do I Fix Over-Tempered Chocolate?
Fix over-tempered chocolate with finesse by gently reheating it, then quickly cooling it, practicing precise tempering techniques. This process helps regain the glossy, firm finish you desire. Over-tempering often results from common mistakes like overheating or uneven cooling, but don’t despair—stir consistently and re-temper if needed. With patience and proper techniques, you’ll transform troubled chocolate into tempting treats, turning tempering troubles into triumphs.
Is It Necessary to Use Specific Chocolate Brands?
You don’t need specific brands for perfect tempering, but quality chocolate makes a difference. Higher-quality chocolate usually has better cocoa content and fewer additives, which helps it temper more easily. When selecting a brand, look for couverture chocolate if possible, as it’s designed for melting and tempering. So, focus on good chocolate quality and choose reputable brands to guarantee smoother results and a glossy finish in your confections.
How Long Does Homemade Tempered Chocolate Last?
Your homemade tempered chocolate typically lasts about 2 to 3 weeks if stored properly. Keep it in an airtight container in a cool, dry place away from direct sunlight and humidity. Good storage conditions help preserve its glossy appearance and crisp snap. Avoid temperature fluctuations, which can cause blooming or spoilage. For best results, use within this period to enjoy the freshest, tastiest chocolate.
Can I Temper White or Milk Chocolate the Same Way?
Yes, you can temper white and milk chocolate the same way as dark chocolate. The process involves melting, cooling, and reheating to specific temperatures, which vary slightly for each type. White and milk chocolates have different cocoa butter content, so they require careful temperature control to achieve a glossy finish and good snap. Use a thermometer and follow the same tempering steps for the best results with both types.
Conclusion
Now that you know the easy test to check your tempered chocolate, you’re all set to create perfect confections at home. Did you know that properly tempered chocolate has a glossy finish and a satisfying snap, making it more appealing and delicious? About 80% of home bakers report improved results when they master tempering techniques. So keep practicing, trust your test, and enjoy the delicious rewards of your perfectly tempered chocolate!