To make homemade ice cream so good your friends won’t believe it’s from your kitchen, start with high-quality ingredients like fresh dairy and fruits. Properly temper and chill your custard before churning, and use an ice cream maker for a smooth, creamy texture. Add mix-ins near the end, and serve at the right time to avoid over-freezing. Store your ice cream properly and incorporate air for a light finish—keep these tips in mind, and you’ll master irresistible ice cream every time.
Key Takeaways
- Use high-quality dairy and fresh fruits to create rich, vibrant flavors that impress friends.
- Properly temper eggs and cook custard slowly for a smooth, creamy texture.
- Chill your mixture thoroughly in a metal bowl before churning for optimal creaminess.
- Ensure consistent churning with a well-maintained ice cream maker to achieve a light, airy finish.
- Add mix-ins at the end of churning to evenly distribute textures and enhance flavor complexity.
Use High-Quality Ingredients for Rich Flavor
Using high-quality ingredients is essential for creating a rich, flavorful homemade ice cream. Start with premium dairy, like whole milk and heavy cream, to guarantee a creamy, smooth texture. The better the dairy, the more luxurious your ice cream will taste. Incorporate fresh fruits for vibrant flavor and natural sweetness—choose ripe berries, mangoes, or peaches for the best results. Fresh fruits not only enhance flavor but also add appealing color and texture. Avoid using processed or artificial ingredients, as they can dull the overall taste. When you prioritize quality, your ice cream will have a depth of flavor that’s impossible to achieve with cheaper alternatives. Additionally, selecting high-quality ingredients supports better health and enhances the overall eco-friendly aspect of your homemade treats. The key is selecting the best ingredients you can find; it makes all the difference in the final product.
Incorporate Properly Tempered Eggs or Custard Base

Tempering eggs or your custard base guarantees a smooth, creamy ice cream without curdling. By gradually warming the mixture, you prevent the eggs from scrambling and create a uniform texture. This step also helps the flavors meld better, resulting in a richer, more cohesive treat. Incorporating proper temperature control during this process is essential to maintaining the desired consistency and preventing separation. Additionally, paying attention to thermal safety ensures that the mixture is heated to the correct temperature for both safety and optimal texture. Properly monitoring temperature is crucial for achieving the ideal ice cream texture and preventing overcooking. Using a kitchen thermometer can help you accurately gauge the temperature and avoid common pitfalls. Furthermore, understanding the contrast ratio of your equipment can help you better judge the quality of your homemade ice cream’s appearance and presentation.
Achieve Smooth Texture
Incorporating properly tempered eggs or a custard base is essential for achieving a smooth, creamy ice cream texture. When done correctly, you’ll notice a significant boost in texture smoothness and overall consistency. To guarantee this, gently heat your custard while stirring constantly, preventing curdling and promoting even heating. Use the table below to understand the key steps:
| Step | Tip | Result |
|---|---|---|
| Temper eggs | Gradually add hot liquid, stirring | Prevents curdling, smooth |
| Cook custard | Maintain low heat, stir constantly | Creamy consistency |
| Chill thoroughly | Refrigerate until fully cooled | Enhances texture smoothness |
Prevent Egg Curdling
To prevent egg curdling when making your custard base, it is vital to add hot liquid gradually while stirring constantly. This technique helps maintain custard stability and ensures proper egg emulsification, preventing the eggs from scrambling. By tempering the eggs, you allow them to gently adjust to the heat without curdling, resulting in a smooth, creamy texture. Proper brewing techniques also contribute to achieving the perfect consistency in your custard.
- Slowly pour hot milk or cream into the eggs, whisking constantly
- Keep the heat low during cooking to avoid sudden temperature changes
- Use a thermometer to monitor the custard’s temperature, ideally around 170°F (77°C)
- Strain the custard to remove any cooked egg bits for extra smoothness
Following these steps guarantees a silky custard base perfect for your homemade ice cream.
Enhance Flavor Integration
Once your custard base is smooth and silky, the next step is to guarantee that the flavors meld thoroughly, creating a harmonious taste in your ice cream. Properly incorporating ingredients through flavor pairing and ingredient layering enhances this process. Carefully choose complementary flavors—vanilla and caramel or berries and citrus—to ensure they blend seamlessly. When tempering eggs, do it gradually by adding small amounts of the hot custard to the eggs, then returning the mixture to the pan. This technique prevents curdling and promotes even flavor distribution. Temperature control is crucial during this step to prevent overheating and to ensure a smooth, creamy texture. Cookies can also be used to customize your ice cream’s texture and flavor profile. Additionally, ingredient layering allows you to build complex flavors and textures throughout the mixture. By layering ingredients thoughtfully and tempering properly, you ensure each spoonful delivers a balanced, integrated taste that’s richer and more satisfying. This approach elevates your homemade ice cream to a professional-quality treat.
Chill Your Mixture Thoroughly Before Freezing

Chilling your ice cream mixture thoroughly before freezing guarantees it develops the best texture and flavor. When you chill mixture to the proper pre freezing temperature, it allows the ingredients to meld and reduces ice crystal formation. This step ensures a smoother, creamier final product. To achieve ideal results, follow these tips:
- Use a metal bowl to speed up the chill process.
- Cover the mixture tightly to prevent ice crystals and absorb odors.
- Place it in the coldest part of your refrigerator.
- Let it chill for at least 4 hours or overnight for the best results.
- Incorporating vetted products like specialized ice cream makers can further enhance your homemade ice cream experience.
- Remember, patience during this step is key to a better texture and richer flavor in your homemade treat.
This extra step might take some time, but it’s worth it for that irresistibly creamy texture and well-developed flavor in your homemade ice cream.
Use an Ice Cream Maker for Creamy Texture

Using an ice cream maker helps you achieve a smooth, creamy texture by maintaining consistent churning power. Make certain to freeze your mixture properly and mix ingredients well for even distribution. These steps ensure your homemade ice cream turns out perfectly every time.
Consistent Churning Power
To achieve that irresistibly smooth and creamy texture, an ice cream maker’s consistent churning power is vital. When the churner operates steadily, it ensures even ice cream consistency and prevents ice crystals from forming. If your churning is uneven or slows down, your ice cream may turn out icy or grainy. Regular churner maintenance helps keep the motor running smoothly and maintains peak power. Additionally, paying attention to gear shifting during your machine’s operation can help maintain optimal performance and prevent unnecessary strain on the motor. Proper sound vibrations from the machine can also influence the effectiveness of the churning process. To maximize churning efficiency, keep these tips in mind:
- Ensure the motor isn’t overloaded with ingredients.
- Clean the paddle and bowl thoroughly after each use.
- Check for any buildup or ice on the motor housing.
- Use the machine on a flat, stable surface for steady operation.
- Using the correct glycolic acid concentration can improve skin texture, much like consistent churning enhances ice cream quality.
- Regularly inspecting and replacing worn parts can help maintain the machine’s performance and prolong its lifespan.
- Understanding divorce statistics can help set realistic expectations for your legal journey.
Proper Freezing Technique
Achieving a creamy, smooth ice cream texture depends heavily on proper freezing techniques. Once your ice cream mixture is churned, transfer it to a quality freezing container with a tight lid to prevent ice crystals. For best results, guarantee the ice cream reaches the ideal ice cream temperature of around 0°F (-18°C). Use a thermometer to monitor this, as uneven freezing can cause ice crystals and a gritty texture. Place the container in the coldest part of your freezer and avoid frequent opening, which can alter the temperature. For extra smoothness, consider covering the surface with plastic wrap before sealing the lid to prevent ice formation. Proper freezing technique ensures your homemade ice cream stays creamy and scoopable, impressing everyone with its texture. Additionally, understanding freezing techniques can help optimize your results and maintain the quality of your ice cream. Remember that antioxidants in fruits can also contribute to the overall health benefits of your homemade treats, so incorporating fruit-based ingredients can be a tasty way to boost nutrition. Using a HEPA filtration system in your kitchen can keep airborne particles and odors at bay, creating a cleaner environment for your culinary adventures. Properly controlling the freezing environment is essential for achieving that perfect texture, and exploring remote hackathons can inspire innovative approaches to your culinary projects by connecting you with global communities of food enthusiasts and tech innovators.
Optimal Ingredient Mixing
For your homemade ice cream to be irresistibly creamy, it is vital to mix the ingredients thoroughly before churning. Proper ingredient ratios ensure the right texture, while flavor balancing keeps each spoonful delicious. Use a high-quality ice cream maker to achieve smoothness and consistency. To optimize mixing, consider these tips:
- Measure ingredients precisely to maintain proper ratios
- Whisk dairy, sugar, and flavorings until fully combined
- Adjust sweetness and intensity for balanced flavor profiles
- Chill the mixture before churning to improve texture and creaminess
- Monitoring macronutrient ratios ensures the flavor and texture align with desired results. Additionally, understanding nutritional balance can help tailor the ice cream to specific dietary preferences or needs.
Ensuring ingredients are well mixed and ratios are correct makes a noticeable difference. This step lays the foundation for a luscious, homemade ice cream that rivals store-bought varieties. Proper mixing is your secret weapon for achieving that perfect, creamy consistency.
Add Mix-Ins at the Right Time

Adding mix-ins at the right time is essential to ensuring they stay evenly distributed and maintain their texture. The key is understanding the proper mix ins timing. You should add mix ins during the last few minutes of churning or once the ice cream is almost finished freezing. This prevents them from sinking, clumping, or losing their crunch. If you add mix ins too early, they may become mushy or unevenly spread throughout your ice cream. Conversely, waiting too long might prevent them from fully integrating. Keep an eye on your ice cream’s consistency, and gently fold in your desired mix ins just before the final freeze. This way, your homemade ice cream will have delightful, evenly dispersed add-ins with the perfect texture every time.
Experiment With Flavor Boosters and Extracts
Try boosting your ice cream’s flavor with unique add-ins like herbs, spices, or citrus zest to create interesting twists. Natural extracts such as vanilla, almond, or peppermint can enhance classic flavors or add depth to your recipes. Experimenting with these options lets you customize your ice cream to match your taste perfectly.
Enhance With Unique Add-Ins
Enhancing your homemade ice cream with unique add-ins can elevate its flavor profile and make each batch memorable. By experimenting with creative flavor combinations and unique add-in ideas, you can surprise your taste buds and impress friends. Think beyond traditional mix-ins and explore new textures and tastes. Incorporate ingredients that complement or contrast with your base flavors to create depth. Try mixing in unexpected elements to make your ice cream stand out.
Here are some ideas to inspire you:
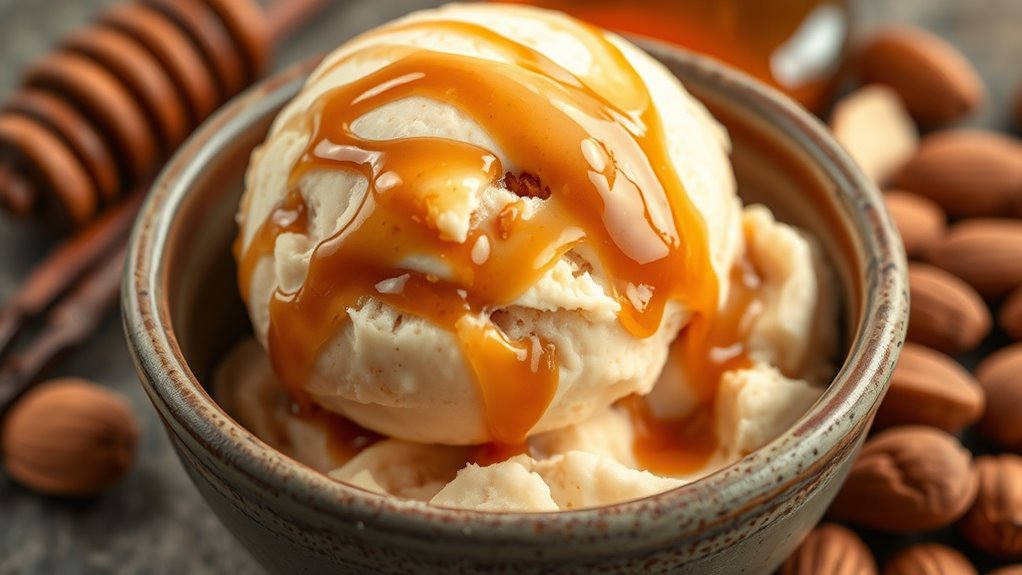
- Toasted coconut flakes for a crunch
- Swirls of caramel or fruit preserves
- Chopped candied ginger for a spicy kick
- Swirls of honey or balsamic reduction for richness
These add-ins help you craft truly distinctive, homemade ice cream.
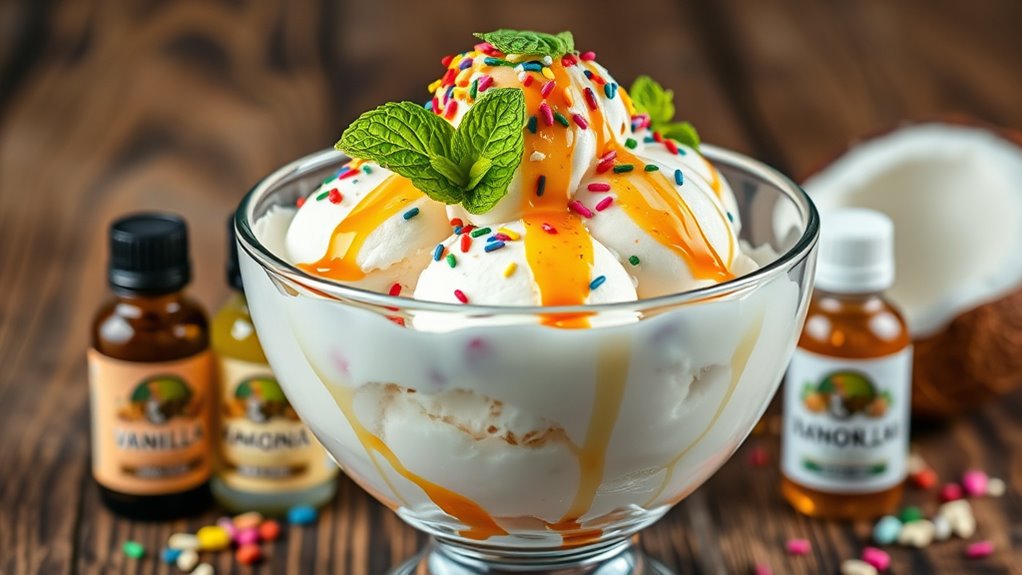
Use Natural Extracts
Natural extracts are a simple yet powerful way to amplify the flavor of your homemade ice cream without overpowering the base. Using natural flavorings, like vanilla, almond, or citrus, adds depth and richness. Botanical extracts, such as lavender or peppermint, provide unique, authentic tastes that elevate your creation. When experimenting, start with small amounts—too much can dominate the flavor. Quality matters; opt for pure extracts rather than artificial flavorings to ensure a natural, fresh taste. Incorporate these extracts during the last few minutes of mixing to preserve their aroma and potency. With a few drops of carefully chosen botanical extracts, you’ll create ice cream that’s bursting with flavor and impresses everyone with its homemade authenticity.
Avoid Over-Freezing by Serving at the Perfect Time

To prevent your homemade ice cream from becoming too hard and difficult to scoop, it’s important to serve it at the right moment. Proper timing ensures ideal serving temperature and maintains the ideal texture. Don’t leave it in the freezer too long, as over-freezing can make it rock-solid. Instead, plan to take it out about 5-10 minutes before serving, allowing it to soften slightly. Keep in mind your storage methods—store your ice cream in an airtight container at the back of the freezer to prevent freezer burn.
- Check the consistency by nudging the container before serving
- Let it sit at room temperature for a few minutes
- Avoid frequent opening of the freezer
- Use a pre-warmed scoop for easier serving
Stabilize Your Ice Cream for Better Texture

Adding stabilizers to your homemade ice cream can considerably improve its texture by preventing ice crystal formation and ensuring it stays smooth and creamy. Stabilizer options include gelatin, cornstarch, or commercial stabilizers like guar gum or carrageenan. These ingredients help lock in moisture and slow down ice crystal growth during freezing. To maximize texture improvement techniques, dissolve stabilizers thoroughly before mixing, and add them early in the process for even distribution. Using stabilizers reduces ice graininess and creates a silkier mouthfeel, especially if you plan to store your ice cream for a while. Experiment with small batches to find the right stabilizer options that work best for your recipe, ensuring your homemade ice cream remains consistently smooth and delicious.
Incorporate Air for a Light and Fluffy Finish

Incorporating air into your homemade ice cream is essential for achieving a light and fluffy texture. Proper air incorporation creates a smooth, airy mouthfeel, making your ice cream irresistibly creamy. To do this effectively, focus on foam stabilization during churning, which traps air without collapsing. This step prevents your ice cream from becoming dense or icy.
Here are some tips:
- Use a chilled bowl and paddle to improve air incorporation.
- Churn at a steady speed to generate consistent foam stability.
- Add a small amount of alcohol or sugar to help trap air.
- Avoid overmixing, which can deflate the foam and reduce fluffiness.
Mastering foam stabilization guarantees your ice cream has the perfect airy finish, impressing everyone with its homemade quality.
Store Properly to Maintain Freshness and Texture

Proper storage is key to keeping your homemade ice cream fresh and maintaining its ideal texture. Use airtight containers to prevent freezer burn and minimize ice crystal formation. Choose containers with a tight seal and durable material, like plastic or glass, to lock in flavor. For the best results, place a layer of plastic wrap directly on the ice cream surface before sealing to prevent ice crystals. Store your ice cream in the coldest part of the freezer, away from door openings, to avoid temperature fluctuations. Here’s a quick guide to container choices:
| Container Type | Storage Tips |
|---|---|
| Plastic tubs | Airtight, easy to scoop |
| Glass jars | Seal tightly, avoid cracks |
| Silicone molds | Ideal for small portions |
| Freezer bags | Remove excess air, flatten |
This will keep your ice cream fresh and scoopable whenever you want a treat.
Frequently Asked Questions
How Can I Make Dairy-Free Ice Cream Taste Just as Rich?
To make dairy-free ice cream taste just as rich, you should explore dairy-free alternatives like coconut milk, cashew cream, or full-fat almond milk. These options add natural creaminess, enhancing the texture and flavor. For a rich flavor boost, consider adding coconut oil, nut butters, or a splash of vanilla extract. Blending these ingredients thoroughly guarantees your dairy-free ice cream achieves a decadent, indulgent taste your friends won’t believe is homemade.
What Are Some Creative Flavor Combinations to Try at Home?
Did you know that experimenting with flavor combinations can boost your ice cream creativity by 60%? Try mixing unexpected fruit pairings like mango and blueberry or banana and strawberry for vibrant, invigorating tastes. Spice infusions, such as cinnamon or cardamom, add warmth and complexity. Don’t hesitate to get inventive—these unique combos will surprise your taste buds and impress your friends with your homemade mastery.
How Do I Prevent Ice Crystals From Forming in Homemade Ice Cream?
To prevent ice crystals in your homemade ice cream, focus on proper chilling techniques and container storage. Make sure you churn your mixture thoroughly to break up ice crystals. After that, transfer it to an airtight container and store it in the coldest part of your freezer. Wrapping the container with plastic wrap before sealing also helps, keeping air out and maintaining a smooth, creamy texture.
Can I Make Ice Cream Without an Ice Cream Maker?
Absolutely, you can make ice cream without an ice cream maker using no churn techniques. Simply mix your ingredients, then pour the mixture into a freezer-safe container. Every 30-60 minutes, stir vigorously to break up ice crystals—this acts as an ice cream maker alternative. Keep doing this until the ice cream firms up. This method yields creamy results without special equipment, perfect for quick, delicious homemade ice cream.
What Are the Best Toppings to Enhance Homemade Ice Cream?
You can really elevate your homemade ice cream with the right toppings. Fruit toppings like fresh berries, sliced bananas, or chopped mango add natural sweetness and vibrant flavor. Crunchy add-ons such as crushed cookies, nuts, or granola give delightful texture contrasts. Mix and match these toppings to create a personalized treat that impresses your friends and makes each scoop more delicious and visually appealing.
Conclusion
Now that you know these insider tips, your homemade ice cream will be unbeatable. With just a few simple steps, you can create flavors so rich and creamy, your friends will never believe it’s made at home. But the real secret lies in your hands—are you ready to master the perfect scoop? Keep experimenting and perfecting your technique, and soon, you’ll have a frozen masterpiece that keeps everyone coming back for more.