
You can make a delicious rice milk ice cream that’s both creamy and dairy-free! Start with 2 cups of rice milk, 1 cup of sugar, a teaspoon of vanilla extract, and a tablespoon of cornstarch mixed with water. Combine the ingredients and chill the mixture before freezing it in an ice cream maker. Feel free to get creative with mix-ins like fruits or nuts. There’s so much more you can explore to perfect your recipe!
Key Takeaways
- Combine 2 cups of rice milk, 1 cup of sugar, 1 teaspoon of vanilla extract, and a pinch of salt in a mixing bowl.
- Mix 1 tablespoon of cornstarch with 1/4 cup of water, then add it to the rice milk mixture for thickening.
- Chill the combined mixture in the refrigerator before freezing to enhance creaminess.
- Freeze the mixture in an ice cream maker, churning until you achieve the desired consistency.
- Serve with garnishes like fresh fruits or nuts, and enjoy the dairy-free treat!
History
Although rice milk has been around for centuries, its rise to popularity as a dairy alternative really took off in the late 20th century. You might be surprised to learn that this creamy beverage has roots in Asian cultures, where it’s been enjoyed for generations.
As people began seeking lactose-free options and reducing dairy consumption, rice milk emerged as a versatile substitute. Its mild flavor and smooth texture made it appealing for various recipes.
The health-conscious movement further fueled its growth, with many touting its benefits, including being low in fat and cholesterol-free.
Today, you can find rice milk in supermarkets, cafes, and even ice cream shops, reflecting its transformation from a niche product to a mainstream favorite.
Recipe
Rice milk ice cream is a delightful dairy-free alternative that isn’t only creamy but also bursting with flavor. Ideal for those who are lactose intolerant, vegan, or simply looking to try something new, this recipe offers a deliciously smooth texture and a revitalizing taste.
Discover the creamy, flavorful delight of rice milk ice cream—a perfect dairy-free treat for everyone to enjoy!
With just a few simple ingredients, you can create a homemade treat that’s sure to impress family and friends alike. Making rice milk ice cream at home allows you to customize it to your liking, whether you want to incorporate chocolate, vanilla, or fruity flavors.
The process is straightforward and requires minimal equipment. Once you’ve mastered the base recipe, feel free to experiment with add-ins like nuts, fruit, or even swirls of caramel or chocolate sauce for added indulgence.
Ingredients:
- 2 cups rice milk
- 1 cup sugar
- 1 teaspoon vanilla extract
- 1 tablespoon cornstarch
- 1/4 cup water
- Pinch of salt
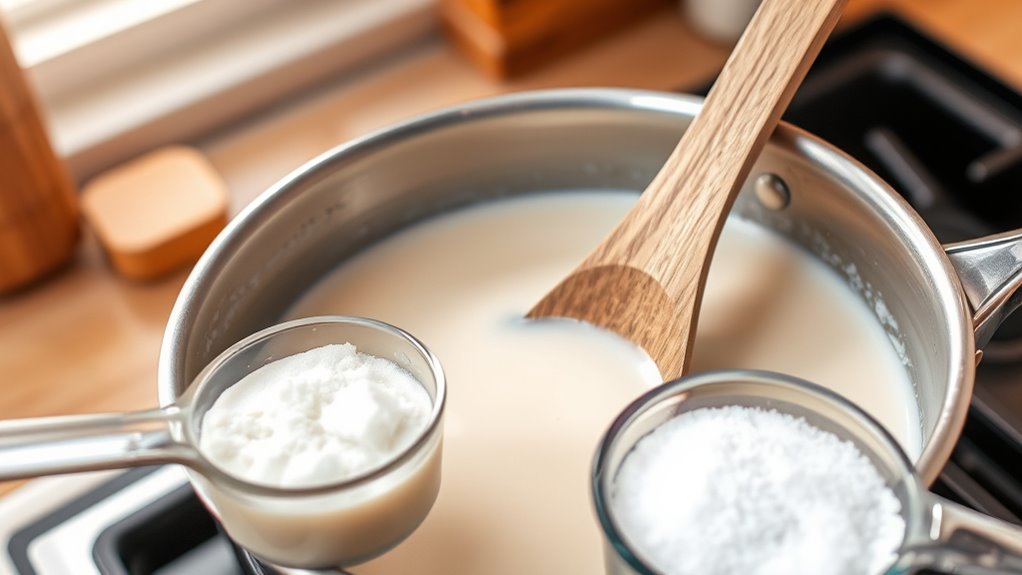
To prepare the rice milk ice cream, start by combining the rice milk, sugar, and salt in a saucepan over medium heat. In a small bowl, mix the cornstarch and water to create a slurry, and once the rice milk mixture is warm, whisk in the cornstarch slurry.
Continue to heat the mixture, stirring constantly until it thickens slightly, about 5-7 minutes. Remove from heat and stir in the vanilla extract. Allow the mixture to cool completely, then transfer it to an ice cream maker and churn according to the manufacturer’s instructions until it reaches a soft-serve consistency.
Transfer the ice cream to an airtight container and freeze for at least 4 hours or until firm. For the best results, make sure your ice cream maker’s bowl is thoroughly chilled before starting the churning process.
If you don’t have an ice cream maker, you can still enjoy this treat by pouring the mixture into a shallow dish and freezing it. Stir every 30 minutes for the first 2-3 hours to create a smoother texture.
Additionally, feel free to experiment with different flavors by adding cocoa powder for chocolate ice cream or fresh fruit puree for a fruity twist. Enjoy your homemade rice milk ice cream!
Cooking Steps
To make your rice milk ice cream, you’ll start by soaking the rice overnight.
Once it’s ready, blend the soaked rice smoothly and add your choice of sweetener to the mixture.
After chilling, it’s time to churn it in your ice cream maker for a delicious treat!
Step 1. Soak Rice Overnight
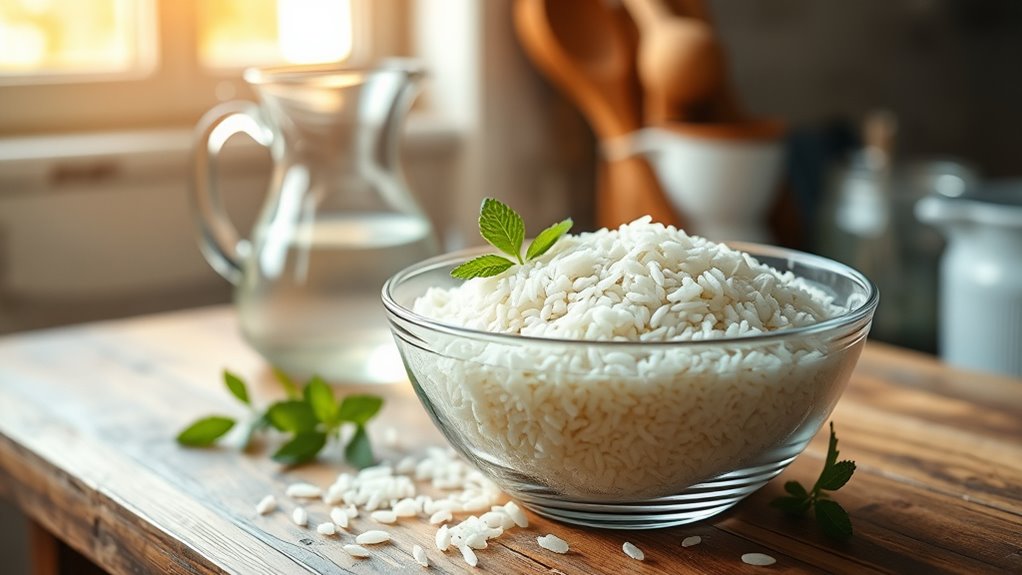
Soaking the rice overnight is an essential step that sets the foundation for your rice milk ice cream.
Start by measuring out your desired amount of rice; typically, one cup is a good choice. Rinse the rice under cold water to remove any impurities and excess starch.
Once it’s clean, place the rice in a bowl and cover it with plenty of water. Make certain the water level is at least two inches above the rice, as it will absorb a lot of moisture.
Let it sit at room temperature for about eight hours or overnight. This soaking process softens the rice, making it easier to blend later, and guarantees you’ll achieve the creamy texture you want in your ice cream.
Step 2. Blend Soaked Rice Smoothly

Once the rice has soaked, you can easily blend it into a smooth mixture.
Start by draining the soaked rice and rinsing it under cold water. This helps remove any excess starch, ensuring a creamier texture.
Next, add the rice to a high-speed blender along with fresh water. The ratio is usually about one cup of rice to four cups of water, but you can adjust this based on your desired consistency.
Blend on high until the mixture is silky and smooth, which usually takes about one to two minutes. You might need to stop occasionally to scrape down the sides, ensuring everything gets well incorporated.
Once it’s blended, you’re ready to move on to the next step!
Step 3. Add Sweetener to Mixture
As you prepare the smooth rice mixture, adding sweetener is crucial for enhancing the flavor of your ice cream. You can choose between agave syrup, maple syrup, or even cane sugar, depending on your preference.
Start by gradually incorporating your chosen sweetener into the mixture, tasting as you go to ascertain it meets your desired sweetness level. Remember, some sweeteners are more concentrated than others, so adjust accordingly.
Mix thoroughly until the sweetener dissolves completely, blending it seamlessly with the rice mixture. If you want to add a touch of flavor, consider including vanilla extract or a pinch of salt to balance the sweetness.
Once you’re satisfied with the taste, your mixture will be ready for the next step.
Step 4. Chill Mixture Before Freezing
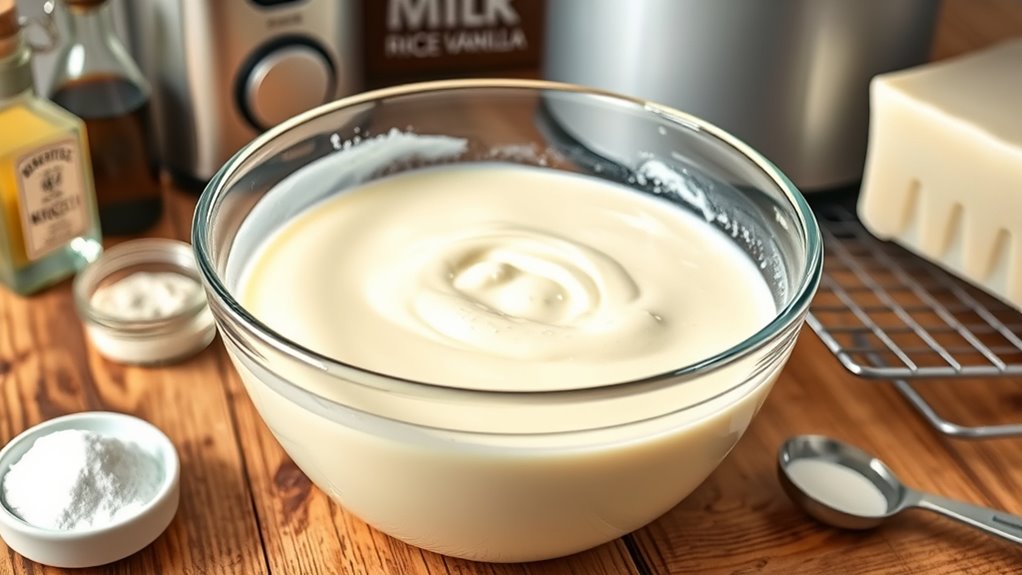
To guarantee your rice milk ice cream achieves the perfect creamy texture, chilling the mixture before freezing is essential.
After you’ve combined your ingredients, pour the mixture into a bowl or container. Cover it tightly with plastic wrap or a lid to prevent any unwanted odors from seeping in.
Place it in the refrigerator for at least 2 hours, or until it’s thoroughly chilled. This step not only enhances the flavor but also makes certain a smoother consistency once you start freezing.
If you can, let it chill overnight for the best results. Remember, the colder the mixture, the better the outcome.
Once it’s nice and chilled, you’re ready to move on to the next step in creating your delicious ice cream!
Step 5. Churn in Ice Cream Maker
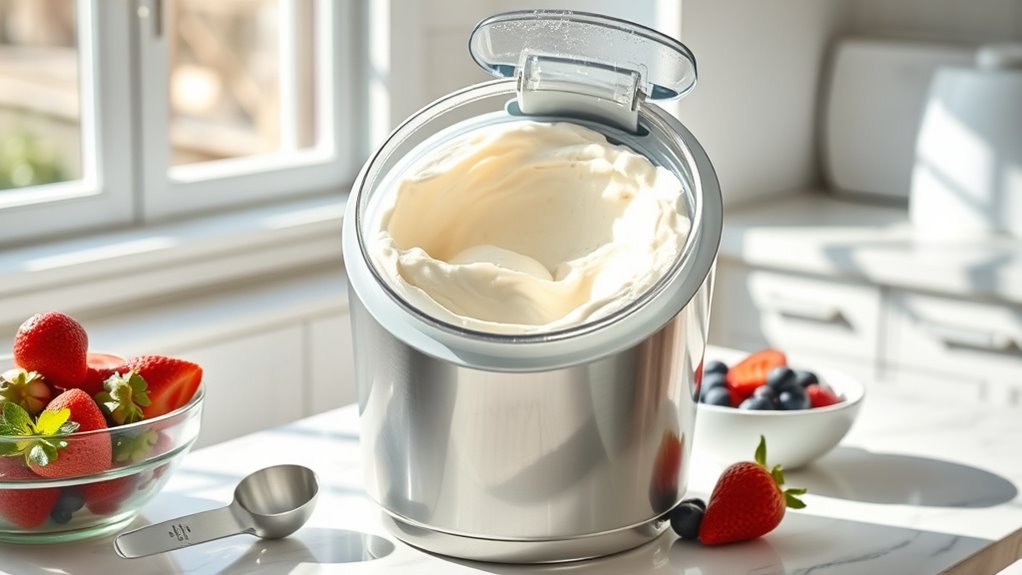
Now that your mixture is chilled, it’s time to churn it in the ice cream maker.
Pour the chilled mixture into the ice cream maker’s bowl, making sure not to exceed the maximum fill line. Turn on the machine and let it churn for about 20 to 30 minutes, or until the ice cream reaches a soft, creamy consistency. The average ice cream consumption per person in the U.S. is about 23 pounds annually, showcasing the popularity of this treat.
Keep an eye on it; the mixture will thicken as it churns. If you want to mix in any add-ins like chocolate chips or nuts, do so during the last few minutes of churning. To achieve a creamy texture, ensure you follow the churning process correctly for the best results.
Once it’s done, transfer the ice cream to an airtight container and freeze it for at least four hours to firm up before serving.
Enjoy your homemade treat!
Final Thoughts
While experimenting with a homemade rice milk ice cream recipe can be a fun culinary adventure, the end result is truly rewarding.
You’ll enjoy a creamy, delicious treat that caters to your dietary preferences, all while knowing exactly what goes into it. Plus, making your own ice cream lets you customize flavors and sweetness levels to your liking.
Remember, the key is to have patience during the freezing and churning process. Don’t hesitate to tweak the recipe as you go, experimenting with mix-ins or alternative sweeteners.
Share your creation with friends and family, and watch their faces light up. You might just inspire them to try making their own!
Frequently Asked Questions
Is Rice Milk Ice Cream Suitable for Vegans?
Is rice milk ice cream suitable for vegans? Absolutely!
It’s as vegan-friendly as a sunflower in a field of daisies. Made from rice milk, it contains no dairy, eggs, or animal products, making it a perfect choice for your plant-based lifestyle.
You’ll enjoy its creamy texture and delightful flavors without compromising your values.
Can I Use Sweetened Rice Milk Instead?
Yes, you can use sweetened rice milk instead! It’ll add a nice touch of sweetness to your ice cream, enhancing the flavor.
Just keep in mind that it might affect the overall sweetness level, so you may want to adjust any additional sweeteners in your recipe.
Experimenting with sweetened rice milk can lead to a deliciously creamy treat that you’ll enjoy.
Have fun and enjoy the process of making your ice cream!
How Long Does Rice Milk Ice Cream Last in the Freezer?
Rice milk ice cream can last in the freezer for about 2 to 3 months.
To keep it fresh, make sure to store it in an airtight container.
You’ll want to check for any ice crystals or changes in texture before serving, as these can affect the quality.
If it starts to taste off or has freezer burn, it’s best to toss it.
Enjoy your ice cream while it’s at its best!
Can I Add Toppings to Rice Milk Ice Cream?
Absolutely, you can add toppings to your rice milk ice cream!
Think about your favorite flavors and textures. You could sprinkle nuts, drizzle chocolate syrup, or add fresh fruits for a burst of flavor.
Don’t forget about coconut flakes or granola for some extra crunch. Just make sure the toppings complement the creamy texture of the ice cream.
Get creative and make it uniquely yours—you’ll love the added dimension they bring!
Is Rice Milk Ice Cream Gluten-Free?
Absolutely, rice milk ice cream is a gluten-free option!
If you’re looking for a delightful dairy-free dessert, you can indulge without worries. Most brands use rice milk as their base, ensuring it’s safe for those with gluten sensitivities.
Just double-check the label, as some may include additives or flavors that could contain gluten.