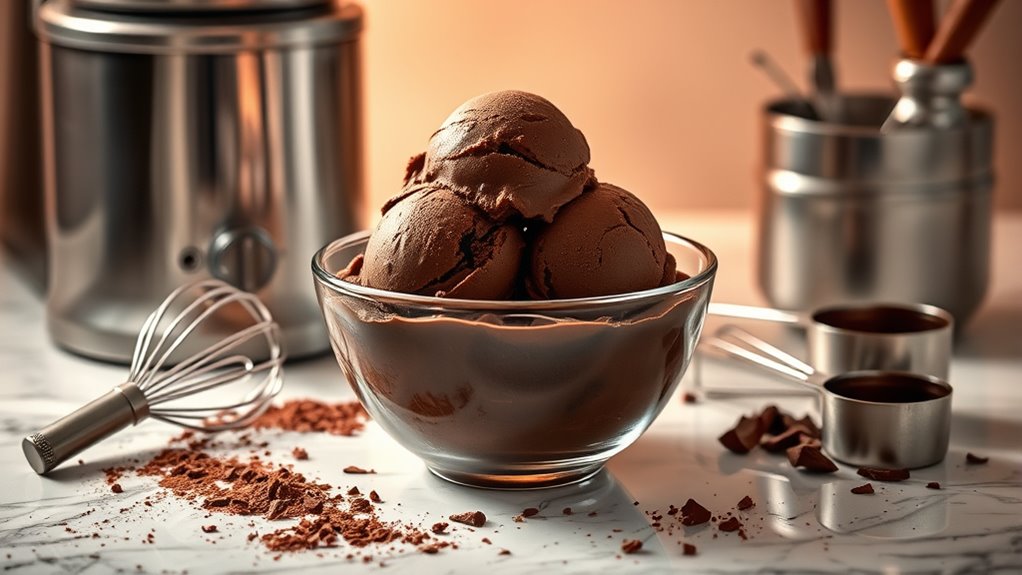
To make the perfect chocolate ice cream, whisk together egg yolks until pale, then temper them with warm milk. In a saucepan, combine whole milk, heavy cream, cocoa powder, melted chocolate, sugar, and a pinch of salt. Simmer until thickened, cool it down, and chill in the fridge. Finally, churn in an ice cream maker until soft-serve consistency. Add your favorite mix-ins for a twist. Keep exploring for more tips and delicious variations!
Key Takeaways
- Combine whole milk, heavy cream, sugar, cocoa powder, and melted chocolate for a rich chocolate base.
- Whisk egg yolks until fluffy, temper with warm milk, then mix into the chocolate mixture.
- Simmer the mixture until it thickens, coating the back of a spatula, then cool to room temperature.
- Chill the mixture in the refrigerator before churning in an ice cream maker to achieve a creamy texture.
- Customize flavors by adding extracts, fruits, or nuts for unique variations in your chocolate ice cream.
Ingredients for Chocolate Ice Cream

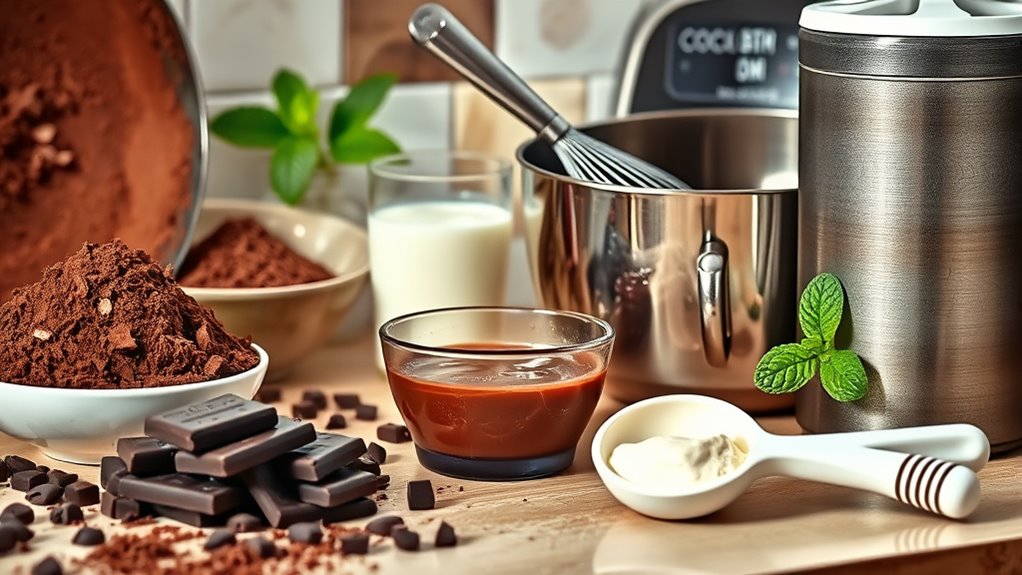
When you’re ready to make delicious chocolate ice cream, gathering the right ingredients is essential for achieving the perfect flavor and texture.
Start with whole milk and heavy cream for that rich, creamy base. You’ll need granulated sugar or sweetened condensed milk to balance the sweetness. Don’t forget unsweetened cocoa powder for that deep chocolate flavor, and a splash of vanilla extract to enhance everything. For an even richer experience, consider dark or semisweet chocolate, or try milk chocolate for a sweeter tone. Additionally, using high-quality chocolate can elevate your treat to a guilt-free dessert choice that satisfies cravings without excessive calories. Incorporating chia seeds into the recipe can boost the nutritional profile and add a unique texture. To achieve a creamy texture, consider using a custard base technique similar to that used in ice cream recipes. It’s worth noting that cocoa contains approximately 15 mg of caffeine per ounce, which can add a subtle energy boost to your dessert. The use of espresso beans can also enhance the chocolate flavor, adding depth and richness to the ice cream.
If you’re feeling adventurous, add egg yolks for creaminess, a pinch of salt for depth, or corn syrup to improve smoothness. This recipe is ideal for chocolate lovers, making it a must-try for anyone who enjoys homemade desserts.
With these ingredients, you’re on your way to a delightful treat!
Equipment Needed
To create the perfect chocolate ice cream, you’ll need a few key pieces of equipment that guarantee a smooth and creamy result.
An ice cream maker is essential; consider models like the Cuisinart for beginners or the KitchenAid attachment for convenience. A saucepan is necessary for heating your custard base, while a fine mesh strainer will help you achieve that silky texture by removing any egg residue. Additionally, having a freezer-friendly container is crucial for storing your ice cream once it’s churned. For achieving the best results, ensure your ingredients are fresh, as this can significantly enhance the flavor of your ice cream. Moreover, using a high contrast ratio in your ice cream maker can help ensure even mixing and a better texture. Regular maintenance of your kitchen appliances can also extend their lifespan, ensuring they perform optimally while you create your delicious treat. Choosing a high-quality butter can elevate your ice cream’s richness and flavor profile. Furthermore, selecting an ice cream maker with HEPA filters can improve the air quality in your kitchen while you work.
An ice cream maker is a must-have for creamy results; add a saucepan and fine mesh strainer for the perfect texture.
Don’t forget a whisk for mixing and a glass batter bowl for cooling the mixture. Measuring cups and spoons assure precise ingredient amounts, and a loaf pan or container is ideal for freezing the final product.
With this equipment, you’re well on your way to delicious homemade chocolate ice cream!
Preparation Steps
With your equipment ready, it’s time to start the preparation steps for your chocolate ice cream.
Begin by whisking egg yolks until they’re pale and fluffy. Gradually temper these with warm milk to prevent scrambling.
In a saucepan, combine milk and heavy cream, then bring it to a boil for even flavor extraction. Add cocoa powder, melted chocolate, sugar, and a pinch of salt, stirring until well combined. To enhance the creaminess, consider incorporating milk powder into the mixture for added depth. The fat content in butter production plays a crucial role in achieving a rich texture. Additionally, using essential oils can elevate the flavor profile and provide unique aromatic experiences. For a decadent twist, you might also consider adding Cheesy Polenta for a creamy, savory contrast. Providing a balanced diet is essential, similar to how proper diet is vital for pet care. Keeping track of your ingredients and expenses is important for maintaining a proper budget.
Simmer to thicken, ensuring it coats the back of a spatula. Cool the mixture to room temperature, then chill it in the refrigerator.
Once chilled, churn in your ice cream maker for 20 to 40 minutes until it reaches a soft-serve consistency.
Transfer to an airtight container and freeze for a few hours to harden.
Variations and Tips

While you’ve mastered the basics of chocolate ice cream, experimenting with variations can elevate your creation to new heights.
Try adding extracts like peppermint or coffee for a classic twist. Combine your ice cream with fruits such as cherries or raspberries for a delightful contrast. For a satisfying crunch, incorporate nuts like almonds or pecans. A playful marshmallow swirl or cookie dough mix-ins can add fun textures. You might also consider adding chocolate chips for an extra layer of indulgence. Including whole foods in your ice cream mix-ins can enhance both flavor and nutrition. Freshly squeezed juices, like orange juice, can also add a unique twist to your ice cream, providing a refreshing burst of citrus flavor. Additionally, using plant-based ingredients in your ice cream can cater to those with dietary preferences. Incorporating nutritional benefits can also make your ice cream a more wholesome treat.
If you’re looking for no-churn options, use sweetened condensed milk for creaminess and consider adding espresso powder to deepen the flavor. Additionally, remember that this ice cream is quick to prepare, making it easier to try out new variations.
Finally, don’t shy away from innovative flavors like Mexican chocolate with cinnamon or chocolate orange with zest. Each variation makes your ice cream uniquely yours!
Serving and Presentation

Serving and presenting your chocolate ice cream can transform a simple treat into a show-stopping dessert. Start by choosing attractive plates that complement your creation, whether they’re plain or patterned. Use high-quality scoops for perfect portions, and consider layering your ice cream in parfaits or cakes for added visual appeal. Garnish with fresh fruits, nuts, or chocolate shavings to introduce color and texture. Incorporating whimsical edible decorations can elevate your presentation and make it even more enticing. Keeping in mind the current trend of sustainable fashion can also inspire your choice of eco-friendly serving ware. Additionally, serving your dessert alongside a refreshing drink from a water park hotel can enhance the overall experience. Keep the presentation clean and uncluttered, allowing the flavors to shine. You might even set up a topping bar with various candies for a fun, interactive experience. A light and healthy alternative like Chicken Lettuce Wraps can complement your dessert menu beautifully. Incorporating seasonal themes adds variety and excitement, making every scoop a delightful surprise for your guests. Enjoy the process of creating stunning displays!
Frequently Asked Questions
Can I Use Non-Dairy Milk Instead of Whole Milk?
Absolutely, you can use non-dairy milk instead of whole milk! Almond, oat, or coconut milk all work well, each adding different flavors and textures.
Just keep in mind that the richness and creaminess might vary slightly. If you want a creamier result, opt for coconut milk or add a thickener like xanthan gum.
Experimenting with various non-dairy milks lets you find the perfect balance for your taste. Enjoy your delicious dairy-free creation!
How Long Does Homemade Ice Cream Last in the Freezer?
Homemade ice cream typically lasts about 2 to 4 weeks when stored properly in an airtight container.
To maximize its shelf life, keep it at a consistent freezer temperature below 0°F (-18°C).
Avoid frequent thawing and refreezing, as this can lead to ice crystals and texture changes.
For the best flavor and texture, try to enjoy your ice cream within two weeks of making it.
What Can I Do if My Ice Cream Is Too Hard?
If your ice cream’s as hard as a winter’s night, don’t despair! You can soften it with a few clever tricks.
Try microwaving it in short bursts or letting it sit at room temperature for a bit. A warm knife can help you score it for easier scooping.
If you’re feeling adventurous, whip it in a mixer to introduce some airy lightness.
With these methods, you’ll soon savor that creamy delight!
Is It Necessary to Use Egg Yolks in the Recipe?
No, it isn’t necessary to use egg yolks in your ice cream recipe.
While they enhance creaminess and stability, you can achieve great results without them. Alternatives like cream cheese, gelatin, or even vegan options like agar agar can help maintain texture and richness.
If you prefer a lighter flavor, feel free to skip the yolks and experiment with different stabilizers to find what works best for you!
How Can I Make My Ice Cream Extra Creamy?
Making your ice cream extra creamy is like crafting a velvety cloud.
Start with heavy cream and egg yolks for richness, then cook the mixture until thickened. Fast freeze your base to minimize ice crystals and churn it well for aeration.
Consider adding milk powder or xanthan gum for an extra smooth texture.
Store in airtight containers, and let it soften a bit before serving to enhance that creamy delight.
Enjoy!
Conclusion
As you savor your delightful creation, let the rich, creamy essence of your homemade chocolate ice cream dance on your palate. You’ve crafted a sweet escape, a moment of bliss that whispers indulgence. With each spoonful, you’re not just enjoying dessert; you’re embracing a little slice of happiness. So, go ahead and share this joy with loved ones or keep it all to yourself—after all, you’ve earned this heavenly treat. Enjoy every luscious bite!