
To make classic vanilla ice cream, whisk together 2 cups of heavy cream, 1 cup of whole milk, 3/4 cup of sugar, and 1 tablespoon of vanilla extract until smooth. Chill the mixture for 2 to 4 hours, then pour it into an ice cream maker and churn until it reaches soft-serve consistency. Freeze the churned ice cream for at least 4 hours to firm it up. Keep going, and you’ll discover some handy tips for perfecting your treat!
Key Takeaways
- Combine 2 cups heavy cream, 1 cup whole milk, and 3/4 cup sugar in a bowl, whisking until smooth and sugar dissolves.
- Add 1 tablespoon pure vanilla extract and mix thoroughly; temper and incorporate egg yolks if desired for richness.
- Chill the mixture in the refrigerator for 2 to 4 hours or overnight for the best texture before churning.
- Pour the chilled mixture into an ice cream maker and churn until it reaches soft-serve consistency, then transfer to a container.
- Freeze the churned ice cream for at least 4 hours until firm, and enjoy within a week for optimal freshness.
History
When you think about ice cream, it’s fascinating to realize that its roots trace back thousands of years. Ancient civilizations like the Chinese and Romans enjoyed frozen desserts made from snow and flavored with fruits and honey.
By the 16th century, ice cream began to evolve in Europe, where cream and sugar were added to create a richer treat. The popularity of ice cream skyrocketed in the 18th century, especially in England and France, as new techniques emerged.
In the 16th century, ice cream transformed in Europe, gaining richness with cream and sugar, leading to its 18th-century boom.
When you think about it, the invention of the hand-cranked ice cream maker in the 19th century made this delightful dessert accessible to many. This evolution reflects key domains of development in culinary practices, showcasing how cultural influences shape food traditions.
Today, vanilla ice cream stands as a classic favorite, embodying centuries of culinary evolution and creativity.
Recipe
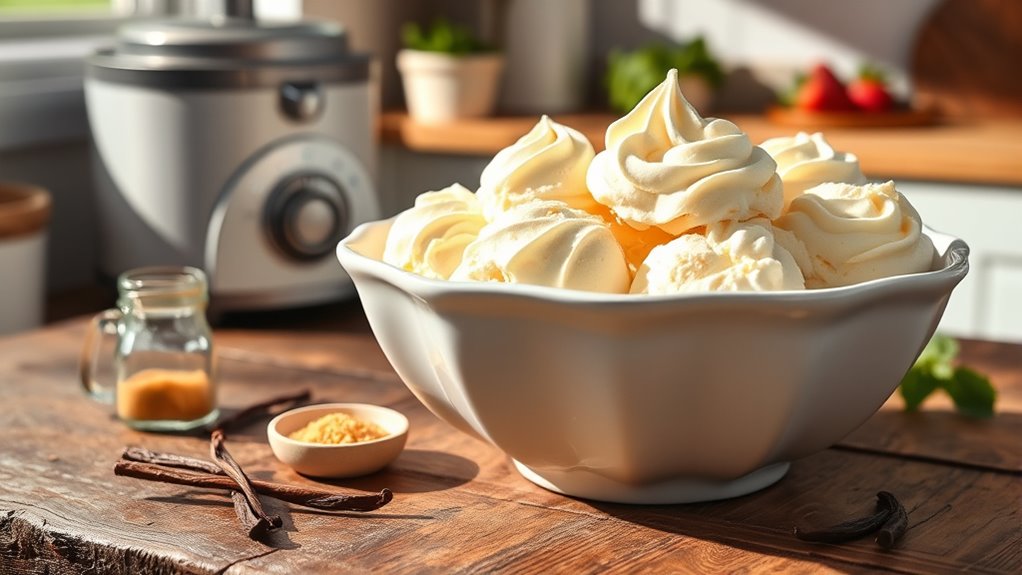
Making homemade vanilla ice cream is a delightful way to indulge in a classic treat. With just a few simple ingredients, you can create a creamy, rich dessert that rivals any store-bought option. The beauty of this recipe lies in its simplicity; you’ll be amazed at how easy it’s to whip up a batch of vanilla ice cream that will impress family and friends alike.
Using quality ingredients is key to achieving the best flavor and texture. Opt for pure vanilla extract and heavy cream to guarantee that your ice cream has a luscious consistency. This recipe can be made with or without an ice cream maker, making it accessible for everyone. Get ready to enjoy the sweet, comforting taste of homemade vanilla ice cream!
Ingredients:
- 2 cups heavy cream
- 1 cup whole milk
- 3/4 cup granulated sugar
- 1 tablespoon pure vanilla extract
- A pinch of salt
- Optional: 1 teaspoon vanilla bean paste or seeds from 1 vanilla bean
Instructions:
In a large mixing bowl, whisk together the heavy cream, whole milk, granulated sugar, vanilla extract, and salt until the sugar is fully dissolved. If using vanilla bean paste or seeds, add them to the mixture for an extra burst of flavor.
Once combined, pour the mixture into an ice cream maker and churn according to the manufacturer’s instructions until it reaches a soft-serve consistency. If you don’t have an ice cream maker, you can place the mixture in a shallow container and freeze it, stirring every 30 minutes until it becomes firm and creamy.
Extra Tips:
For the best results, chill your mixture in the refrigerator for about an hour before churning; this helps to create a smoother texture. If you prefer a firmer ice cream, allow it to freeze for several hours after churning.
For added flavor and texture, consider mixing in chocolate chips, crushed cookies, or fresh fruit once the ice cream is at a soft-serve consistency. Enjoy your homemade vanilla ice cream within a week for peak freshness!
Cooking Steps
Now that you’ve got your recipe, let’s get into the cooking steps.
You’ll start by gathering your ingredients, then mix the cream and sugar until smooth.
After that, chilling the mixture is key before you churn it in your ice cream maker. It’s also important to consider moderation for individuals watching their cholesterol levels when enjoying your homemade ice cream.
Step 1. Gather Your Ingredients First
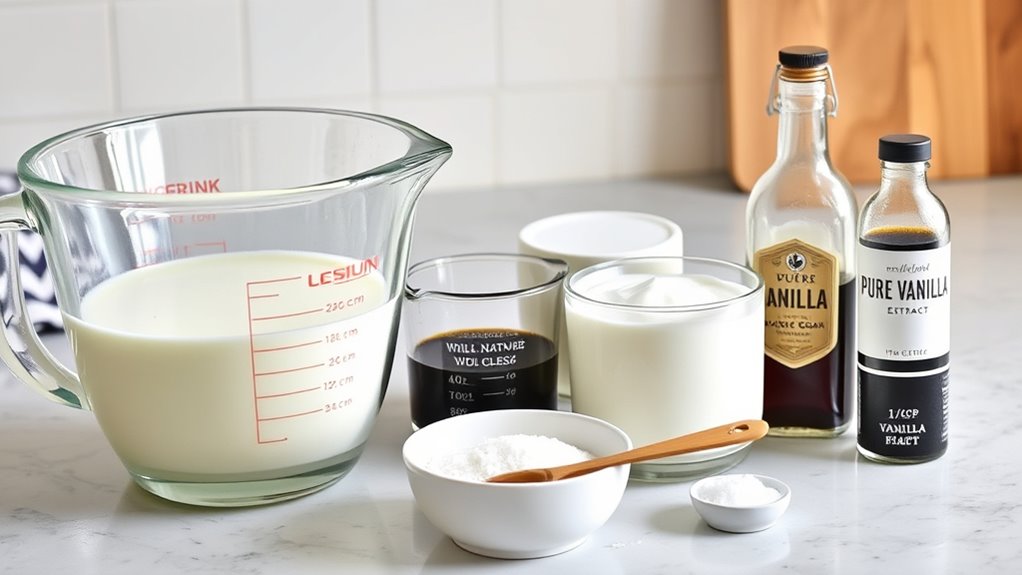
Before diving into the fun of making vanilla ice cream, you’ll want to gather all your ingredients to guarantee a smooth process.
Start by collecting heavy cream, whole milk, granulated sugar, vanilla extract, and a pinch of salt. Make sure you have enough of each ingredient; you don’t want to run out halfway through!
If you’re using fresh vanilla beans, grab a couple of those too. It’s also helpful to have measuring cups and spoons ready, along with a mixing bowl.
Check your kitchen for any equipment you might need, such as an ice cream maker. Having everything on hand will help you stay organized and focused, letting you enjoy the ice cream-making experience to the fullest!
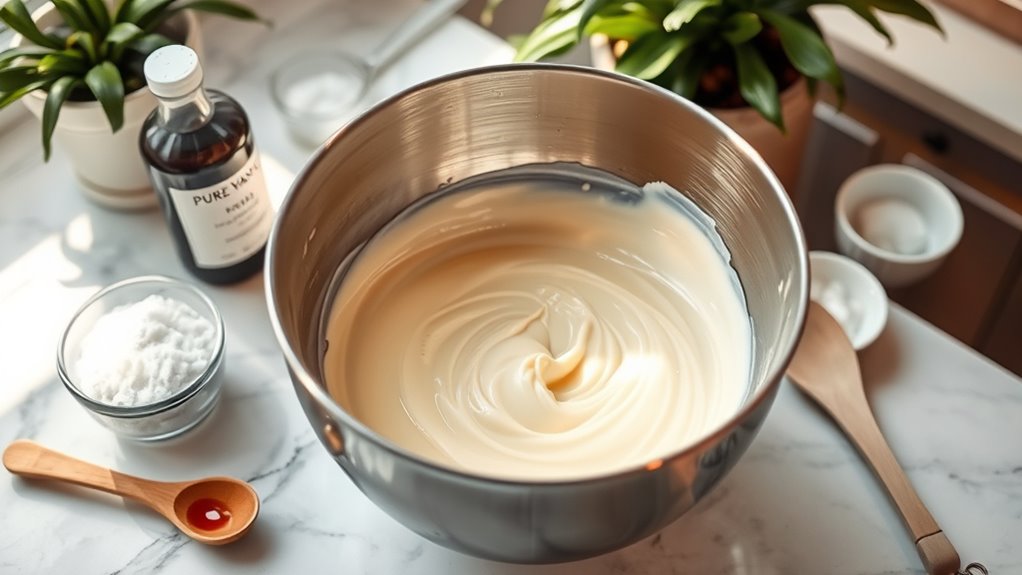
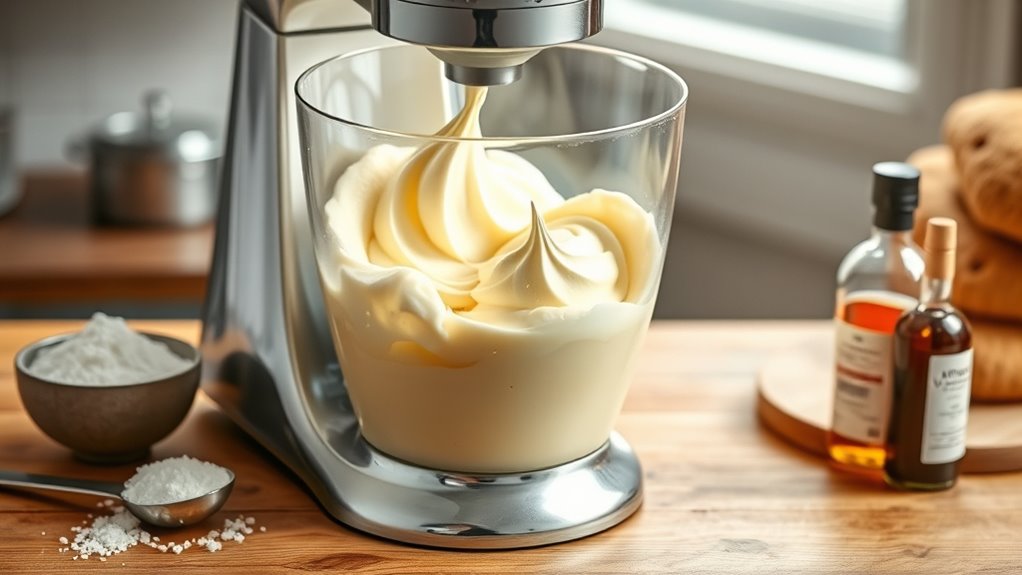
Step 2. Mix Cream and Sugar

Start by combining two cups of heavy cream and one cup of whole milk in a mixing bowl.
Next, add three-fourths of a cup of granulated sugar to the mixture. Using a whisk, mix everything together until the sugar dissolves completely.
This step is essential, as it guarantees the sweetness is evenly distributed throughout the ice cream. Don’t rush—take your time to make certain there are no sugar granules left.
Once the mixture is smooth, add a pinch of salt to enhance the flavors. For a classic touch, stir in one tablespoon of pure vanilla extract.
Give it another good whisk, and you’re ready to move on to the next step in creating your delicious vanilla ice cream!
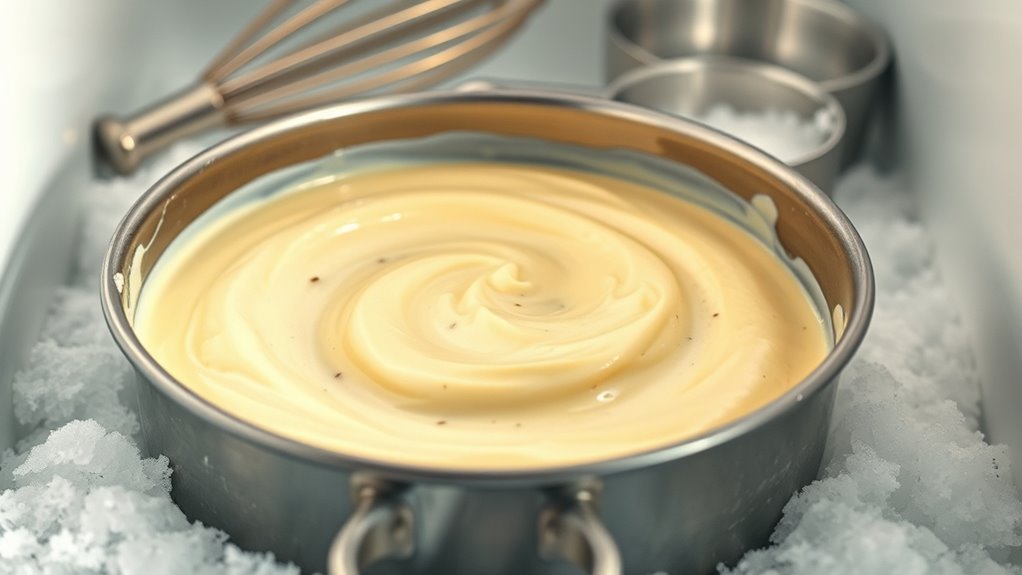
Step 3. Chill Mixture Before Churning
To achieve the creamiest texture in your vanilla ice cream, chilling the mixture is crucial.
After combining your cream and sugar, pour the mixture into a clean bowl or container. Cover it tightly with plastic wrap to prevent any unwanted odors from seeping in.
Place the bowl in the refrigerator for at least 2 to 4 hours, or ideally overnight. This chilling process allows the flavors to meld beautifully and guarantees the mixture is cold enough for churning.
If you’re short on time, chilling the mixture in an ice bath can speed things up; just remember to stir it occasionally.
Once it’s thoroughly chilled, you’ll be ready to move on to the next step and churn that delicious ice cream!
Step 4. Churn in Ice Cream Maker
Now it’s time to churn your chilled mixture in the ice cream maker.
Pour the mixture into the machine’s bowl, ensuring not to overfill it. Turn on the ice cream maker, and let it work its magic.
Depending on your model, churning usually takes about 20 to 30 minutes. You’ll notice the mixture thickening and becoming creamy as it churns.
Keep an eye on it; when the texture resembles soft serve, you know it’s ready. If your ice cream maker has a specific timer, follow that for best results.
Once it’s done, you can taste the delicious vanilla flavor, but don’t get too carried away! You’re just a step away from the perfect treat.
Step 5. Freeze Until Firm
Once your ice cream has reached that delightful soft serve consistency in the ice cream maker, it’s time to take the next step.
Transfer the mixture into a lidded container, making sure to spread it evenly. Smooth the top with a spatula to eliminate any air pockets. Seal the container tightly to prevent ice crystals from forming.
Now, pop it into the freezer for at least 4 hours, or until it’s completely firm. If you plan to store it longer, consider wrapping the container in plastic wrap for extra protection.
When you’re ready to enjoy, scoop out portions and let them sit for a minute to soften slightly before serving. This will make for a creamy and satisfying treat!
Final Thoughts
As you savor your homemade vanilla ice cream, it’s clear that the effort you put into crafting it was well worth it.
There’s something special about creating a classic treat from scratch. You’ve mastered the art of balancing creamy texture and rich flavor, making each scoop a delight.
Remember, the quality of your ingredients plays an essential role—choose the best vanilla and fresh cream for outstanding results.
Don’t hesitate to experiment with mix-ins or toppings to personalize your creation. Most importantly, enjoy the process!
Whether you’re sharing with friends or indulging solo, your homemade ice cream is a reflection of your culinary skills.
Frequently Asked Questions
Can I Use Non-Dairy Milk for This Recipe?
Yes, you can use non-dairy milk for this recipe! Almond, coconut, or oat milk are great options that can provide a delicious flavor.
Just keep in mind that the texture might differ slightly from traditional dairy. You’ll want to choose a non-dairy milk with a creamy consistency to get the best results.
Experiment with different varieties to find what you love most. Enjoy your dairy-free creation!
How Long Does Homemade Ice Cream Last in the Freezer?
Imagine opening your freezer and finding a treasure trove of homemade ice cream.
You’ll be happy to know that, if stored properly, your delightful creation can last about two to three months in the freezer.
Just make sure it’s in an airtight container to prevent freezer burn.
After that, it might lose its creamy texture and flavor.
Can I Add Mix-Ins to the Vanilla Ice Cream?
Absolutely, you can add mix-ins to your vanilla ice cream!
When you’re making it, consider incorporating your favorite treats like chocolate chips, crushed cookies, or fresh fruit. Just fold them in gently during the last few minutes of churning to guarantee they’re evenly distributed.
If you want to get creative, try different flavors or textures to elevate your ice cream experience. Enjoy experimenting and making it uniquely yours!
What Equipment Do I Need to Make Ice Cream?
To make ice cream, you’ll need a few essential pieces of equipment. First, grab a mixing bowl for combining your ingredients.
You’ll also need a whisk or an electric mixer to blend everything smoothly. An ice cream maker is vital for achieving that creamy texture, but if you don’t have one, a freezer-safe container works too.
Finally, having a spatula on hand helps you scrape down the sides and mix everything evenly. Enjoy the process!
Is It Safe to Eat Raw Eggs in Ice Cream?
Eating raw eggs can pose potential health risks due to salmonella. If you’re concerned about safety, consider using pasteurized eggs instead. They offer the same rich flavor without the worry.
If you decide to go the traditional route, verify your eggs are fresh and from a reliable source. Always trust your instincts; if something feels off, it’s better to skip the raw eggs.
Prioritize your health while enjoying your culinary creations!