
To make ice cream, start with essential ingredients like heavy cream, whole milk, and sugar. Choose an ice cream maker that fits your needs, whether manual or electric. Focus on churning techniques to achieve a smooth texture by incorporating air and maintaining consistent temperature. Explore no-churn methods for a simple approach using whipped cream and condensed milk, or craft custard-based ice cream for a richer treat. Discover even more techniques to elevate your ice cream-making experience!
Key Takeaways
- Start with essential ingredients like heavy cream, milk, and sugar for a rich base.
- Use an ice cream maker to churn the mixture, incorporating air for a smoother texture.
- For custard-based ice cream, heat and temper egg yolks to create a creamy base.
- Consider no-churn methods by mixing whipped cream with sweetened condensed milk for ease.
- Freeze the mixture in an airtight container for at least two hours to achieve scoopability.
Essential Ingredients for Ice Cream

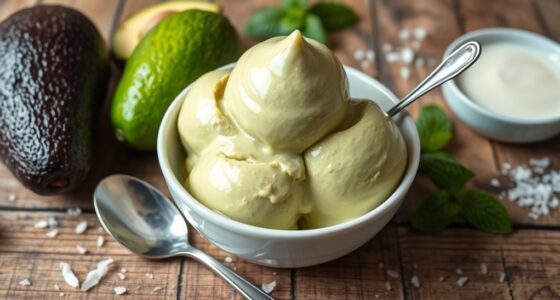
When making ice cream, the right ingredients are essential for achieving that perfect creamy texture and flavor. Start with heavy cream and whole milk; their fat content creates richness. You can also mix in half-and-half for balance. To create a truly delightful dessert, consider incorporating Earl Grey tea for a unique flavor twist that complements sweet notes beautifully. Additionally, be mindful that regular consumption of high-fat ice cream can lead to increased heart disease risk.
For a unique twist, consider buttermilk or yogurt to add smoothness. Sweeteners like cane sugar not only sweeten but also affect the freezing point. Don’t forget vanilla extract or bean paste for flavor, and a pinch of salt enhances everything.
For thickness, egg yolks or cornstarch work wonders. If you’re going dairy-free, coconut milk or cashew cream provides that creamy base. Fresh fruits, nuts, and spices can elevate your creation, giving it that personal touch you’ll love! Additionally, using natural sweeteners can make your ice cream healthier without sacrificing taste.
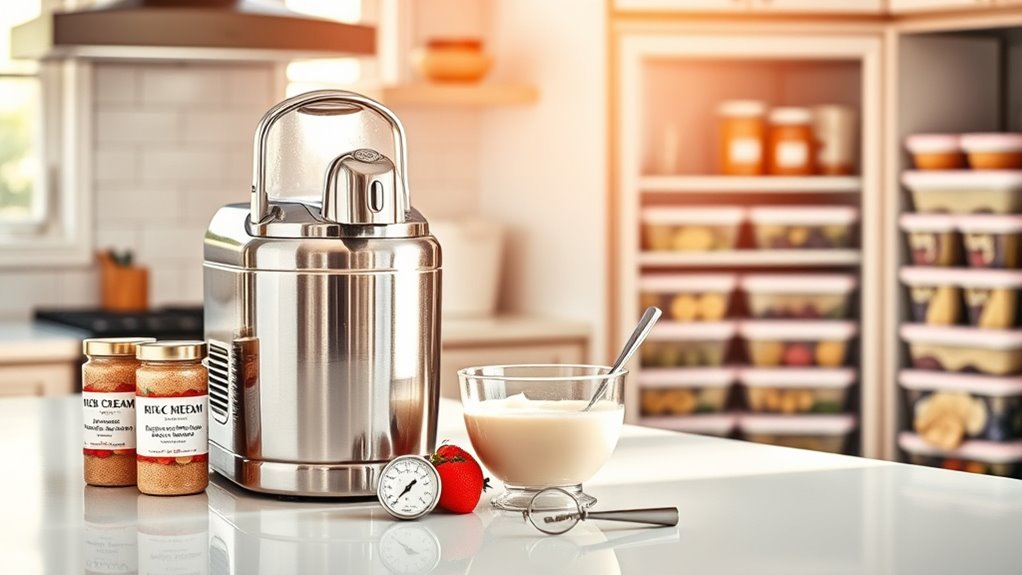
Choosing the Right Ice Cream Maker
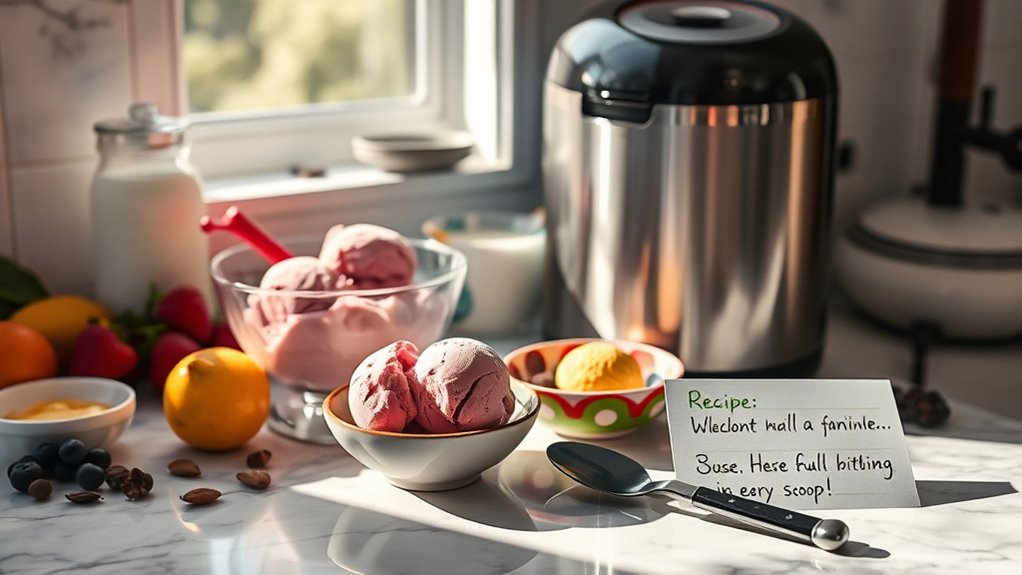
How do you choose the perfect ice cream maker for your needs? Start by deciding between manual and electric models. Manual makers offer control but require more effort, while electric types come with pre-frozen bowls or built-in compressors for convenience.
Choosing the right ice cream maker involves balancing control and convenience between manual and electric models.
Consider the capacity; if you often serve a crowd, opt for larger sizes. Pay attention to features like temperature control, paddle design, and ease of cleaning. Look for trusted brands and models with a good warranty. Additionally, consider that certain essential oils can enhance your overall kitchen experience, creating a pleasant atmosphere while you prepare your ice cream. The role of color accuracy in your kitchen’s lighting can also affect your overall enjoyment while making treats.
Think about your budget and available kitchen space. If you want versatility, consider models designed for specific ice creams—gelato or custard machines can give you unique flavors and textures. Many of the latest models also incorporate smart technology integration for enhanced convenience.
Ultimately, prioritize performance and user-friendliness for the best experience.
Churning Techniques for Optimal Texture

Choosing the right ice cream maker sets the stage for your ice cream-making journey, but mastering churning techniques is what truly defines the texture of your final product.
Effective churning prevents large ice crystals, ensuring a smooth texture. By incorporating air, you can create a lighter, more aerated ice cream. It’s essential to maintain a consistent temperature during churning to avoid unwanted ice crystal growth. The average ice cream consumption in the U.S. is about 23 pounds annually, which highlights the importance of texture in creating a desirable product. Additionally, sustainable fashion trends emphasize the significance of quality in handmade items, which can be paralleled in ice cream making.
Different techniques yield varying textures; for example, continuous churning produces soft-serve, while less air creates dense, scoopable ice cream. Adjusting churning duration and speed can also influence lightness and consistency. Additionally, monitoring temperature during the churning process can help prevent unwanted ice crystal formation and enhance the creaminess of your ice cream.
Fine-tuning these aspects allows you to achieve that perfect creamy, velvety mouthfeel and enhances the overall ice cream experience.
Exploring No-Churn Methods
Is there a simpler way to enjoy homemade ice cream without the fuss of an ice cream maker? Absolutely! No-churn ice cream relies on just two key ingredients: heavy cream and sweetened condensed milk.
Start by whipping the cream to stiff peaks, which adds air and mimics the churning effect. Then, gently fold in the sweetened condensed milk and your choice of flavorings or mix-ins. You can also incorporate elements like frozen yogurt for a refreshing twist. Adding crushed cookies can give your ice cream a fun texture, reminiscent of popular desserts like Dirt Cups.
Whip the cream to stiff peaks, then fold in sweetened condensed milk and your favorite mix-ins for a delightful treat.
Freeze the mixture for several hours, and you’ll have a creamy treat ready to enjoy. Using cold ingredients and a chilled bowl helps maintain that smooth texture.
Plus, you can customize flavors endlessly, making no-churn ice cream an economical and accessible option for all ice cream lovers! However, be mindful of the high sugar and fat content present in ice cream, as moderation is key.
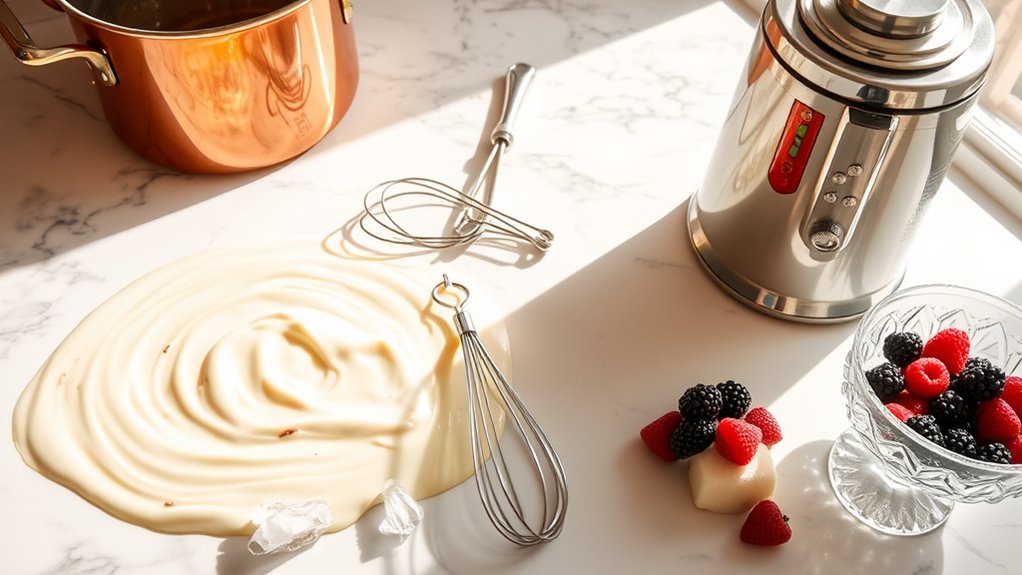
Crafting Custard-Based Ice Cream
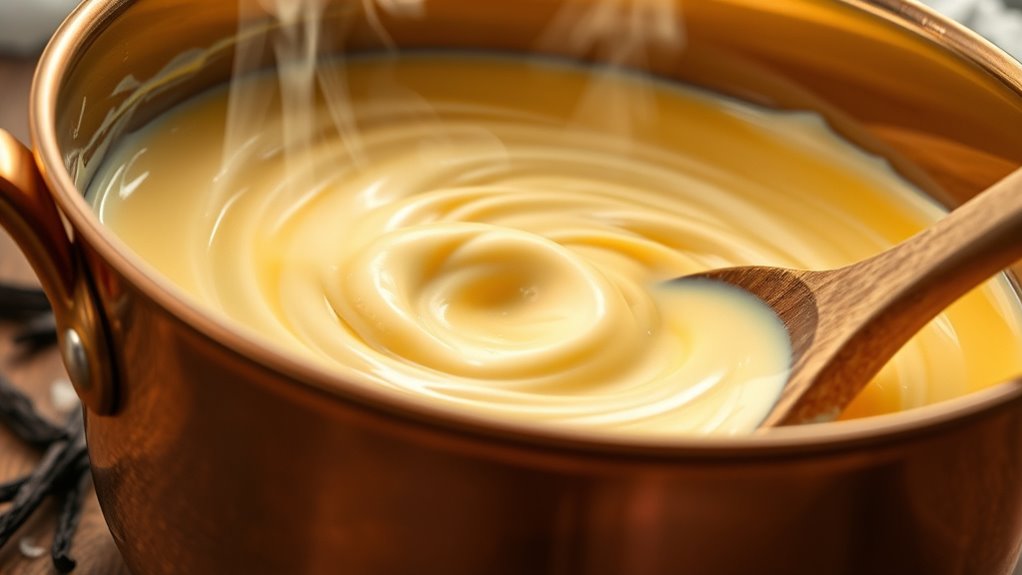
Crafting custard-based ice cream elevates your homemade dessert game with its rich and creamy texture.
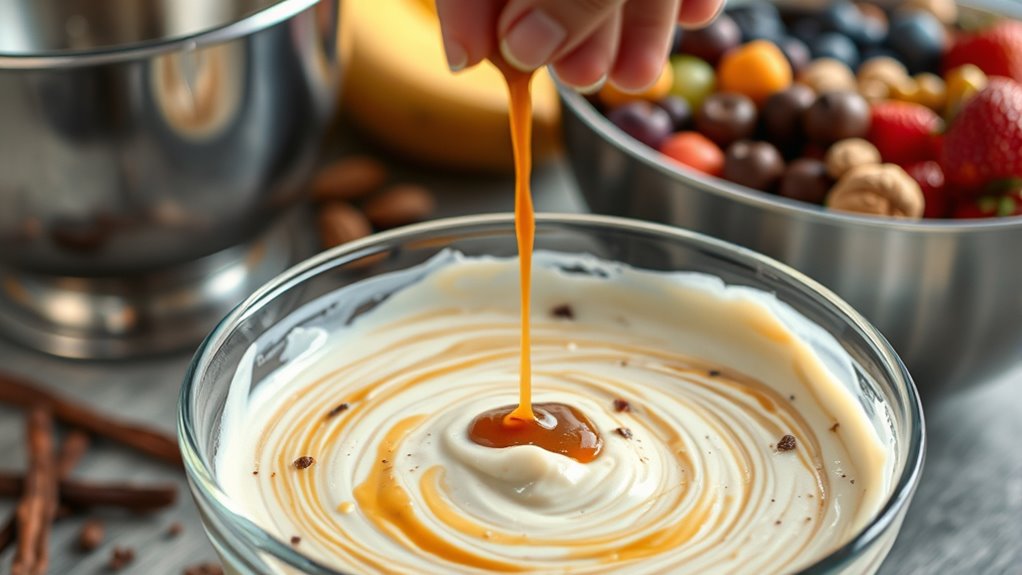
Start by heating milk, cream, sugar, and salt in a saucepan until warm. Next, temper your egg yolks by slowly adding the warm mixture while whisking to prevent scrambling. Adding flavor variations can enhance your custard’s taste profile, making it unique. It’s important to ensure essential oil safety when incorporating flavors derived from oils.
Whisk the tempered eggs back into the saucepan and cook until the mixture thickens enough to coat the back of a spoon, reaching 170°F to 180°F. Strain the custard into an ice bath to cool it down, then refrigerate for at least four hours.
Once chilled, churn the custard in your ice cream maker until fluffy. Finally, transfer to an airtight container and freeze for at least two hours for the perfect scoopable treat. Incorporating astrological compatibility may enhance your enjoyment of this delicious dessert as it adds a fun element to sharing with family and friends.
Safety and Storage Best Practices
When it comes to making ice cream, prioritizing safety and proper storage practices is essential for guaranteeing a delicious and safe product.
Start with high-quality ingredients, keeping them at safe temperatures to prevent bacterial growth. Always source from reputable suppliers and regularly test for contaminants. Additionally, ensure that your toilet maintenance and repairs practices are up to date to avoid any sanitation issues in your ice cream production area, as proper disposal methods can prevent costly repairs. Understanding the importance of advance directives can also guide decisions regarding food safety and handling.
Pasteurize your ice cream mix at 68°C for 30 minutes to kill harmful bacteria, and monitor temperatures throughout the process.
Keep your equipment clean and sanitized, using stainless steel to minimize contamination risks. Train your staff on hand hygiene and food safety protocols to prevent cross-contamination.
Finally, package your ice cream in sterile conditions, maintain the cold chain, and label products clearly to guarantee proper handling and storage.
Frequently Asked Questions
Can I Use Dairy Alternatives for Ice Cream Making?
Absolutely, you can use dairy alternatives for ice cream making! Coconut milk is a favorite due to its creamy texture, but almond and oat milk work well too, though they might need thickeners.
Cashew and macadamia nut milks offer unique flavors and textures. These options are great if you’re lactose intolerant or following a vegan diet.
Plus, they allow for creative flavor combinations, making your ice cream experience even more enjoyable!
How Long Does Homemade Ice Cream Last in the Freezer?
Homemade ice cream typically lasts about 2 to 4 weeks in the freezer when stored properly.
For the best quality, try to enjoy it within a week.
Keep your freezer at 0°F (-18°C) or lower, and store the ice cream in airtight containers to prevent freezer burn.
What Flavors Can I Add to My Ice Cream Base?
You can add a variety of flavors to your ice cream base to make it uniquely yours.
Consider using fresh fruits like strawberries or blueberries for a fruity twist. If you’re craving something richer, try chocolate chips or a peanut butter cup mix-in.
For an elegant touch, add vanilla bean or amaretto extract. Don’t forget about revitalizing options like mint or the indulgence of caramel and chocolate combinations.
Experiment and enjoy!
Is It Necessary to Use Stabilizers in Homemade Ice Cream?
Imagine a silky wave of ice cream melting on your tongue; that’s where stabilizers come in.
While they’re not absolutely necessary for all homemade ice cream, they can work wonders, especially with watery ingredients like fruit. They help maintain a smooth texture and prevent iciness.
If you’re aiming for that perfect scoop, consider using them, but remember to find the right balance to keep your creation light and delicious.
How Can I Achieve a Smoother Texture Without an Ice Cream Maker?
To achieve a smoother texture without an ice cream maker, you can start by using high-fat dairy products and sugar, which help inhibit ice crystal formation.
Consider aging your mixture in the fridge for better fat distribution.
While freezing, stir every 30 minutes to break up ice crystals, and try adding a bit of alcohol to keep it softer.
Finally, make sure your freezer is set to the coldest temperature for best results.
Conclusion
To sum up, mastering the magic of making ice cream is both a delightful and delicious endeavor. By blending the best ingredients, selecting suitable machines, and experimenting with techniques, you’ll create creamy concoctions that wow your taste buds. Remember, safety and storage are key to savoring your sweet treats. So, plunge into this delightful dessert adventure and let your creativity churn out signature scoops that’ll satisfy everyone’s sweet cravings! Enjoy every scoop of your ice cream journey!