To slice an ice cream cake without cracking, guarantee it’s thoroughly frozen before cutting, preferably overnight. Use a sharp, heated knife and run it under hot water, drying it before each slice. Make swift, confident cuts, sliding the knife smoothly through the cake rather than pressing down. For extra precision, use dental floss to cleanly separate slices. Mastering these techniques will help you achieve neat, crack-free slices every time—you’ll discover more tips as you go.
Key Takeaways
- Use a sharp, heated knife, reheated and dried between cuts, for smooth, clean slices.
- Ensure the cake is thoroughly frozen before slicing to prevent cracking and melting.
- Run the knife or dental floss under hot water and dry thoroughly before each cut.
- Make swift, confident cuts with steady pressure to minimize deformation.
- Work quickly and minimize exposure to room temperature to maintain cake integrity.
Slicing ice cream cake can be tricky because it tends to soften quickly, making clean cuts difficult. To prevent melting and ensure your slices come out neat, proper cake preparation and effective slicing techniques are essential. The key is to work swiftly and with the right tools, especially since ice cream cakes don’t hold their shape as firmly as traditional cakes. Before you start slicing, make sure the cake has been properly frozen for at least a few hours—preferably overnight. A well-frozen cake is firmer and easier to cut without cracking or melting.
Properly freeze your ice cream cake overnight for clean, easy slicing and minimal melting.
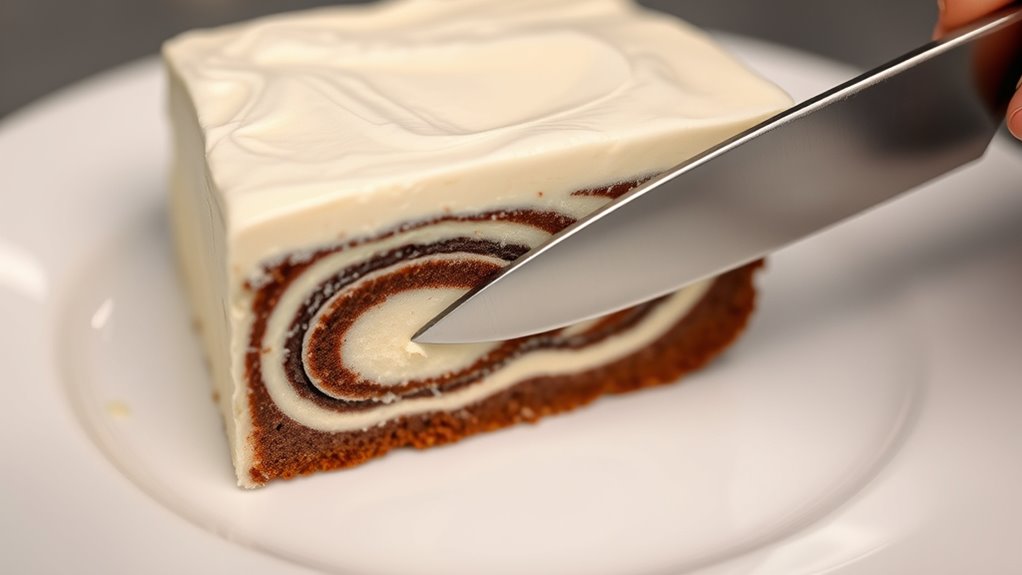
When it’s time to cut, use a sharp, heated knife. Run the knife under hot water, then wipe it dry thoroughly. Heating the blade minimizes resistance and helps you make smooth, clean cuts through the ice cream and cake layers. Applying gentle, steady pressure, rather than pressing down hard, prevents cracking or squishing the delicate dessert. Between each slice, reheat and dry the knife to maintain clean edges and avoid sticking or tearing. This technique, part of good slicing techniques, makes all the difference in achieving restaurant-quality slices at home.
To further improve your results, consider lining up your cuts with a ruler or a piece of dental floss. Dental floss, especially when heated, works remarkably well for slicing through frozen desserts cleanly. Simply slide the floss underneath the cake, cross the ends, and gently pull to cut through. This method minimizes damage to the cake’s structure and offers a precise, neat slice. It’s especially useful for smaller or more delicate cakes where traditional knives may cause uneven edges.
In terms of cake preparation, ensure you’ve assembled your ice cream cake properly. Use a sturdy, flat surface for assembly, and press the layers firmly to avoid air pockets or uneven surfaces. Wrap the cake tightly in plastic wrap and freeze it thoroughly before slicing. When you’re ready, take it out just enough to work quickly—don’t let it sit at room temperature for too long, as that can cause melting and make slicing more difficult.
Frequently Asked Questions
Can I Freeze Leftover Slices for Later?
Yes, you can freeze leftover slices to enjoy later. To do this, wrap each slice tightly in plastic wrap or aluminum foil to prevent freezer burn. When you’re ready to eat, use proper reheating techniques like letting it thaw in the fridge or softening it slightly at room temperature. Freezing leftovers helps preserve the cake’s texture and flavor, making it easy to enjoy your favorite treat anytime.
What’s the Ideal Temperature to Serve Ice Cream Cake?
Did you know that serving ice cream cake at just 6°F (-14°C) keeps it perfectly creamy? For ideal temperature control, take the cake out about 10 minutes before serving. This ensures it’s soft enough to cut easily while still holding its shape. Follow these serving suggestions, and you’ll enjoy every slice at the perfect consistency—cold enough to satisfy, but not so frozen that it’s hard to cut through.
How Long Should I Let the Cake Soften Before Slicing?
You should let your ice cream cake soften for about 5 to 10 minutes at room temperature before slicing. This softening time ensures the cake reaches its ideal serving consistency, making it easier to cut cleanly without cracking. Keep an eye on the texture, and don’t wait too long, or it’ll start melting. Proper softening enhances the overall presentation and taste, giving you a perfect slice every time.
Can I Use a Regular Knife or Should I Use a Special Tool?
Think of your knife as a magic wand for smooth slicing. You should use a sharp knife for clean cuts, not a regular dull one. To make it even easier, dip the blade in warm water and wipe it dry before slicing. This helps prevent cracking and guarantees your cake stays intact. With a confident, steady hand and the right tools, you’ll cut through that ice cream cake like a pro.
How Do I Prevent Ice Crystals From Forming on the Cake?
To prevent ice crystal formation and freezer burn on your ice cream cake, keep it properly wrapped in airtight packaging. Avoid opening the freezer frequently, as temperature fluctuations cause crystals. When serving, use a sharp knife dipped in warm water to make clean cuts. This minimizes damage and reduces ice crystal formation. Store the cake in the coldest part of your freezer, and consume it within a few weeks for the best texture.
Conclusion
Now that you know how to slice your ice cream cake like a pro, remember the wisdom of the ancients—patience and precision are your best allies. Imagine wielding a sword with the finesse of a samurai, gently carving through frozen layers without a crack. With these tips, you’ll enjoy perfect slices every time, turning a simple dessert into a masterpiece. So go ahead, conquer your ice cream cake and make every serving a legendary moment.

Giulia is the creative force behind our content strategy. With a knack for storytelling and a deep understanding of what our readers want, she plans and develops the content that keeps “Icecream Hater” fresh and exciting. Giulia works closely with the editorial team to ensure that every article, recipe, and review aligns with our mission and vision. She aims to inspire our readers to explore, create, and enjoy ice cream in new and innovative ways.