To make no-churn ice cream, start by whipping heavy cream until soft peaks form, then gently fold it into sweetened condensed milk with your chosen flavors or mix-ins like fruit purees or chocolate. Pour the mixture into a container, smooth the top, and freeze for 4-6 hours until firm. For best texture, stir if crystals form. Keep experimenting with different ingredients—you’ll discover all the tips and tricks to creating your perfect homemade ice cream.
Key Takeaways
- Mix sweetened condensed milk with flavorings and fold in whipped heavy cream for a creamy base.
- Incorporate desired mix-ins or fruit purees to customize flavor.
- Pour the mixture into a freezer-safe container, smooth the top, and cover tightly.
- Freeze for 4-6 hours until fully solid, stirring if ice crystals develop.
- Serve once fully frozen for best texture, and store leftovers properly to maintain freshness.
Have you ever wanted creamy, homemade ice cream without the hassle of churning? If so, making no-churn ice cream is the perfect solution. It’s a simple process that lets you enjoy a variety of ice cream flavors right from your freezer. The key is to combine basic ingredients, mix them well, and freeze. With no special equipment needed, you can get creative and customize your flavors easily. Whether you prefer classic vanilla, rich chocolate, or fruity strawberry, you can tailor your ice cream to your taste. Just keep in mind that some flavors may require added ingredients or special techniques, but overall, the process remains straightforward.
Start by choosing your base ingredients: sweetened condensed milk and heavy cream. These form the creamy foundation for your ice cream. To create different flavors, add mix-ins like cocoa powder, fruit purees, or extracts. For example, if you want a mint chocolate chip, stir in peppermint extract and chopped chocolate. For a berry swirl, incorporate fruit purees and chunks. Once you’ve mixed your flavorings into the base, whip the heavy cream until it forms soft peaks. Gently fold the whipped cream into the condensed milk mixture, ensuring everything’s well combined but still fluffy. Proper mixing techniques ensure the best texture for your ice cream, preventing ice crystals and maintaining creaminess. Pour the mixture into a freezer-safe container, smoothing the top with a spatula.
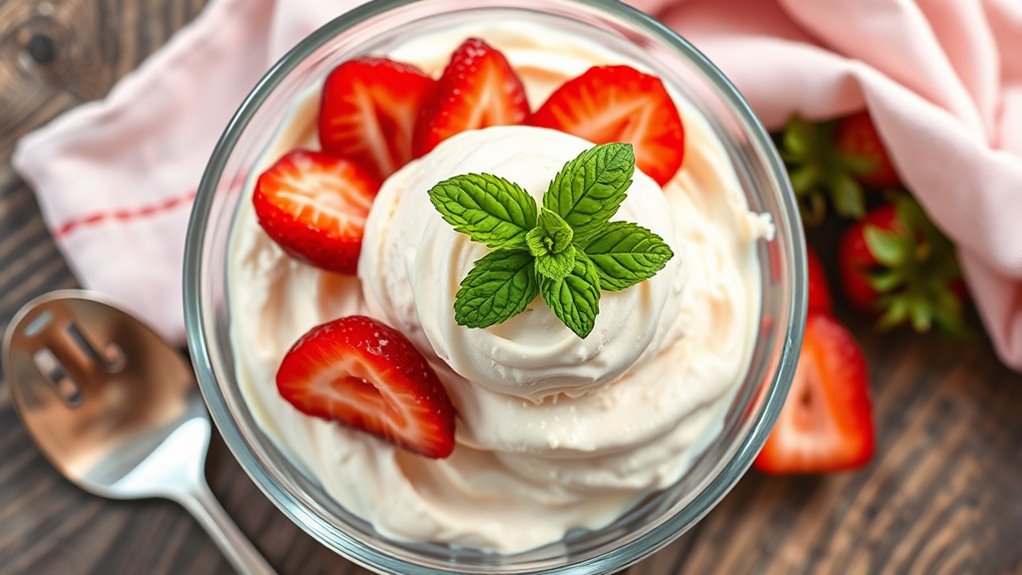
Combine whipped heavy cream with condensed milk, then fold in your favorite mix-ins before freezing.
Now, let’s talk about storage tips. Proper storage is essential to maintain texture and flavor. Cover your ice cream tightly with plastic wrap or a lid to prevent freezer burn and absorption of other odors. Label your container with the flavor and date so you can keep track of how long it’s been in the freezer. For best results, store the ice cream at a consistent temperature—ideally at or below 0°F (-18°C). After about 4-6 hours, or once it’s fully frozen, you can enjoy your homemade creation. If you notice ice crystals forming, a quick stir with a fork or spoon before serving can help restore its smooth texture.
Experimenting with different ice cream flavors keeps things exciting, and adjusting storage tips ensures each batch stays fresh and delicious longer. No-churn ice cream is versatile, allowing you to indulge in your favorite flavors without the need for an ice cream maker. With just a few simple steps, you can craft a rich, creamy treat tailored exactly to your preferences. So next time you crave ice cream, skip the store and try making your own—your taste buds will thank you.
Frequently Asked Questions
Can I Substitute Dairy With Non-Dairy Alternatives?
Yes, you can substitute dairy with non-dairy alternatives when making no-churn ice cream. Use plant-based ingredients like coconut milk, almond milk, or cashew cream to achieve a similar creamy texture. These dairy alternatives work well in recipes, giving you delicious, dairy-free ice cream options. Just make sure to adjust the sweetness and consistency as needed, and you’ll enjoy a tasty, plant-based treat.
How Long Does No-Churn Ice Cream Last in the Freezer?
You might be surprised to learn that no-churn ice cream typically stays good for about 1 to 2 months in your freezer if you follow proper storage duration and freezer guidelines. To keep it tasting fresh, make sure it’s sealed tightly to prevent freezer burn. After this period, the texture and flavor can decline, so it’s best to enjoy your homemade treat within this timeframe for the best experience.
What Are Some Creative Mix-In Ideas?
You can get creative with mix-ins by exploring flavor combinations like peanut butter swirls with chocolate chunks or berry compote with crushed cookies. For texture enhancements, add chopped nuts, shredded coconut, or cookie dough pieces. Mix in caramel or fudge ribbons for extra richness. Don’t hesitate to experiment with dried fruits or candies to personalize your no-churn ice cream and elevate every bite with exciting flavor and texture contrasts.
Is This Recipe Suitable for Vegan Diets?
Like Alice falling down the rabbit hole, you can turn this recipe into a vegan delight. It’s suitable if you swap traditional dairy with vegan ingredients and use plant-based alternatives like coconut cream, cashew milk, or almond yogurt. Just guarantee your sweeteners are vegan-friendly, and you’re good to go. With these simple substitutions, you’ll have a delicious, cruelty-free treat that everyone can enjoy!
Can I Make This Ice Cream Without Sweetened Condensed Milk?
Yes, you can make this ice cream without sweetened condensed milk by using alternative sweeteners like maple syrup, agave nectar, or coconut sugar. These options help achieve the desired sweetness and creaminess. You can also experiment with flavor variations by adding fruit purees, cocoa, or vanilla. Just guarantee your substitute maintains the right consistency, and you’ll enjoy a delicious, customizable no-churn ice cream tailored to your preferences.
Conclusion
Now that you’ve mastered the art of no-churn ice cream, you’re ready to unleash your creativity and indulge anytime. Remember, this simple process is your blank canvas—each flavor a new masterpiece waiting to be born. So, why not turn your kitchen into a scoop of heaven? With just a few ingredients and a little patience, you’ve unlocked the secret to endless delicious possibilities. Your frozen adventure has only just begun—dive in and enjoy the sweet journey ahead!