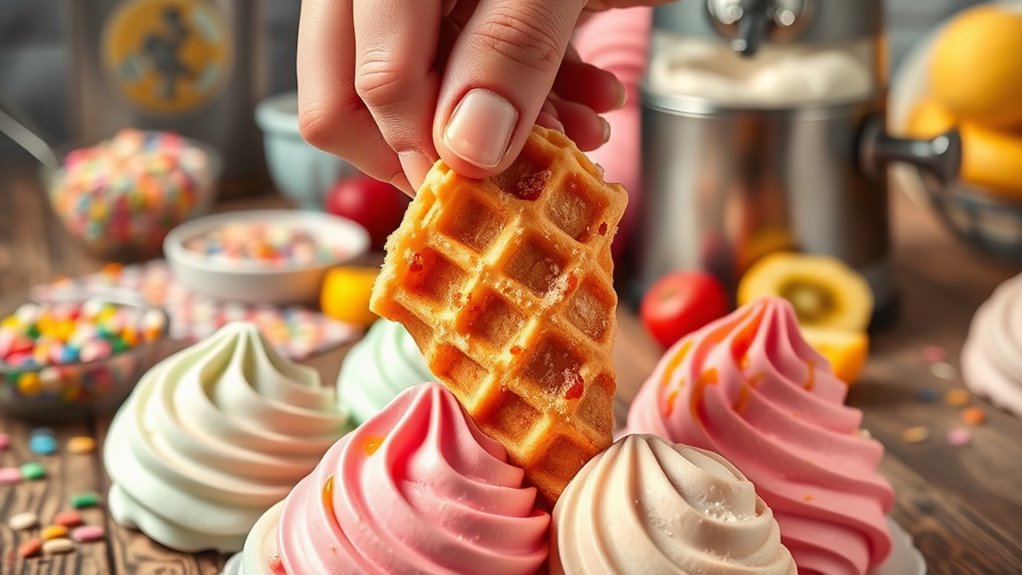
Making your own ice cream cones is a fun way to elevate your dessert experience. You’ll need essential tools like a waffle cone maker or a nonstick skillet. The simple batter consists of flour, sugar, eggs, and butter. After mixing and cooking your batter, shape the warm cones right away for the best results. Homemade cones are fresh and delicious, and you can even prep them in advance. Want to know more tips and tricks?
Key Takeaways
- Choose between waffle cones and sugar cones based on the equipment you have, like a waffle cone maker or a nonstick skillet.
- Mix essential ingredients: flour, sugar, egg whites, and butter, adjusting for desired flavor and texture.
- Cook the batter until golden brown, using a waffle cone maker or stovetop; timing is crucial to avoid burning.
- Shape warm cones immediately with a cone roller to ensure they hold their form as they cool.
- Store finished cones in an airtight container to maintain crispiness, re-crisping them in the oven if necessary.

VEVOR Electric Ice Cream Cone Maker, Commercial 1230W Waffle Cone Machine, Non-Stick Stainless Steel Egg Roll Mold, with Temperature and Time Control, Handle, for Restaurant Bakery Snack Bar Family
Quickly Make Delicious Ice Cream Cones: Our 1230W high-power ice cream waffle maker can easily produce a delicious...
As an affiliate, we earn on qualifying purchases.
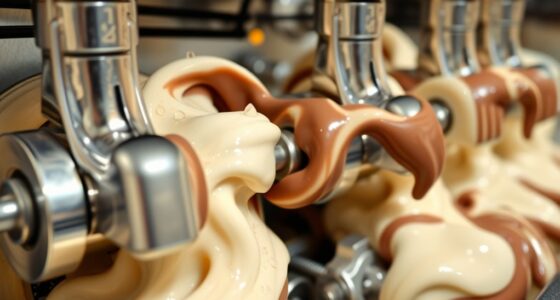
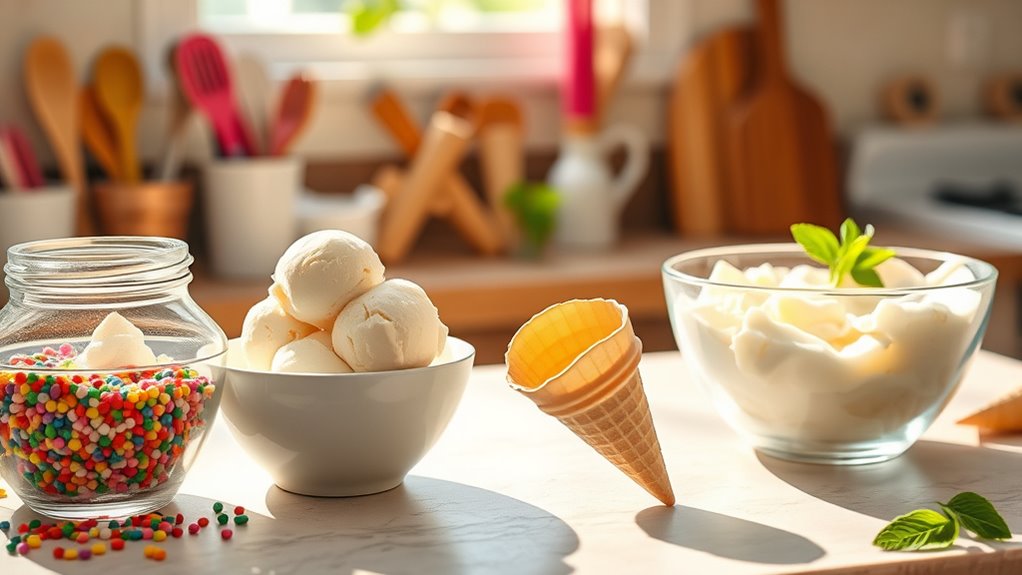
What Are Homemade Ice Cream Cones?
Homemade ice cream cones are delightful edible containers that elevate your ice cream experience.
These cones are crafted from a simple batter made with flour, sugar, eggs, and butter, creating a unique taste and texture that store-bought options can’t match.
Homemade cones blend flour, sugar, eggs, and butter for an unmatched taste and texture that store-bought cones simply can’t offer.
There are two main types: waffle cones, which require a special waffle cone maker, and sugar cones, which can be made on the stovetop or baked in the oven.
Sugar cones rely on egg whites, granulated sugar, milk, flour, and butter, while waffle cones use a similar batter with slight variations.
Whether you choose waffle or sugar cones, making your own means you can enjoy a fresh and delicious treat, enhancing every scoop of your favorite ice cream.

Waffle Cone Maker Commercial 2600W Professional Ice Cream Cone Waffle Maker Machine, Electric Commercial Waffle Cone Maker Machine With Temp & Time Control for for Restaurant Bakery Snack Bar Family
Strong structure:Our 2600W high-power commercial waffle cone maker features double baking pans for parallel heating, which are made...
As an affiliate, we earn on qualifying purchases.
Tools You Need

To make your own ice cream cones, you’ll need a few essential tools that guarantee success in your cone-making venture. Here’s a quick overview:
| Tool | Purpose | Notes |
|---|---|---|
| Waffle Cone Maker | Creates traditional waffle cones | Assures the right texture and shape |
| Sugar Cone Pizzelle Mold | Shapes the batter into sugar cones | Aids during cooling |
| Cone Roller | Shapes cones immediately after cooking | Forms a tight and secure structure |
| Nonstick Skillet | Ideal for stovetop sugar cones | Prevents sticking and allows easy flipping |
| Airtight Container | Stores finished cones | Maintains crispiness, prevents moisture |
With these tools, you’re set to whip up delicious homemade cones!

Waffle Cone Maker with Cone Roller, 7.5” Ice Cream Cone Maker, 1000W Thin Waffle Maker with Nonstick Plate, Double Side Even Heating and Crispy, Easy to Clean, Black
【High Efficiency Baking】This 1000W waffle cone maker heats evenly on both sides, producing crispy, delicious waffle cones in...
As an affiliate, we earn on qualifying purchases.
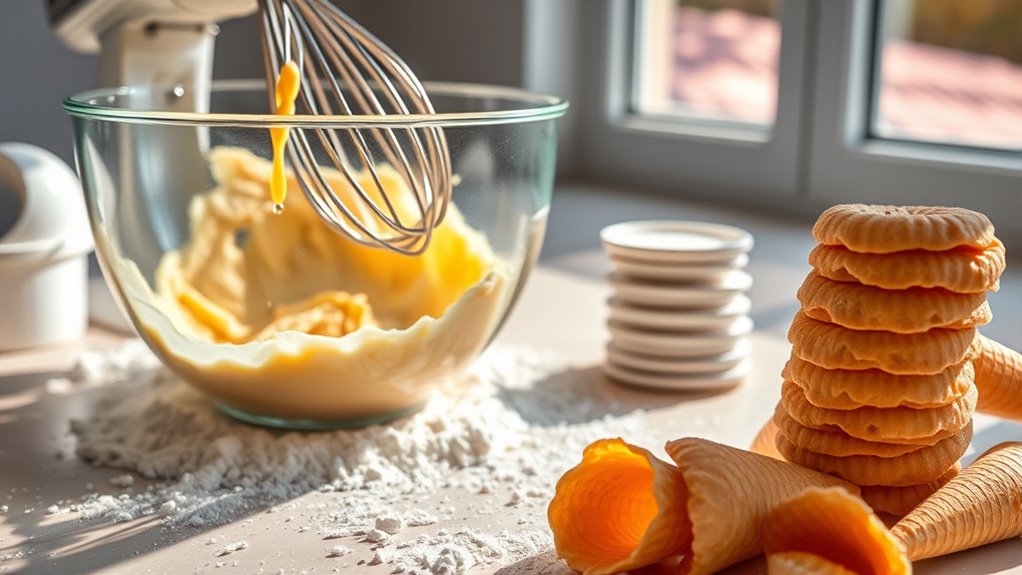
Ingredients for Homemade Ice Cream Cones and Why

Creating your own ice cream cones requires just a handful of simple ingredients that work together to deliver delicious results. You’ll need all-purpose flour for structure, while egg whites provide airiness and crispness. Granulated sugar adds sweetness, but you can also use brown sugar for a deeper flavor.
Melted butter brings richness and helps create that perfect crispy texture. Don’t forget a pinch of salt; it balances the sweetness and enhances the overall flavor. Adding vanilla extract elevates the taste, making your cones even more delightful.
To customize, consider mixing in melted chocolate, nuts, or crushed cookies into the batter. These ingredients combine to create ice cream cones that are both tasty and satisfying.

Dyna-Living Commercial Ice Cream Cone Machine Waffle Cone Maker 110V Electric Stainless Steel Egg Roll Mold Nonstick Waffle Cone and Bowl Maker for Home Restaurant Use 1200W
[Non-stick Waffle Cone Machine]- The ice cream egg roll mold made of high-quality stainless steel, long-lasting; The waffle...
As an affiliate, we earn on qualifying purchases.
How to Make Homemade Ice Cream Cones

To make your own homemade ice cream cones, you’ll need a few essential tools and specific ingredients.
Start by gathering items like a nonstick skillet or waffle cone maker, depending on your recipe choice.
With everything ready, you can follow simple step-by-step instructions to create delicious cones that perfectly complement your ice cream.
Essential Tools Needed
Making homemade ice cream cones requires a few essential tools to guarantee your cones turn out perfectly crispy and delicious.
A waffle cone maker is crucial for crafting authentic waffle cones, while a sugar cone pizzelle mold shapes sugar cones with ease. If you prefer stovetop techniques, a nonstick skillet guarantees even cooking and easy release.
Don’t forget a cone roller; it helps shape your cones right after cooking, maintaining their structure as they cool. For accuracy, use measuring cups and spoons to get the right proportions for your batter.
Finally, store your finished homemade cones in an airtight container to keep them crispy and prevent moisture absorption. With these tools, you’re all set for delicious cones!
Step-by-Step Instructions
Get ready to whip up some delicious homemade ice cream cones with these simple step-by-step instructions!
- Sugar Cones: Mix egg whites, sugar, milk, vanilla, and salt. Gradually add flour and melted butter until smooth. Cook in a greased skillet for 4-5 minutes.
- Waffle Cones: Combine egg whites, sugar, and flour in a bowl. Use a waffle cone maker, cooking the batter for about 4 minutes until golden brown.
- Shape and Store: Roll the warm cones into a cone shape, seam side down. Store in an airtight container.
For added flavor, dip the ends in melted chocolate and sprinkle with nuts or sprinkles. These recipes for homemade ice cream cones will elevate your dessert game!
Make the Ice Cream Cone Batter
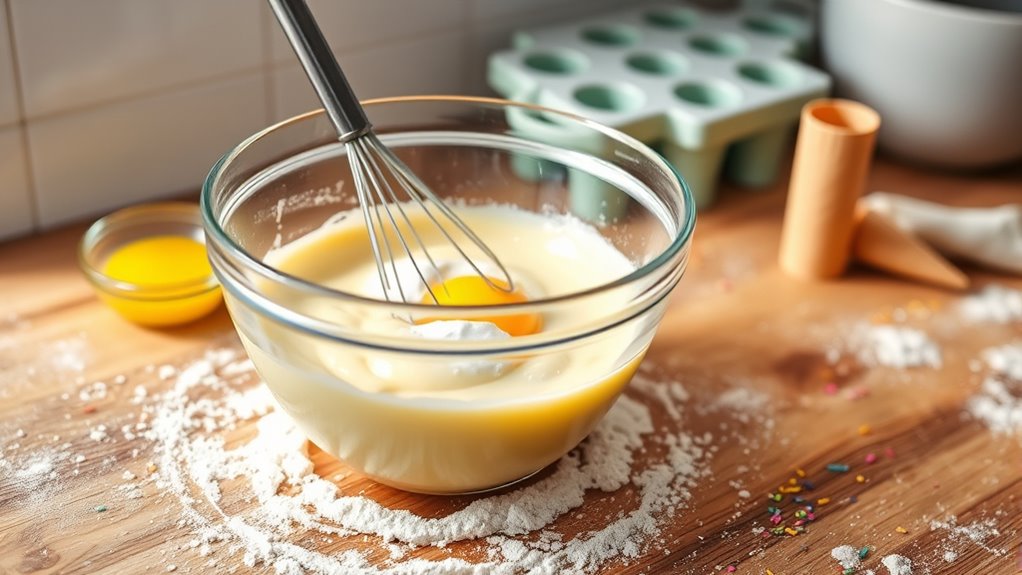
Before you plunge into creating your delicious ice cream cones, it’s essential to whip up the perfect batter.
Start by whisking together 2 large eggs, ½ cup granulated sugar, and ¼ cup melted butter until everything’s fully combined. Gradually mix in 3 tablespoons of milk, ⅓ cup all-purpose flour, and a pinch of salt, making sure the batter is smooth and free of lumps.
For a delightful flavor, add 1 teaspoon of vanilla extract to enhance the overall taste of your cones. The consistency should be thick but pourable; if it’s too thick, adjust it with a little more milk or water.
Allow the batter to sit for about 5 minutes to guarantee a better texture in your final cones.
Cook the Ice Cream Cone Batter
With the batter ready, it’s time to cook your ice cream cones. Here’s how to achieve perfect cones:
- Choose Your Cooking Method: Use a nonstick skillet for sugar cones or a waffle cone iron for waffle cones.
- Pour the Batter: For sugar cones, pour 2 ½ tablespoons of batter into the skillet. For waffle cones, use 3 to 3 ½ tablespoons in the waffle cone iron.
- Cook Until Golden Brown: Cook over medium heat for about 4 to 5 minutes, or until golden brown. Flip and cook for an additional 1 to 2 minutes for even cooking.
This method guarantees you make homemade cones that are deliciously crispy and ready for your favorite ice cream!
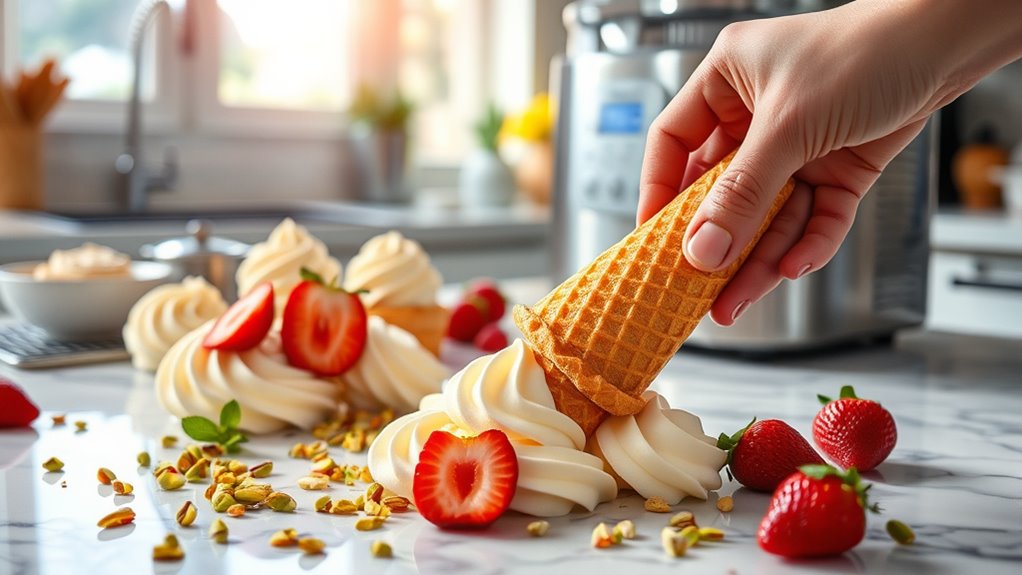
Shape the Cones

Now it’s time to shape your cones, and this is where the magic happens!
Start by removing the cooked batter disc from the skillet or waffle cone maker while it’s still warm and pliable. Carefully roll the disc from the bottom to form a cone shape, making sure to pinch the tip securely to close it. Hold the cone in place for about 10 seconds to let it set and maintain its shape.
If you’re making waffle cones, remember to keep the seam side down to prevent any leaks. For an extra touch, consider placing a small chocolate chip or piece of candy at the bottom of the cone to seal it and avoid ice cream drippage.
Enjoy your creations!
Can I Make Homemade Ice Cream Cones in Advance?

Ever wondered if you can prepare homemade ice cream cones ahead of time? The good news is, you absolutely can! Here are three key points to keep in mind:
- Homemade ice cream cones can be stored in an airtight container for up to 2 days without losing their crispiness.
- For longer storage, they can remain crispy for several days if kept in a cool, dry place.
- If they do soften, simply re-crisp them in the oven at 400°F (200°C) for a few minutes.
You can even prepare the batter for the cones ahead of time and refrigerate it for up to 3 days.
Just remember to shape the cones immediately after cooking for the best results!
Can I Make Egg-Free Homemade Ice Cream Cones?
Are you looking to enjoy homemade ice cream cones without using eggs? You can absolutely make delicious egg-free ice cream cones!
Start by preparing a batter using all-purpose flour, sugar, melted butter, and a dairy-free milk like almond or oat milk. To replace the eggs, try flax eggs or a cornstarch mixture to achieve the right binding.
Verify your batter is smooth and thin for a crispy texture during baking. Keep an eye on the baking time; you may need to adjust the temperature and monitor closely to avoid burning, since egg-free batters can act differently.
Gemmas Pro Chef Tips
When you’re ready to elevate your homemade ice cream cones, Gemma’s pro chef tips can make all the difference.
Follow these essential steps for perfect cones:
- Use a nonstick skillet or waffle cone maker for easy release and to prevent sticking.
- Roll your cones immediately after cooking while they’re still warm to maintain their shape.
- Dip the ends in melted chocolate to enhance flavor and prevent sogginess.
Adjust the sugar-to-flour ratio in your cone recipe to suit your taste, affecting the crispiness and structure.
Finally, remember to store your finished cones in an airtight container in a cool, dry place to keep them crispy for days.
Enjoy your delicious ice cream cones!
Frequently Asked Questions
How to Create an Ice Cream Cone?
To create an ice cream cone, start by mixing egg whites, sugar, flour, and melted butter to form a smooth batter.
For sugar cones, cook the batter in a skillet for about 4 to 5 minutes on each side, then quickly roll it into a cone shape.
If you prefer waffle cones, use a waffle maker. Remember to seal the bottom to prevent leaks.
For extra flavor, dip the edges in chocolate and add toppings!
What Are the Ingredients in Ice Cream Cones?
The main ingredients in ice cream cones include all-purpose flour for structure and egg whites for crispness.
You’ll want granulated sugar to sweeten the batter and help it caramelize, giving that desired crunch. Whole milk adds a rich flavor, while vanilla extract enhances the taste.
Don’t forget melted butter for moisture and a pinch of salt to balance sweetness. If you’re feeling adventurous, try variations with brown sugar or gluten-free options!
What Material Is Used for Ice Cream Cones?
Ice cream cones are primarily made from a batter consisting of all-purpose flour, egg whites, sugar, and butter. This combination gives the cones their structure and delightful flavor.
When you cook the batter, the sugar caramelizes, creating that crispy texture you love. Depending on the type, waffle cones are made in a waffle cone maker, while sugar cones can be baked or cooked in a skillet.
Additional flavorings can enhance your cone experience too!
How Do You Harden Ice Cream Cones?
To harden ice cream cones, you’ll need to shape them immediately after cooking while they’re still warm and pliable.
For waffle cones, hold the seam side down as they cool to maintain their shape. Sugar cones should also be formed while warm and can be placed on a wire rack to finish setting.
If your cones soften, re-crisp them by placing them in a preheated oven at 400°F for a few minutes.
Conclusion
Now that you’ve mastered making your own ice cream cones, you can enjoy the satisfaction of creating something delicious and unique. You’ve crafted the batter, shaped the cones, and even experimented with different flavors. So whether you’re serving them fresh or preparing them in advance, your homemade cones are sure to impress. Embrace the joy of sharing, relish the delight of tasting, and savor the sweet memories you’ll create with every scoop.