
You can whip up a delicious stevia-sweetened ice cream at home with just a few ingredients! Mix 2 cups heavy cream, 1 cup whole milk, 1 teaspoon vanilla extract, 1/2 cup stevia, and a pinch of salt. Chill the mixture, then churn it in an ice cream maker until creamy. Freeze it in an airtight container until firm. This guilt-free dessert is perfect for satisfying your sweet tooth—just wait until you see the endless flavor possibilities!
Key Takeaways
- Combine 2 cups heavy cream, 1 cup whole milk, 1/2 cup stevia, 1 teaspoon vanilla extract, and a pinch of salt in a bowl.
- Chill the mixture in the refrigerator for at least one hour to enhance flavor and texture.
- Use an ice cream maker to churn the chilled mixture until it reaches a creamy consistency.
- Transfer the churned ice cream to an airtight container and freeze until firm for best results.
- Experiment with mix-ins like nuts or fruit to customize your stevia-sweetened ice cream.
History
Stevia has a fascinating history that dates back centuries. Originating from South America, this sweet herb was used by the Guarani people long before it gained global popularity. They called it “ka’a he’e,” which means “sweet herb,” and relied on it for sweetening foods and beverages.
In the 16th century, Spanish explorers discovered stevia, but it wasn’t until the 20th century that it caught the attention of researchers. They began studying its sweet compounds, particularly stevioside. By the 1970s, stevia entered the market as a natural sweetener, especially in Japan, where it became a popular alternative to sugar.
Today, stevia is celebrated worldwide for its zero-calorie sweetness, making it a staple for those seeking healthier options in their diets.
Recipe
Indulging in ice cream doesn’t have to be a guilty pleasure, especially when you can make a delicious, creamy treat sweetened with stevia. This stevia-sweetened ice cream recipe is perfect for those looking to enjoy a dessert that’s lower in calories and free from refined sugars.
With a few simple ingredients, you can whip up a delightful batch that satisfies your sweet tooth while keeping health in mind. The beauty of this recipe lies in its flexibility. You can choose to add your favorite flavors, whether it’s vanilla, chocolate, or fruit-infused variations.
The process is straightforward, making it an excellent option for both novice and experienced home cooks. So, gather your ingredients, and let’s create a homemade ice cream that you can feel good about enjoying.
Ingredients:
- 2 cups heavy cream
- 1 cup whole milk
- 1 teaspoon vanilla extract
- 1/2 cup stevia (adjust to taste)
- Pinch of salt
Cooking Instructions:
In a mixing bowl, combine the heavy cream, whole milk, vanilla extract, stevia, and a pinch of salt. Whisk the mixture until the stevia is fully dissolved and everything is well combined.
Pour the mixture into an ice cream maker and churn according to the manufacturer’s instructions, usually about 20-30 minutes, until it reaches a soft-serve consistency. Transfer the ice cream to a lidded container and freeze for at least 4 hours or until firm before serving.
Extra Tips:
For a creamier texture, make sure your heavy cream and milk are cold before mixing. If you don’t have an ice cream maker, you can still make this recipe by pouring the mixture into a shallow dish and placing it in the freezer, stirring every 30 minutes until it reaches the desired consistency.
Feel free to experiment with mix-ins like nuts, chocolate chips, or fruit to personalize your ice cream!
Cooking Steps
To make your stevia-sweetened ice cream, start by gathering all your ingredients and tools.
Once you have everything ready, you’ll blend the ingredients thoroughly to create a smooth mixture.
After that, chilling the mixture before churning is essential for achieving the perfect creamy texture.
Step 1. Gather Ingredients and Tools
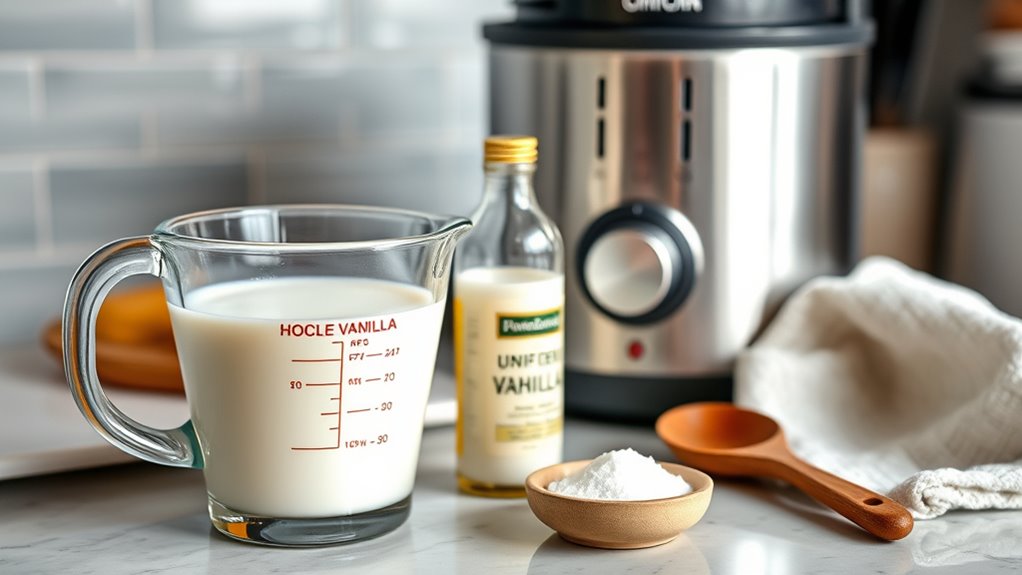
Before diving into the delightful process of making your stevia-sweetened ice cream, you’ll want to gather all the necessary ingredients and tools.
Start with the basics: heavy cream, whole milk, stevia, vanilla extract, and a pinch of salt. If you prefer a fruity twist, consider adding your favorite pureed fruit.
For tools, grab a mixing bowl, a whisk or electric mixer, and an ice cream maker. You’ll also need measuring cups and spoons for accuracy.
Don’t forget an airtight container for storing your finished ice cream. Once you’ve assembled everything, you’ll be ready to create a delicious, guilt-free treat that everyone can enjoy.
Happy prepping!
Step 2. Blend Ingredients Thoroughly
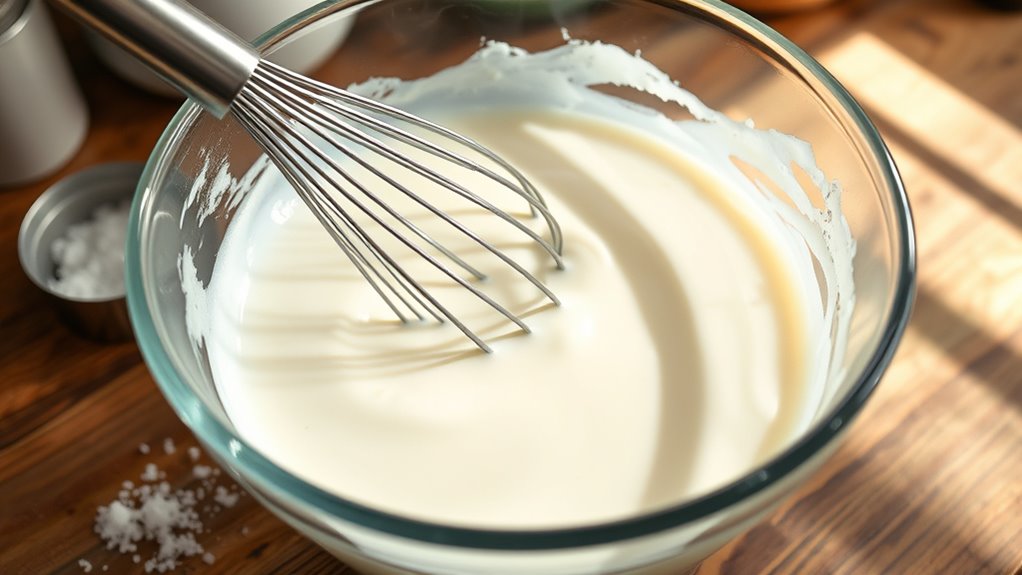
Start by combining the heavy cream, whole milk, stevia, vanilla extract, and salt in a mixing bowl.
Use a whisk or an electric mixer to blend the ingredients thoroughly until they’re well incorporated. Make certain the stevia dissolves completely, as this will guarantee a smooth and sweet flavor throughout your ice cream.
If you’re using a whisk, take your time to mix vigorously, incorporating air for a fluffy texture. You want the mixture to be uniform with no lumps.
Once you’ve achieved a consistent blend, taste the mixture to see if it needs any adjustments, like more stevia or vanilla. This step is essential for a balanced, delicious final product, so don’t rush it!
Step 3. Chill Mixture Before Churning
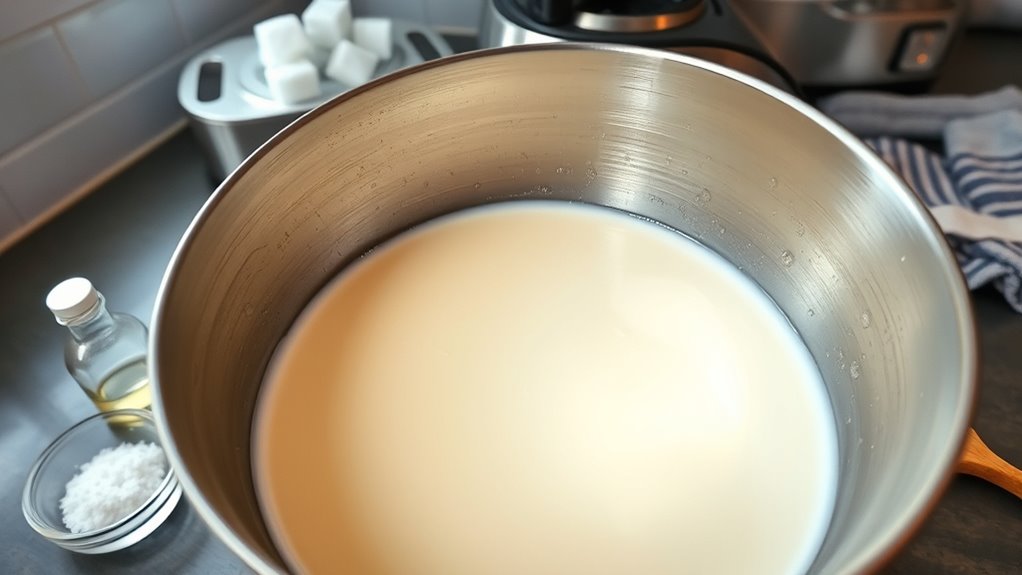
Once you’ve blended your ingredients, it’s crucial to chill the mixture in the refrigerator for at least an hour. This step helps the flavors meld together and guarantees a smoother texture when you churn it.
While it’s tempting to skip this stage for immediate gratification, taking the time to chill will greatly enhance your ice cream’s quality.
Make sure to cover the bowl or transfer the mixture into a sealed container to prevent it from absorbing any odors from your fridge.
If you’re in a hurry, you can even place the mixture in the freezer for about 30 minutes, but keep an eye on it to avoid freezing solid.
A well-chilled base will lead to a creamier final product.
Step 4. Churn Until Creamy Consistency
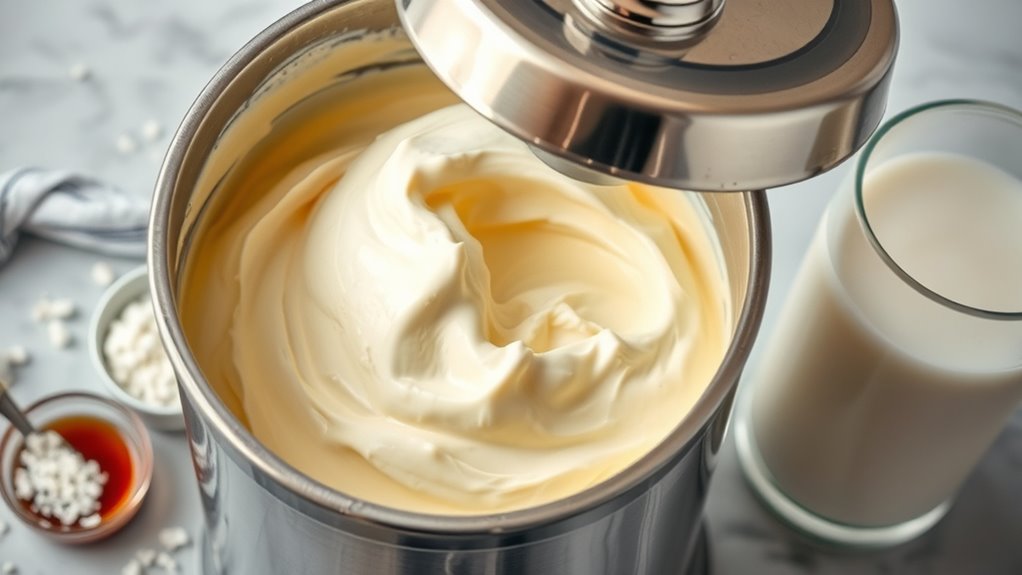
Churn your chilled mixture in an ice cream maker until it reaches a creamy consistency.
Make sure your ice cream maker is prepped according to the manufacturer’s instructions. Pour the chilled mixture into the machine and turn it on.
Let it churn for about 20 to 30 minutes, or until you see it thickening and becoming smooth. Keep an eye on it; the texture should be soft yet hold its shape.
If you’re using a manual machine, be prepared to invest some elbow grease! Once it’s creamy, you can stop the machine.
This step is essential, as it incorporates air into the mixture, giving your ice cream a light and fluffy texture.
Enjoy the process—it’s almost time for the final freeze!
Step 5. Freeze Until Firm
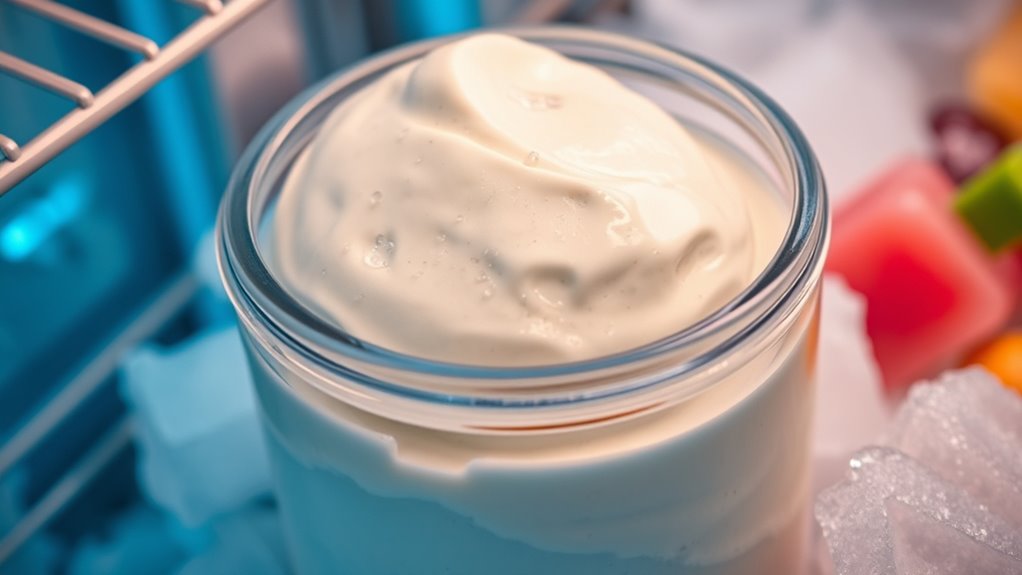
After you’ve achieved that creamy consistency, it’s time to freeze your ice cream until firm.
Pour the mixture into an airtight container, ensuring it’s spread evenly. Cover the container tightly to prevent ice crystals from forming.
Place it in the freezer, and let it chill for about 4 to 6 hours, or until it’s solid. If you prefer a scoopable texture, consider stirring the ice cream every hour for the first few hours. This helps maintain that creamy consistency you love.
Once it’s firm, take it out and let it sit for a few minutes before serving. Enjoy your homemade stevia-sweetened ice cream, and feel proud of your healthy treat!
Final Thoughts
As you savor your homemade stevia-sweetened ice cream, it’s clear that this healthier alternative can satisfy your sweet tooth without the guilt.
You’ve created a delicious treat that doesn’t compromise on flavor while being lower in calories and sugar. Experimenting with different flavors can make your ice cream experience even more exciting.
Whether you add fruits, nuts, or chocolate, the possibilities are endless. Plus, making it at home means you control the ingredients, ensuring a wholesome snack for you and your loved ones. Incorporating probiotics in frozen yogurt can also enhance the health benefits of your dessert.
Get creative with your ice cream by adding fruits, nuts, or chocolate for a personalized and wholesome treat!
So, don’t hesitate to indulge in this delightful dessert. With each scoop, you’re not just enjoying ice cream; you’re embracing a healthier lifestyle.
Enjoy every bite and share your creation with friends and family!
Frequently Asked Questions
Is Stevia Safe for People With Diabetes?
Yes, stevia is generally safe for people with diabetes.
It’s a natural sweetener that doesn’t raise your blood sugar levels, making it a suitable alternative to sugar. Many studies suggest that stevia can help manage your diabetes while satisfying your sweet cravings.
However, it’s always a good idea to monitor your blood sugar and consult with your healthcare provider before making significant changes to your diet.
Enjoy using stevia as part of your healthy lifestyle!
Can I Use a Different Sweetener Instead of Stevia?
Sure, you can use a different sweetener instead of stevia, but isn’t it amusing how you’d choose something like sugar to avoid the calories?
You’ve got plenty of options like erythritol, monk fruit, or even agave. Each has its own unique flavor profile and sweetness level.
Just remember to adjust the quantities accordingly; you wouldn’t want your dish to taste like a science experiment gone wrong!
How Long Does Stevia-Sweetened Ice Cream Last in the Freezer?
When you store stevia-sweetened ice cream in the freezer, it’ll typically last about two to three months.
To maintain its best texture and flavor, make sure you keep it in an airtight container.
If you notice ice crystals forming on the surface, it’s still safe to eat, but the quality might decrease.
Always check for any off smells or flavors before indulging, just to be on the safe side!
What Are the Nutritional Benefits of Using Stevia?
Using stevia offers several nutritional benefits.
It’s a natural sweetener with zero calories, making it a great choice for weight management. You’ll find it doesn’t spike blood sugar levels, which is beneficial for those managing diabetes.
Stevia also contains antioxidants, contributing to overall health. Plus, it’s derived from the leaves of the stevia plant, keeping it free from artificial additives.
Can I Add Flavors to Stevia-Sweetened Ice Cream?
You might be surprised to find that adding flavors to stevia-sweetened ice cream isn’t only possible, but it’s also a fantastic way to enhance the taste!
Whether you’re craving chocolate, vanilla, or fruity options, you can mix in extracts, purees, or cocoa powder.
Just remember to adjust the amount of stevia to guarantee it stays sweet enough.
Experimenting with flavors can lead to delightful new creations you’ll love sharing!