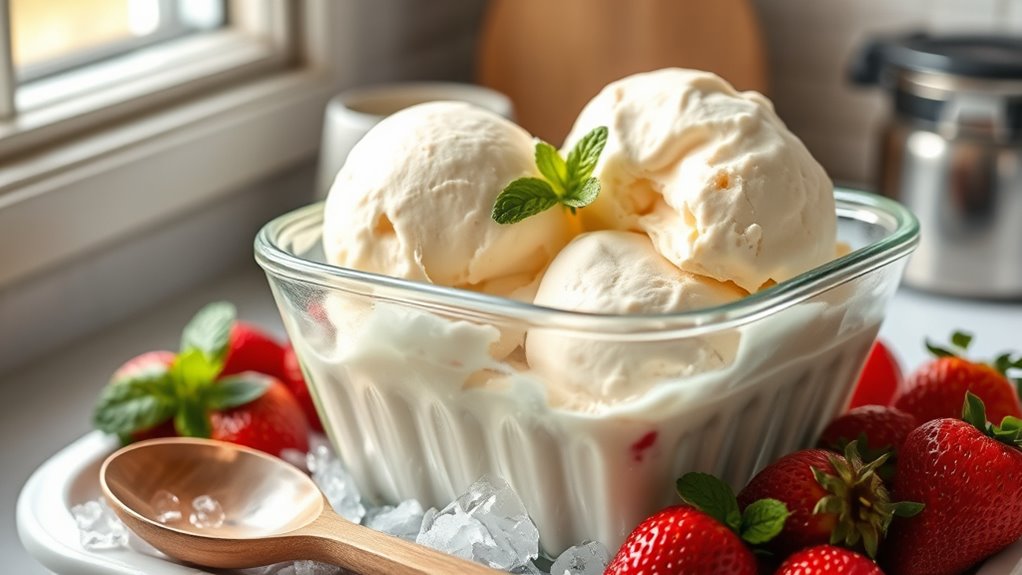
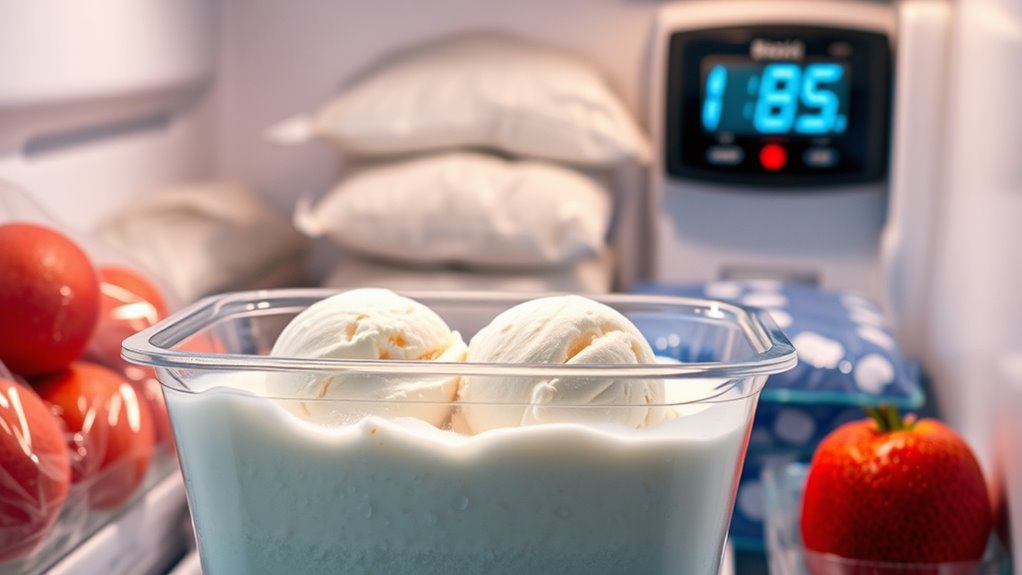
To store homemade ice cream, use an airtight container to keep it fresh. Press plastic wrap directly onto the surface to minimize air exposure, and seal the container tightly. It’s best to maintain a consistent freezer temperature at or below 0°F (-18°C). Consume your ice cream within one to two weeks for the best flavor and texture. Continue exploring more tips and techniques to guarantee your delicious treat stays as good as day one!
Key Takeaways
- Use an airtight container to minimize air exposure and keep your homemade ice cream fresh.
- Press plastic wrap directly onto the ice cream surface before sealing to limit air contact.
- Store ice cream at a consistent temperature of 0°F (-18°C) or lower for optimal preservation.
- Consume homemade ice cream within one to two weeks for the best flavor and texture.
- Regularly check for ice crystals or freezer burn to maintain quality while in storage.
Key Takeaways

When you store homemade ice cream properly, you can enjoy its delightful flavors and textures for longer.
Start by using an airtight ice cream container to keep your treat fresh and prevent ice crystals from forming. To maintain its quality, press plastic wrap directly onto the surface of the ice cream before sealing the container tightly. This minimizes air exposure, which can affect the creamy texture.
Using an airtight container and pressing plastic wrap onto the ice cream’s surface helps preserve its freshness and creamy texture.
Keep your freezer door closed as much as possible to guarantee a steady temperature of 0°F (-18°C) or lower, extending its shelf life.
While homemade ice cream can last up to a month, aim to consume it within one to two weeks for the best flavor and texture. Regularly check for signs of spoilage too.
How to Store Homemade Ice Cream With Proper Storage

To guarantee your homemade ice cream stays fresh and delicious, it’s essential to store it properly right after churning.
Transfer your ice cream to airtight containers promptly to minimize air exposure and prevent ice crystals from forming. Fill the containers to the top and seal tightly, placing plastic wrap directly on the surface of the ice cream before sealing to further reduce air contact.
For ideal texture and flavor, store it at a consistent temperature of 0°F (-18°C) or lower, ideally at the back of the freezer.
Keeping an eye out for signs of spoilage, you should consume your homemade ice cream within one to two weeks for the best overall quality while preventing freezer burn.
Best Containers for Ice Cream

Storing homemade ice cream effectively starts with choosing the right container. Specialty ice cream containers are great for ideal storage, but you can also use freezer-safe plastic containers like Tupperware or Rubbermaid, which are affordable and easy to stack.
A standard 9×5-inch loaf pan is another practical option, especially when lined with a layer of plastic wrap to prevent freezer burn. Shallow pie pans, holding about two pints, offer a wide surface area for scooping and also require similar covering methods to avoid crystallization.
Whichever container you choose, make sure it minimizes air exposure with tight-fitting lids or additional layers of plastic wrap to keep your ice cream fresh and delicious!
Effective Sealing Methods

While it might be tempting to simply place your homemade ice cream in a container and call it a day, effective sealing methods are essential for preserving its quality.
Start by covering the surface with plastic wrap or wax paper to minimize exposure to air and prevent ice crystal formation. Next, use an airtight container with a tightly closed lid to keep your ice cream fresh.
For added protection, consider wrapping the container in aluminum foil to shield against moisture and odors from the freezer. If you plan to consume your ice cream over time, transfer it to smaller containers as you go, ensuring ideal flavor and texture while keeping your ice cream safe from freezer burn.
Minimizing Air Exposure

Minimizing air exposure is essential for keeping your homemade ice cream delicious and smooth. To achieve this, cover the surface with plastic wrap before sealing it in an airtight container for storing. This simple step helps minimize air exposure and prevents unwanted ice crystal formation.
For extra protection, consider adding aluminum foil over the plastic wrap to block moisture and odors. Additionally, fill your storage containers to the top to reduce air pockets, ensuring your creamy goodness maintains its texture and flavor.
As you enjoy your frozen treat, transfer leftover ice cream into smaller containers to limit trapped air when opening and closing larger ones. Regularly check for signs of freezer burn to keep your ice cream fresh.
Avoiding Temperature Fluctuations

Keeping your homemade ice cream smooth and delicious doesn’t stop with minimizing air exposure; you also need to take into account temperature control.
To effectively store homemade ice cream, place it in the back of the freezer, where temperatures are more consistent. This helps prevent temperature fluctuations that can lead to unwanted ice crystals. Maintaining a steady freezer temperature at or below 0°F (-18°C) is essential for preserving texture and flavor, as temperature fluctuations can negatively affect the quality of frozen foods. Regularly monitoring your freezer’s air quality indicators can help ensure optimal storage conditions. Additionally, the use of home security systems can help protect your appliances from unexpected power issues, ensuring your ice cream stays frozen.
Limit freezer door openings to avoid warm air exposure, which can compromise quality. Using an insulated ice cream container adds an extra layer of protection, helping maintain the ideal coldness during power outages or door openings. Additionally, regularly check your freezer settings to confirm optimal storage conditions and ensure proper airflow around the unit.
Determining Ice Cream Shelf Life

To guarantee you get the most out of your homemade ice cream, it’s important to know its shelf life. Ideally, you should store your homemade ice cream in airtight containers to prevent air inside and large ice crystals from forming.
For the best flavor and texture, aim to enjoy your ice cream within a week or two of making it. If stored correctly, it can last up to a month in the freezer.
However, always check for signs of spoilage, like off-flavors, unusual odors, or texture changes. Keeping ice cream at a consistent freezer temperature of 0°F (-18°C) or lower is essential for extending its shelf life and ensuring it remains safe to eat.
Tips for Maintaining Quality

While you might be excited to dig into your homemade ice cream, taking a few extra steps to maintain its quality can make all the difference. Here are some tips to keep your ice cream tasting its best:
Taking a few extra steps to maintain your homemade ice cream can make all the difference in taste and quality.
- Transfer promptly: Move your ice cream to an airtight container right after churning to minimize air exposure and prevent ice crystal formation.
- Cover it up: Place plastic wrap directly on the surface of the ice before sealing the container, ensuring it stays fresh and protected from freezer burn.
- Choose wisely: Use wide, shallow containers for storing homemade ice; they promote faster freezing and easier scooping.
Regularly check for spoilage—if you notice ice crystals or off-flavors, it’s best to discard it to avoid ruining your favorite ice cream experience.
Frequently Asked Questions
What Is the Best Container to Store Homemade Ice Cream In?
The best container for storing homemade ice cream is one that’s airtight and sturdy, like plastic, glass, or metal. You don’t need fancy specialty containers; repurposed ice cream tubs work just fine.
Choose long, shallow options like loaf pans for quicker freezing and easier scooping. Fill your container to the top and cover it with plastic wrap to reduce air exposure.
Regularly check for ice crystals or off-flavors to keep your ice cream fresh.
Is It Better to Store Ice Cream in Glass or Plastic?
Storing ice cream in plastic is like wrapping a gift in a cozy blanket—it’s warm and protective.
You’ll find plastic containers are better than glass for freezing conditions. They won’t crack and are easier to scoop from when your ice cream gets solid.
Plus, plastic’s insulation properties help keep the temperature consistent, reducing freezer burn and preserving flavor.
For the best results, choose sturdy, airtight, freezer-safe plastic containers designed for ice cream.
How Long Will Homemade Ice Cream Last?
Homemade ice cream can last up to a month in the freezer if you store it properly.
However, for the best quality, try to eat it within one to two weeks. After that, you might notice changes in texture and flavor.
If you see ice crystals or detect off-flavors, it’s time to toss it. Keeping your ice cream at a steady temperature of 0°F (-18°C) helps extend its freshness.
Can I Store Homemade Ice Cream in a Mason Jar?
Yes, you can store homemade ice cream in a mason jar.
Just make certain you use a wide-mouth jar for easy scooping. Before filling, verify it’s clean and dry to avoid contamination.
Fill the jar to the top to reduce air exposure, which prevents ice crystals. Seal it tightly, and consider adding plastic wrap on top for extra protection.
Finally, keep the jar at the back of the freezer for the best results.
Conclusion
By following these storage tips, you’ll keep your homemade ice cream tasting fresher than a summer breeze. Choose the right container, seal it tightly, and minimize air exposure to prevent freezer burn. Remember to keep it at a consistent temperature to maintain that creamy goodness. With these simple steps, your ice cream can last longer than a polar bear in a snowstorm, ensuring every scoop is a delight. Enjoy your frozen masterpiece!


