
When tackling simple DIY repairs, prioritize safety by wearing the right gear, following tool instructions, and unplugging tools when not in use. Choose proper tools suited for each task and avoid makeshift solutions. Don’t rush, skip planning, or use the wrong tools, as these mistakes can cause injuries or damage. Staying cautious and prepared helps you succeed—if you keep going, you’ll discover more tips to make your repairs safer and easier.
Key Takeaways
- Always read and follow manufacturer safety instructions for power tools.
- Wear appropriate safety gear like goggles, gloves, and masks during repairs.
- Use the proper tools suited for each specific task to ensure safety and effectiveness.
- Avoid rushing, improvising, or using damaged tools to prevent accidents and damage.
- Plan your repair project thoroughly and stay updated on safety guidelines and techniques.
Essential Do’s for Successful DIY Repairs
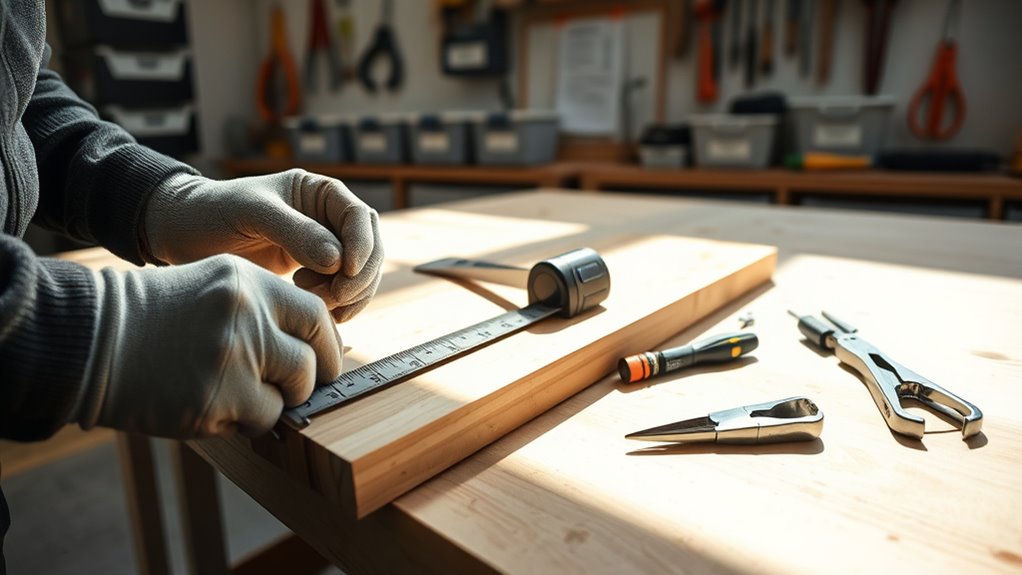
To guarantee your DIY repairs go smoothly, it’s important to follow some basic do’s that set you up for success. First, prioritize power tool safety by always reading the manufacturer’s instructions and wearing appropriate safety gear. This helps prevent accidents and injuries. Next, focus on proper tool selection—using the right tools for each task makes your work easier and safer. For example, choose a screwdriver suited to the screw type, or a drill with the correct bit. Avoid using damaged or makeshift tools, as they can compromise your safety and the quality of your repair. Additionally, understanding Gold IRA Rollovers can provide insight into safeguarding your investments during financial repairs or planning. By sticking to these do’s, you reduce risks and ensure your project progresses efficiently, giving you confidence that your DIY repairs are both safe and successful.
Common Don’ts to Avoid During Home Fixes
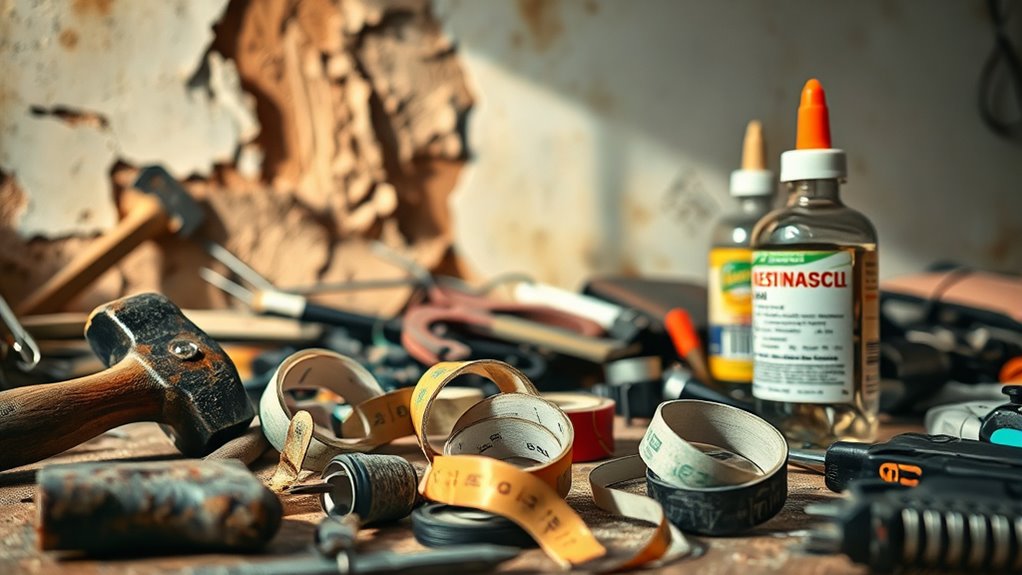
Avoid rushing into repairs without proper planning, as this often leads to mistakes or safety hazards. One common don’t is neglecting power tool safety; always read instructions and wear protective gear. Using the wrong tools for a job can cause damage or injury, so verify proper tool selection before starting. Don’t improvise with tools that aren’t designed for the task, as this increases risks and may ruin your repair. Avoid working in a rush or under pressure—taking your time helps prevent accidents and ensures quality work. Also, don’t ignore safety precautions, like unplugging power tools when not in use or when changing accessories. Staying cautious and prepared helps you avoid costly mistakes and keeps your DIY projects safe and successful. Additionally, understanding projector technology can help you make better choices when repairing or setting up your home theater equipment.
Frequently Asked Questions
How Do I Know When to Call a Professional Instead of DIY?
You should call a professional when your DIY repair shows failure signs like persistent leaks, electrical issues, or structural problems. If your home repair budget starts to inflate due to repeated attempts, it’s time to seek expert help. Don’t push through risky tasks beyond your skill level, as DIY failure signs can lead to bigger, costly issues. Knowing when to call a pro saves you time, money, and potential safety hazards.
What Safety Gear Is Essential for Home Repairs?
You should always wear personal protective equipment like gloves, safety goggles, and a dust mask for home repairs. These safeguard you from hazardous materials and debris. When handling chemicals or paints, use appropriate masks and gloves to prevent skin contact and inhalation. Hearing protection is essential for loud tasks, and a sturdy helmet can protect your head from falling objects. Always prioritize safety gear to keep yourself safe during DIY projects.
How Can I Prevent Future Damage After Fixing Something?
To prevent future damage after fixing something, focus on regular preventative maintenance. Inspect your repairs periodically, looking for signs of wear or new issues. Keep up with routine tasks like cleaning, lubricating, and tightening connections, which help damage avoidance. Address small problems promptly before they escalate. By staying proactive, you ensure your repairs last longer and avoid costly fixes down the line.
What Tools Are Must-Haves for Basic DIY Repairs?
You need a basic toolkit with essential hand tools like screwdrivers, pliers, a hammer, and measuring tape for most DIY repairs. Power tools like a drill and a jigsaw are must-haves for efficiency and precision. Keep a level and utility knife handy too. These tools help you tackle common tasks confidently, saving time and ensuring quality work. Investing in good quality tools makes future repairs easier and more successful.
How Do I Troubleshoot if a Repair Doesn’t Work?
When a repair doesn’t work, start with common troubleshooting steps. Check if you followed the correct procedure and verify all connections are secure. Test the power supply or switch to rule out simple issues. If problems persist, review your work for overlooked details or damage. Don’t hesitate to consult online guides or ask for advice. Effective repair troubleshooting helps you identify the root cause and fix it efficiently.
Conclusion
By following these do’s and don’ts, you’ll steer clear of pitfalls and sail smoothly through your DIY journey. Think of yourself as a skilled captain steering choppy waters—staying steady and prepared keeps your repairs afloat. Remember, patience and attention are your compass, guiding you to success. With confidence and care, you’ll transform your home from chaos to calm, turning every fix into a proud victory. Happy repairing!