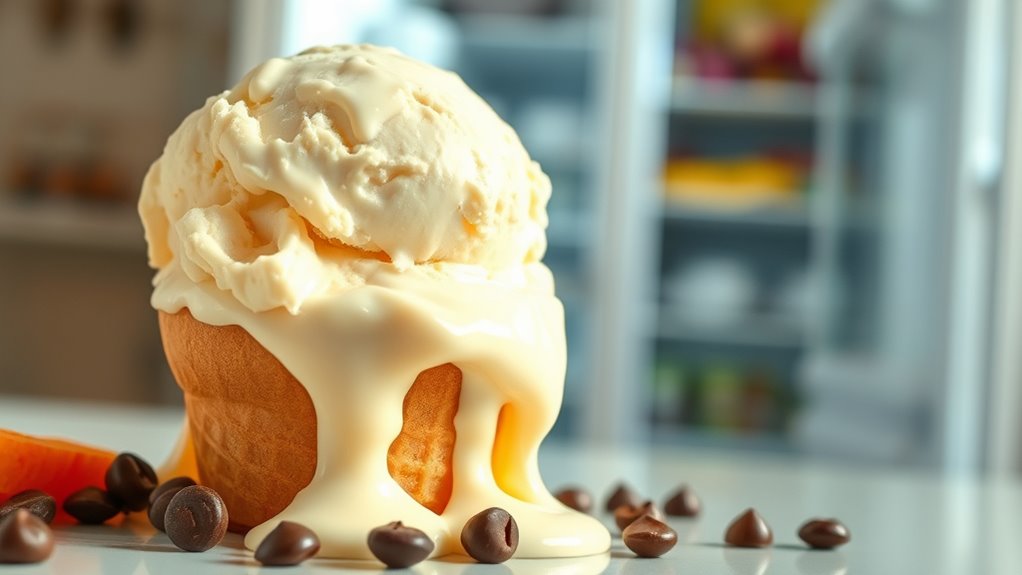

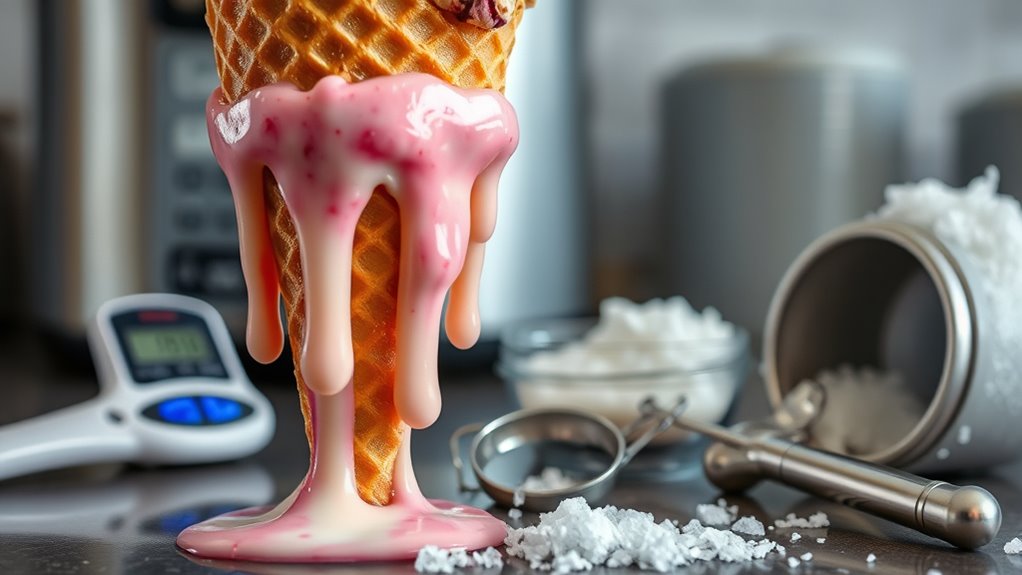
If your ice cream’s too soft, it could be due to improper chilling, worn scraper blades, or low refrigerant levels. Confirm you chill your mixture to around 40°F (4°C) to break up ice crystals. Regularly check the air circulation and adjust ingredient ratios to maintain a balance of fat and sugar. Monitor your machine’s temperature during churning to prevent melting. For more tips on achieving the perfect texture, keep exploring the best practices for ice cream making.
Key Takeaways
- Ensure proper air circulation around the machine by maintaining at least six inches of clearance on all sides.
- Regularly inspect and replace worn scraper blades to improve scraping efficiency and texture.
- Chill the mixture down to 40°F (4°C) before churning to break up ice crystals for a smoother consistency.
- Maintain a consistent low temperature during churning; avoid pausing the machine to prevent melting and larger ice crystals.
- Use accurate ingredient ratios, aiming for 14-18% fat content, and incorporate stabilizers to enhance texture and prevent ice crystal formation.
Common Causes of Soft Ice Cream
When your ice cream turns out too soft, it can be frustrating, especially if you’re expecting that perfect scoop. Several factors contribute to this issue.
Inadequate air circulation around your machine can lead to poor cooling; verify there’s at least 6 inches of clearance on all sides.
Worn scraper blades may fail to scrape efficiently from the freezing cylinder, allowing large ice crystals to form.
If your product sits too long in the cylinder, it can lose its firmness; regularly refresh it with new mix.
Blocked air tubes or pumps can disrupt airflow, affecting consistency, so keep them clean.
Finally, low mix levels or changes in viscosity setting may require adjustments to maintain the desired texture.
Importance of Chilling the Mixture
Chilling your ice cream mixture is key to achieving that perfect texture and flavor.
When you cool it down to around 40°F (4°C) or lower, you help break up ice crystals, ensuring a smoother consistency.
Plus, this step enhances flavor infusion, making each scoop even more delicious.
Optimal Mixture Temperature
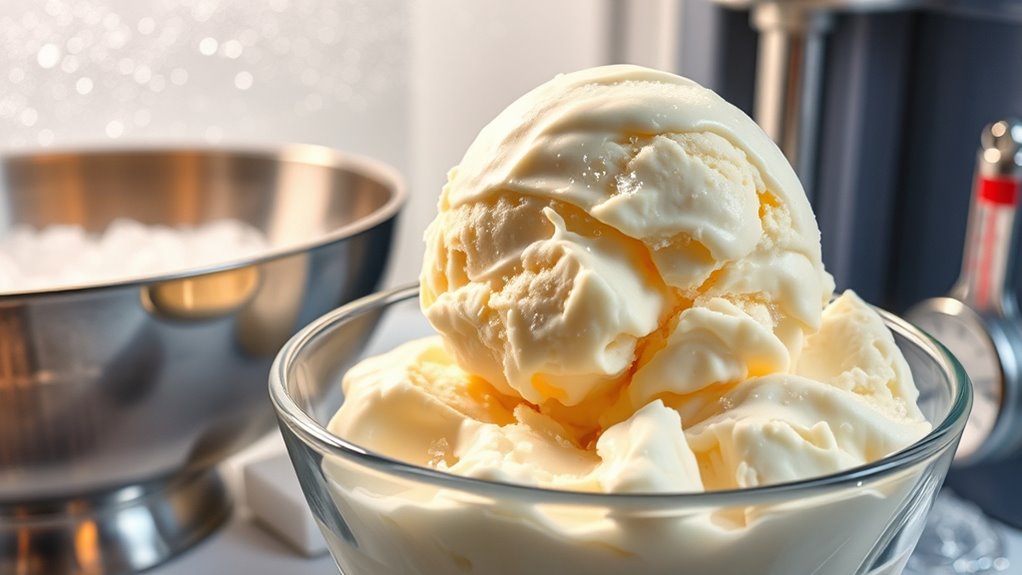
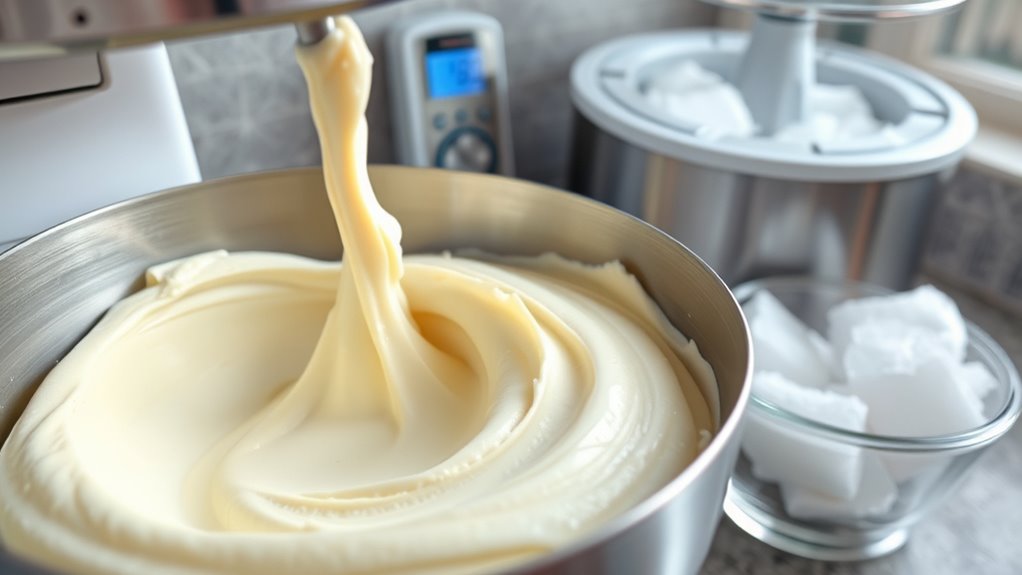
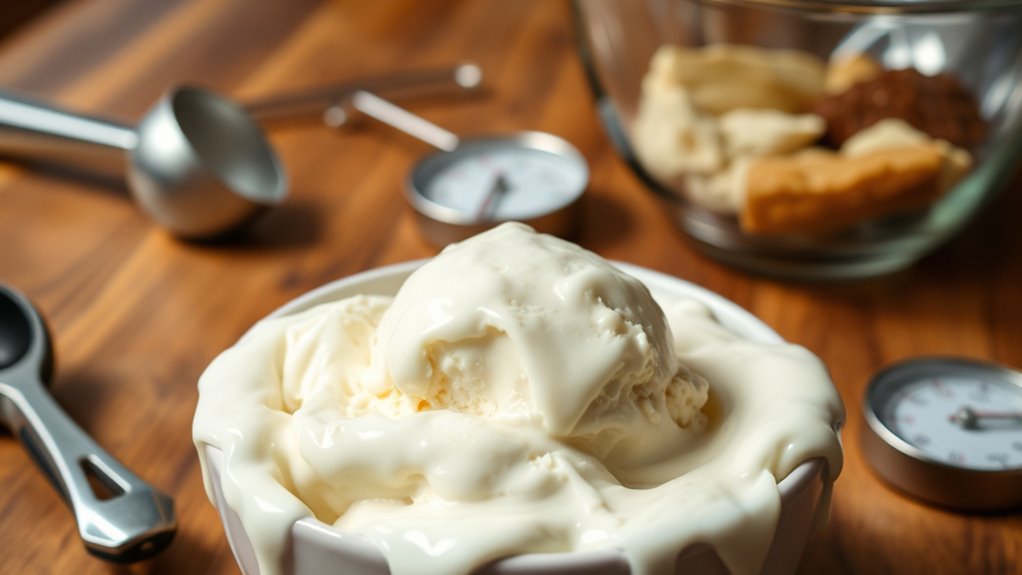
To achieve that perfect creamy texture in your ice cream, it’s essential to chill the mixture before freezing. The ideal mixture temperature is key; chilling it for at least one hour helps break up any initial ice crystals, resulting in a smoother final product.
Make sure your ice cream machine bowl is pre-frozen for at least 12 hours. This guarantees the mixture freezes quickly and evenly during churning, reducing the time to freeze.
Set your freezer to the lowest temperature while chilling the mixture to promote better consistency and texture. Additionally, using a hand blender to emulsify the chilled mixture can enhance creaminess and prevent large ice crystals from forming, assuring you get the best results.
Ice Crystal Formation
Achieving the right texture in ice cream hinges on the formation of ice crystals, which largely depends on how well you chill your mixture.
Chilling your ice cream mixture for at least an hour before freezing is essential. This process helps break up ice crystals, resulting in a smoother, creamier texture.
For best results, make sure your ice cream maker bowl is frozen for a minimum of 12 hours; this allows it to reach the right temperature for effective freezing.
Maintaining a low temperature in your freezer during the pre-chilling phase also helps minimize the chances of large ice crystals forming.
A well-prepared mixture will yield that delightful soft serve consistency you’re aiming for, making each scoop a treat!
Enhanced Flavor Infusion
While you might think that the freezing process is the key to great ice cream, the chilling of your mixture plays an essential role in flavor infusion. By chilling your base for at least one hour before churning, you help break down ice crystals, leading to a smoother texture.
A properly chilled mixture freezes faster in the ice cream maker, resulting in smaller ice crystals and a creamier consistency. This pre-chilling also allows flavors to meld together more effectively, enhancing the overall taste.
For even better results, use an immersion blender to create a uniform consistency. Don’t forget to pre-freeze your ice cream bowl for at least 12 hours to maintain the ideal freezing temperature during the process. Additionally, be mindful of the high sugar content in your mixture, as it can affect both texture and flavor.
Checking Your Ice Cream Maker

Checking your ice cream maker is essential to achieving that perfect scoop of frozen delight. Start by confirming the bowl is pre-frozen for at least 12 hours to maintain ideal freezing temperatures.
Regularly inspect your scraper blades; worn blades can hinder efficient scraping, resulting in a softer product. Don’t forget to monitor the refrigerant levels in your ice cream maker, as low refrigerant may lead to insufficient freezing, causing your ice cream to turn out too soft.
Additionally, keep your machine well-ventilated with at least six inches of clearance around it for proper air circulation. If you’re experimenting with a new product mix, adjust the viscosity settings on your machine to confirm the right consistency.
Maintaining Proper Temperature During Churning
To achieve the perfect ice cream texture, you need to maintain a consistent low temperature during churning.
Pausing your machine can cause the mixture to warm up, so keep it running until it’s ready.
Regularly check the temperature to guarantee you’re on track for a firmer final product.
Consistent Churning Temperature
Maintaining a consistent churning temperature is essential for achieving the perfect ice cream texture. Even slight warming can lead to melting and larger ice crystals, resulting in a softer final product.
Here are some tips to guarantee your homemade ice cream has the right texture and air content:
- Pre-cool your ice cream machine for at least 15 minutes before use.
- Freeze the ice cream bowl for at least 12 hours (preferably overnight) to maintain low temperatures.
- If your timer goes off, be ready to add extra churning time to prevent melting.
Avoid Machine Pauses
While you might be tempted to take a break during churning, doing so can lead to warming and melting, which makes your ice cream too soft.
To achieve that perfect texture, it’s essential to keep your machine running without interruptions. If your timer hits zero, be ready to add more time while the machine is still running, ensuring consistent freezing temperatures.
The ice cream maker should be properly pre-cooled for at least 15 minutes before you start. Monitor the mixture closely and avoid pausing at all costs; any interruptions can disrupt the freezing process, leading to larger ice crystals that ruin the texture.
Stick to continuous churning for the best results!
Ingredient Ratios and Their Impact
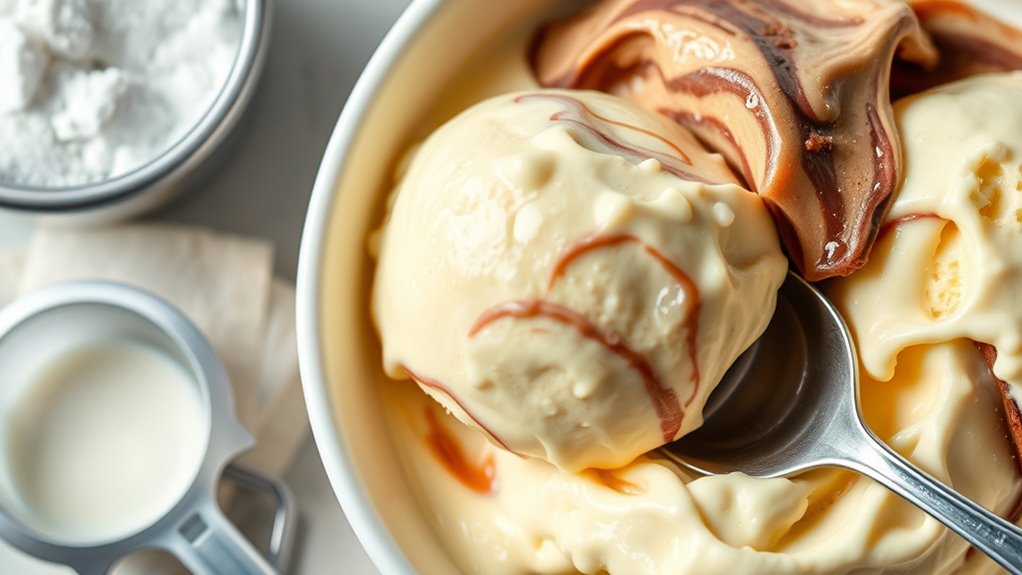
Getting the ingredient ratios right is essential for achieving the perfect ice cream texture. Balancing fat, sugar, and water is vital; too little fat can lead to icy ice, while excessive water produces a soft product. Aim for 14-18% fat content to guarantee creamy ice cream, as fat globules help reduce ice crystal formation.
Here are some tips to take into account:
- Use fruits with lower water content or roast them to reduce moisture.
- Incorporate stabilizers to prevent excessive ice crystal formation.
- Measure ingredients accurately; even slight deviations can greatly impact texture. Additionally, understanding the fat content standards can help you create a more authentic ice cream experience.
The Role of Air Content in Texture
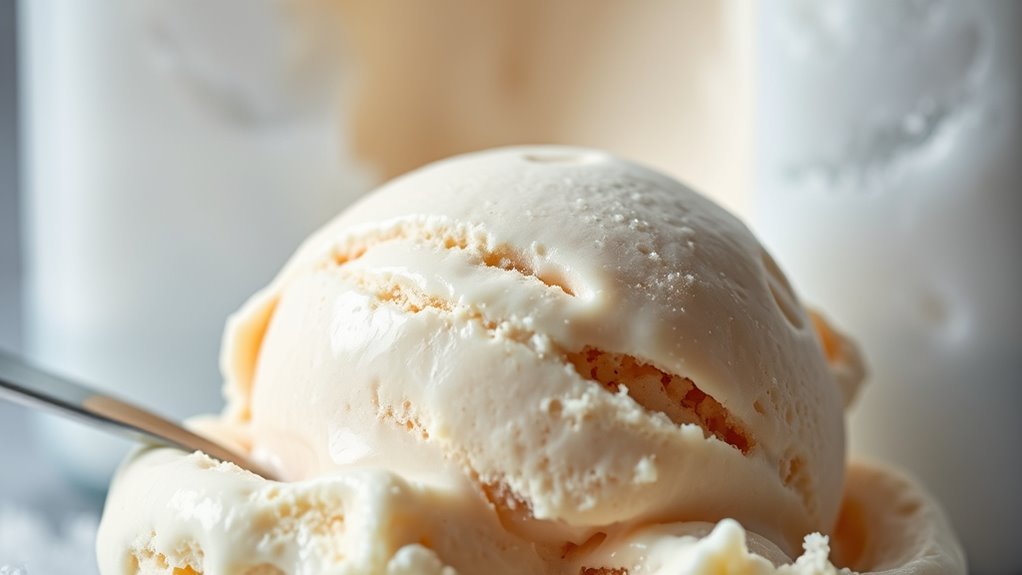
Air content is an essential ingredient in achieving the perfect ice cream texture. The ideal overrun, or air content, ranges from 35% to 60%, creating that light and airy consistency you love. When the overrun is too low, your ice cream can turn dense and heavy, resembling a solid block rather than a smooth treat.
| Overrun Level | Texture Description |
|---|---|
| Low (0-35%) | Dense and heavy |
| Ideal (35-60%) | Light and creamy |
| High (60%+) | Overbeaten, airy loss |
| Too Dense | Limited air incorporation |
During freezing, it’s vital to balance air and fat; excessive fat can limit air incorporation, negatively impacting texture. Additionally, incorporating frozen yogurt into your dessert repertoire can provide a lighter, refreshing alternative when you want to keep things cool! Keep an eye on your churning time to maintain that perfect mouthfeel!
Troubleshooting Overrun Issues
Achieving the perfect texture in ice cream relies heavily on managing overrun, and troubleshooting any issues is key to maintaining that delightful lightness.
If your soft serve is too dense, check the following:
- Freezing cylinder: Verify it isn’t freezing for too long, which can lead to low overrun.
- Refrigerant levels: Monitor these closely; low levels can affect freezing temperatures and overall texture.
- Air incorporation: Adjust viscosity settings on your machine to improve air circulation during churning.
Tips for Achieving the Right Consistency
To guarantee your ice cream has the right consistency, start by chilling your mixture thoroughly before churning. A colder base leads to faster freezing and smaller ice crystals, enhancing texture.
Chill your mixture thoroughly before churning for a smoother, creamier ice cream with fewer ice crystals.
Don’t forget to pre-freeze your ice cream maker bowl for at least 12 hours; this maintains ideal freezing temperatures during churning, preventing a soft final product.
Keep an eye on your churning time, as prolonged mixing can cause overbeating. This results in a dense and soft texture due to loss of air content.
Also, balance fat and sugar in your recipe; too little fat can lead to hardness, while too much can hinder proper freezing.
Finally, let your frozen product set in the freezer for a few hours for a firmer texture.
Best Practices for Serving and Storing Ice Cream
While enjoying your homemade ice cream, it’s crucial to know how to serve and store it properly to maintain its quality.
Follow these best practices to keep your ice cream from becoming too soft:
- Remove ice cream from the freezer 15 minutes before serving for easier scooping. Aesthetic serveware can enhance the presentation of your ice cream and create a delightful experience for your guests. Additionally, serving ice cream with light and healthy alternatives like fresh fruit can provide a balanced treat. Understanding the caffeine content in coffee and its effects can help you create the perfect pairing for your dessert.
- Store ice cream in an airtight container and cover the surface with wax or parchment paper to prevent freezer burn.
- Keep ice cream at a consistent temperature, ideally at 0°F (-18°C) or lower, by placing it in the coldest part of the freezer.
Avoid frequently opening the freezer, as temperature fluctuations can create ice crystals and degrade your ice cream’s texture. Additionally, be mindful of the high sugar and fat content in ice cream, as this can affect its firmness if not stored properly.
Frequently Asked Questions
How Do You Make Ice Cream Firmer?
To make your ice cream firmer, start by balancing your mixture’s fat, sugar, and stabilizers.
Chill your ice cream mixture in the refrigerator for at least an hour before you churn it.
Pre-freeze your ice cream maker bowl for at least 12 hours to guarantee rapid cooling.
You can also add a splash of alcohol to lower the freezing point.
Monitor the churning closely to achieve the ideal texture without overdoing it.
Why Is My Ice Cream Not Firming Up?
Imagine your ice cream’s like a cozy blanket; if it’s not properly woven, it won’t keep you warm.
When your ice cream isn’t firming up, it could be that your mixture wasn’t chilled enough before churning, or maybe your ice cream maker’s bowl wasn’t frozen long enough.
You might’ve also added too many watery ingredients, which can turn your treat into a slushy mess.
Keep these factors in mind for a firmer finish!
Why Is My Ice Cream Soft but Everything Else Is Frozen?
If your ice cream’s soft while everything else in the freezer’s frozen, it could be due to a few issues.
You might’ve inadequate refrigeration or a cooling system malfunction in your ice cream machine. Check for worn scraper blades, as they can hinder proper scraping.
Also, make sure there’s enough air circulation around the machine and that the mix levels in the freezing cylinder are sufficient to avoid softness.
Regular maintenance can help too!
Why Is My Ice Cream Not Getting Hard?
When your ice cream’s not getting hard, think of it as a delicate dance. You might’ve skipped a vital step.
If your mixture wasn’t chilled enough before churning, or if you didn’t churn it long enough, you’ll end up with a soft treat.
Also, consider your ice cream maker’s bowl; it needs to be frozen solid.
Finally, check your recipe—too much water content can lead to a slushy situation.
Conclusion
In the world of ice cream, a delicate balance exists between creamy perfection and a soupy disaster. By addressing common pitfalls—like ingredient ratios and churning temperatures—you can transform your soft, disappointing treat into a scoopable delight. While the joy of homemade ice cream is undeniable, the frustration of a too-soft batch can linger. Armed with these tips, you can guarantee each scoop is a satisfying experience, turning your kitchen into an ice cream paradise rather than a chilly regret.