To make delicious white chocolate ice cream, melt 1 cup of white chocolate chips, then mix in 2 cups of heavy cream, 1 cup of whole milk, 3/4 cup of sugar, and a pinch of salt. Chill for 30 minutes, add 1 teaspoon of vanilla extract, and fold in whipped cream carefully. Pour into your ice cream maker and churn according to instructions. You’ll want to try it with toppings for a special touch! More tips await below!
Key Takeaways
- Combine 1 cup of melted white chocolate with 2 cups of heavy cream, 1 cup of whole milk, 3/4 cup sugar, and 1 teaspoon vanilla extract.
- Chill the mixture for 30 minutes to enhance flavors before folding in whipped cream for a light texture.
- Pour the mixture into an ice cream maker and churn according to the manufacturer’s instructions until it reaches a soft-serve consistency.
- Transfer the ice cream to an airtight container, placing parchment paper on top to prevent ice crystals, and freeze until firm.
- Serve with toppings like fresh fruits, nuts, or chocolate sauce for added flavor and enjoyment.
History
While you might think of white chocolate as a modern treat, its roots trace back to the early 20th century.
Initially, it emerged as a byproduct of cocoa butter extraction, which left behind a creamy, sweet substance. Many chocolate makers began experimenting with this new ingredient, blending it with sugar and milk to create a unique flavor that differed from traditional dark chocolate.
By the 1930s, white chocolate gained popularity, especially in Europe. Over the years, it found its way into various confections and desserts.
You’ve probably noticed how its smooth texture and sweet taste have captivated dessert lovers everywhere.
Today, white chocolate isn’t just a delightful treat; it’s a versatile ingredient used in countless recipes, including ice cream.
Recipe
Indulging in a creamy and luscious white chocolate ice cream is a delightful way to cool down on a warm day. This homemade treat isn’t only easy to make but also offers a rich and velvety texture that’s hard to resist. With just a few simple ingredients, you can create a decadent dessert that will impress family and friends alike. The sweet, buttery notes of white chocolate blend beautifully with the creamy base, making it a perfect addition to any dessert table.
Experience the bliss of homemade white chocolate ice cream, a rich and creamy delight perfect for warm days and special occasions.
To get started, you’ll want to have your ice cream maker ready, as this recipe requires churning to achieve the finest texture. The key to a successful white chocolate ice cream lies in using high-quality white chocolate, which will elevate the flavor and make your ice cream truly stand out. Whether you enjoy it on its own, topped with fresh fruits, or drizzled with chocolate sauce, this white chocolate ice cream is sure to become a favorite in your dessert repertoire.
Ingredients:
- 1 cup white chocolate chips
- 2 cups heavy cream
- 1 cup whole milk
- 3/4 cup granulated sugar
- 1 teaspoon vanilla extract
- Pinch of salt
- Optional: crushed nuts or chocolate shavings for garnish
To prepare the white chocolate ice cream, begin by melting the white chocolate chips in a heatproof bowl over a pot of simmering water or in the microwave, stirring until smooth.
In a separate bowl, whisk together the heavy cream, whole milk, sugar, vanilla extract, and salt until well combined. Once the white chocolate has melted and cooled slightly, fold it into the cream mixture until fully incorporated.
Pour the mixture into your ice cream maker and churn according to the manufacturer’s instructions, typically about 20-25 minutes, until it reaches a soft-serve consistency. Transfer the ice cream to an airtight container and freeze for at least 4 hours or until firm.
When making white chocolate ice cream, be sure to let the ice cream mixture chill in the refrigerator for a few hours before churning, as this can enhance the final texture. Additionally, if you prefer a richer flavor, consider adding a splash of almond extract or a hint of espresso powder to the mixture.
This ice cream can be stored in the freezer for up to two weeks, but it’s best enjoyed fresh for maximum creaminess.
Cooking Steps
To whip up your white chocolate ice cream, start by melting the white chocolate gently.
Next, whisk in the heavy cream and let the mixture chill for 30 minutes to enhance the flavors.
After that, you’ll add vanilla extract and fold in the whipped cream for that perfect creamy texture.
Step 1. Melt White Chocolate Gently

Gently melting white chocolate is essential for achieving that smooth, creamy texture without burning it. Start by chopping the chocolate into small, even pieces to help it melt uniformly.
Place the chopped chocolate in a heatproof bowl. You can use either a double boiler or the microwave for melting. If you choose the microwave, heat the chocolate in short bursts of 15-20 seconds, stirring in between to prevent overheating.
If you use a double boiler, simmer water in the bottom pot and place the bowl with chocolate on top, making sure it doesn’t touch the water. Stir continuously until the chocolate is just melted and silky.
Once you achieve that perfect consistency, remove it from heat right away.
Step 2. Whisk in Heavy Cream
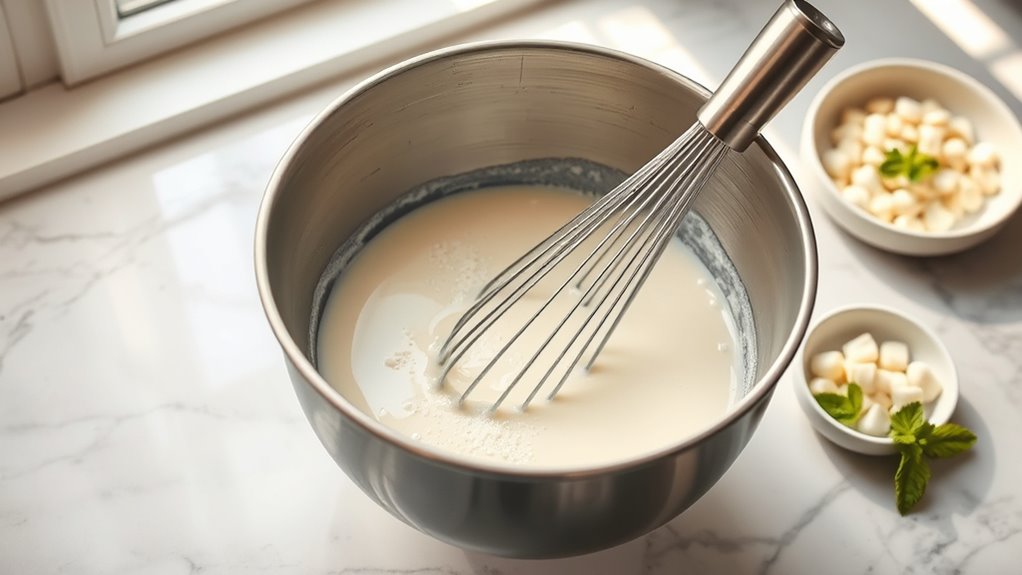
Now that your white chocolate is melted and smooth, it’s time to whisk in the heavy cream.
Pour the heavy cream into the bowl with the melted white chocolate. Using a whisk, gently combine the two ingredients, ensuring they blend seamlessly.
Keep whisking until the mixture is uniform and creamy, with no streaks of chocolate or cream remaining. This step is essential for achieving that rich, velvety texture in your ice cream.
If you notice any lumps, continue whisking until everything is perfectly smooth. Once you’re satisfied with the consistency, set your mixture aside for the next steps.
Step 3. Chill Mixture for 30 Minutes
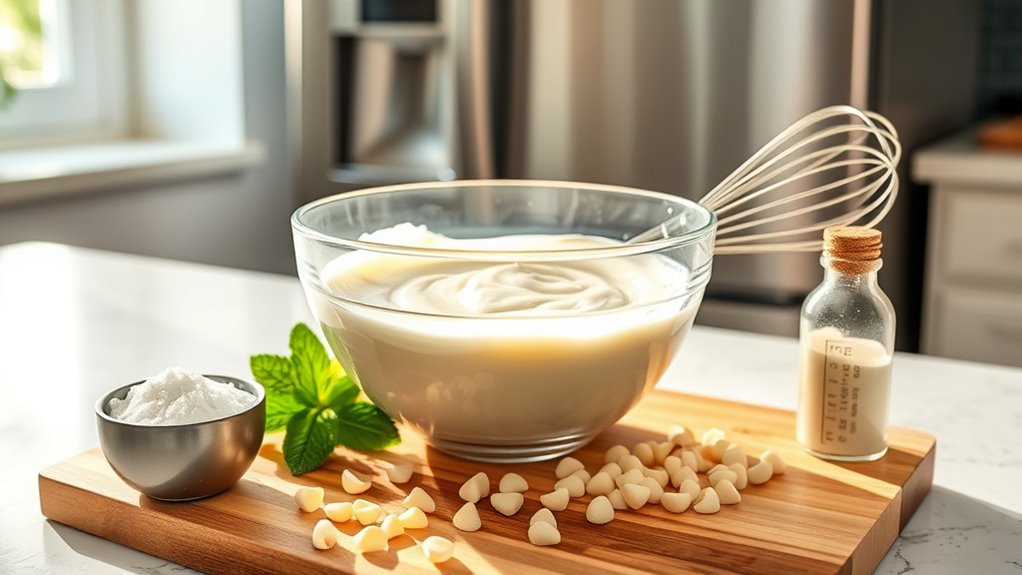
Chilling your mixture for 30 minutes is an essential step in crafting the perfect white chocolate ice cream. This brief refrigeration period allows the flavors to meld and enhances the overall texture of your ice cream.
To do this, pour your mixture into a bowl and cover it with plastic wrap or a lid, guaranteeing it’s airtight. Place it in the refrigerator, where the cool temperature helps to thicken the mixture slightly, making it easier to churn later.
Don’t skip this step; a well-chilled mixture guarantees smoother ice cream and a creamier final product. After the 30 minutes are up, you’ll be ready to move on to the next step and elevate your homemade ice cream to a whole new level!
Step 4. Add Vanilla Extract

Adding vanilla extract is a simple yet essential step in enhancing the flavor of your white chocolate ice cream. Once your mixture has chilled for 30 minutes, take it out and prepare to elevate that creamy goodness.
Measure about one to two teaspoons of pure vanilla extract—this’ll depend on your taste preference. Carefully pour the vanilla into the chilled mixture, ensuring it blends evenly.
Stir gently but thoroughly using a spatula or whisk. This not only infuses the ice cream with a rich, aromatic flavor but also complements the sweetness of the white chocolate.
Be sure to taste the mixture after adding the vanilla, adjusting if necessary, to get it just right before moving on to the next steps.
Step 5. Fold in Whipped Cream

Gently fold in the whipped cream to your chilled white chocolate mixture for that light, airy texture.
Start by dolloping a third of the whipped cream into the white chocolate base. Using a spatula, carefully cut through the mixture and lift it, turning the bowl as you go. This technique helps maintain the whipped cream’s volume.
Continue adding the whipped cream in thirds, folding slowly until no streaks remain. Make sure not to overmix, as you want to keep that fluffy consistency.
Once fully incorporated, your ice cream base will be smooth and creamy. Now, it’s ready for the next step—transfer it to your ice cream maker or a container for freezing. Remember, moderation is key when enjoying ice cream’s high sugar content, and savor that delicious outcome!
Final Thoughts
As you savor your homemade white chocolate ice cream, it’s clear that this treat is a delightful way to indulge your sweet tooth.
The creamy texture and rich flavor make every scoop a moment to cherish. You’ve crafted something special, and whether you enjoy it on a hot summer day or as a comforting dessert, it’s bound to impress.
Feel free to experiment with mix-ins like berries or nuts to personalize your creation. Sharing it with friends and family can turn a simple dessert into a memorable occasion.
Don’t forget to store any leftovers properly, so you can relish this treat again later. Enjoy your delicious masterpiece, and don’t hesitate to make it a regular part of your dessert rotation!
Frequently Asked Questions
Can I Use Milk Chocolate Instead of White Chocolate?
Yes, you can definitely use milk chocolate instead of white chocolate!
Just keep in mind that it’ll change the flavor and sweetness of your dish. Milk chocolate has a richer taste and might make your final product a bit darker.
If you’re okay with those changes, go ahead and swap it out.
Just melt the milk chocolate and incorporate it the same way you’d with white chocolate for a delicious twist!
How Long Does Homemade Ice Cream Last in the Freezer?
Homemade ice cream can last in the freezer for about two to three weeks, but it’s best enjoyed fresh.
While it might seem tempting to save it for months, the texture and flavor can deteriorate. You’ll notice ice crystals forming, which can ruin that creamy delight you love.
Is It Possible to Make This Recipe Dairy-Free?
Yes, it’s definitely possible to make a dairy-free version!
You can substitute regular milk and cream with coconut milk, almond milk, or cashew cream to achieve a creamy texture.
For white chocolate flavor, look for dairy-free chocolate options or make your own using cocoa butter, sweetener, and vanilla.
Just make sure to blend everything well, and you’ll end up with a delicious dairy-free treat that still satisfies your sweet tooth!
What Type of White Chocolate Is Best for Melting?
When you’re melting white chocolate, you want smoothness and flavor.
Look for high-quality brands with cocoa butter for a rich taste and silky texture. Avoid those with fillers or vegetable fats, as they can lead to clumping.
Consider using chips or bars; both work well, but bars often melt more evenly.
You’ll enjoy the creamy consistency and delightful sweetness when you choose wisely, ensuring your creation shines with each bite.
Can I Add Mix-Ins Like Nuts or Fruit?
Yes, you can definitely add mix-ins like nuts or fruit! Just make sure to chop them into smaller pieces so they blend well.
When you mix them in, do it gently to avoid breaking up the base too much. Try adding them during the last few minutes of churning or fold them in after it’s done.
This way, you’ll get a delicious burst of flavor and texture in every bite!