
To make walnut ice cream, toast 1 cup of chopped walnuts in a skillet. In a saucepan, combine 2 cups of heavy cream, 1 cup of whole milk, 3/4 cup of sugar, and 1/2 teaspoon salt, heating until sugar dissolves. Whisk 4 egg yolks, temper with the cream, and cook until thickened. Chill, then churn until creamy. Freeze for a few hours to solidify. This treat’s rich flavor and crunch will impress everyone. Discover more about the process ahead!
Key Takeaways
- Gather essential ingredients: 1 cup chopped walnuts, 2 cups heavy cream, 1 cup whole milk, 3/4 cup sugar, 1 teaspoon vanilla extract, and egg yolks.
- Toast walnuts in a skillet for 5-7 minutes to enhance their flavor before adding to the ice cream mixture.
- Heat heavy cream, milk, sugar, and salt until the sugar dissolves, then temper egg yolks with this warm mixture.
- Cook the combined mixture over low heat until it thickens slightly, then cool and refrigerate for at least 4 hours.
- Whip chilled cream, mix with the walnut mixture, and freeze in an airtight container for 4 to 6 hours until solid.
History
Ice cream has a rich history that dates back centuries, and walnut ice cream is no exception. You might be surprised to learn that nuts, including walnuts, were among the earliest ingredients used in frozen desserts.
Ancient civilizations, like the Chinese, experimented with ice mixed with fruit and nuts, setting the stage for future creations. As ice cream gained popularity in Europe during the 17th century, walnuts found their way into recipes, adding a delightful crunch and unique flavor.
Recipe
Making walnut ice cream at home is a delightful way to enjoy a creamy, nutty treat. This recipe combines the rich flavor of toasted walnuts with a smooth vanilla base, creating a deliciously indulgent dessert perfect for any occasion. The process is simple and can be done with or without an ice cream maker, making it accessible for everyone.
Before you begin, verify you have all your ingredients ready and your workspace clean. Toasting the walnuts brings out their natural oils and enhances their flavor, so don’t skip this step. Once you have your toasted walnuts mixed into the base, the ice cream will need to chill for a few hours before it can be churned or frozen, so plan ahead for the best results.
Ingredients:
- 1 cup walnuts, chopped
- 2 cups heavy cream
- 1 cup whole milk
- 3/4 cup granulated sugar
- 1 teaspoon vanilla extract
- 1/2 teaspoon salt
- 4 large egg yolks
Instructions:
Begin by toasting the walnuts in a skillet over medium heat until they’re golden brown and fragrant, about 5-7 minutes.
In a saucepan, combine the heavy cream, whole milk, sugar, and salt, and heat over medium heat until the sugar dissolves.
In a separate bowl, whisk the egg yolks. Gradually pour the warm cream mixture into the yolks while whisking continuously to temper the eggs.
Return the mixture to the saucepan and cook over low heat until it thickens slightly, about 5-10 minutes.
Remove from heat, stir in the vanilla extract, and fold in the toasted walnuts. Allow the mixture to cool, then refrigerate for at least 4 hours or overnight before churning in an ice cream maker or freezing in a container.
Extra Tips:
For an even richer flavor, consider adding a splash of maple syrup or a sprinkle of cinnamon to the base before churning.
If you don’t have an ice cream maker, simply pour the mixture into a shallow dish and freeze, stirring every 30 minutes until it reaches your desired consistency.
Additionally, you can experiment with different nuts or mix-ins, such as chocolate chips or dried fruits, to customize your walnut ice cream to your liking.
Enjoy your homemade treat!
Cooking Steps
Now that you’ve gathered your ingredients, it’s time to start making your walnut ice cream.
First, you’ll chop the walnuts finely and mix them with the cream.
After that, you’ll chill the mixture for two hours to get the perfect texture.
Step 1. Chop Walnuts Finely
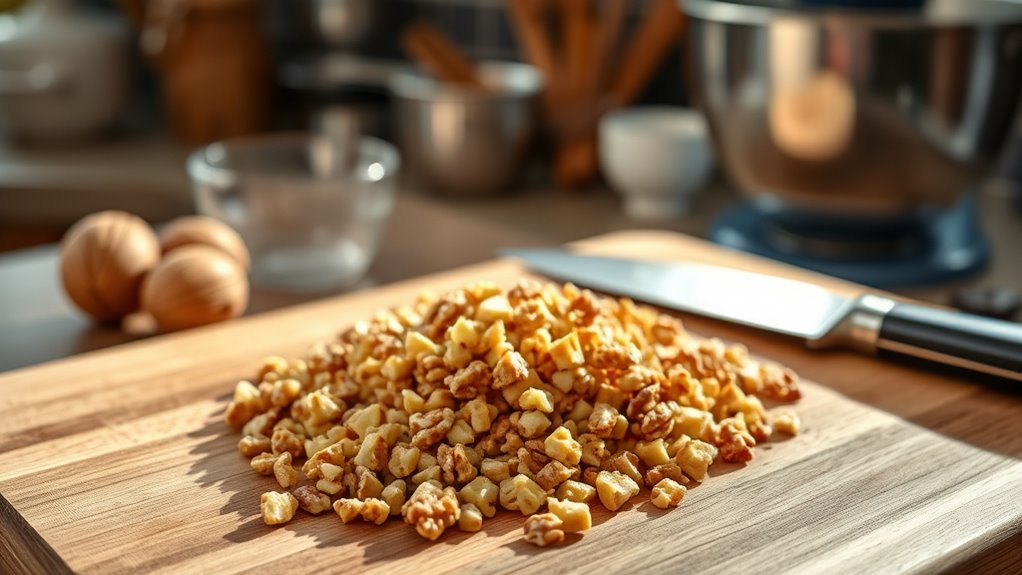
To achieve a delightful texture in your walnut ice cream, finely chopping the walnuts is essential.
Start by measuring out your walnuts; around one cup should do. Place them on a cutting board and use a sharp chef’s knife to chop them into small pieces.
If you prefer, you can also use a food processor for a quicker method—just pulse the walnuts a few times until they reach a fine consistency. Be careful not to over-process, as you don’t want walnut butter!
After chopping, check the size of the pieces; aim for a mix of finely chopped and slightly larger bits for a nice crunch. This step sets the foundation for your delicious walnut ice cream.
Step 2. Mix Walnuts With Cream
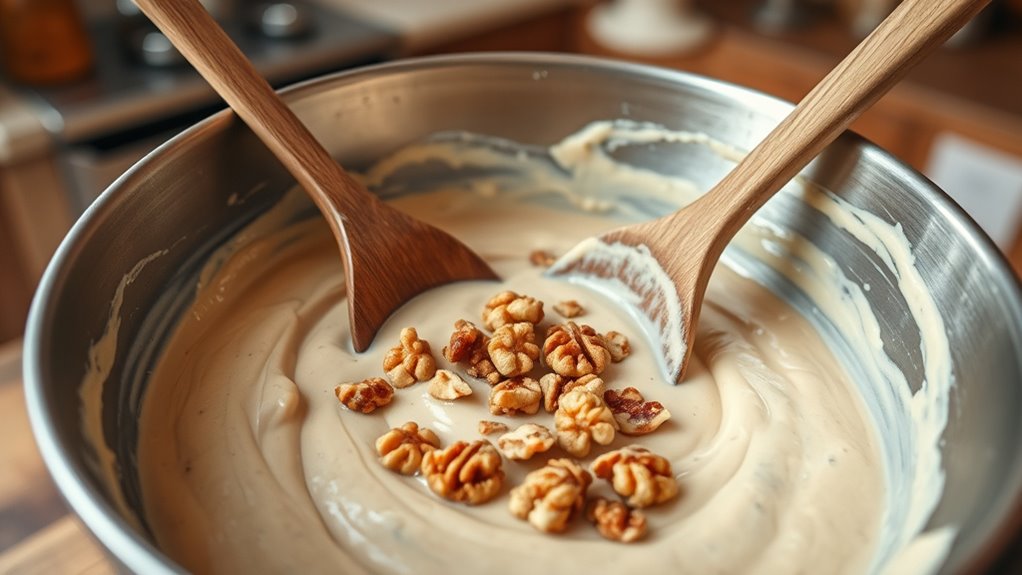
Once you’ve got your walnuts finely chopped, it’s time to combine them with the cream for a rich and creamy texture.
In a medium bowl, pour your heavy cream and begin whisking until it thickens slightly. You want it to hold soft peaks but not become too stiff.
Gradually fold in your chopped walnuts, ensuring they’re evenly distributed throughout the cream. This step enhances the flavor and adds delightful crunch to your ice cream.
If you’re using sugar, mix it in at this stage, adjusting the sweetness to your preference.
Make sure to be gentle while folding, as you don’t want to deflate the cream. Enjoy the delightful aroma of walnuts as you prepare for the next steps!
Step 3. Chill Mixture for Two Hours
After you’ve mixed your walnuts with the cream, it’s important to chill the mixture for at least two hours. This step helps the flavors meld beautifully, enhancing the overall taste of your ice cream.
Pour the mixture into a suitable container, ensuring it’s covered tightly to prevent any unwanted freezer odors from seeping in. Place it in the refrigerator, allowing it to cool down completely.
This chilling process not only thickens the mixture but also prepares it for the next steps in your ice cream-making journey. You’ll notice that the longer you let it chill, the creamier the texture will become when you finally churn it.
Trust me, this waiting period is worth it for a delightful walnut ice cream!
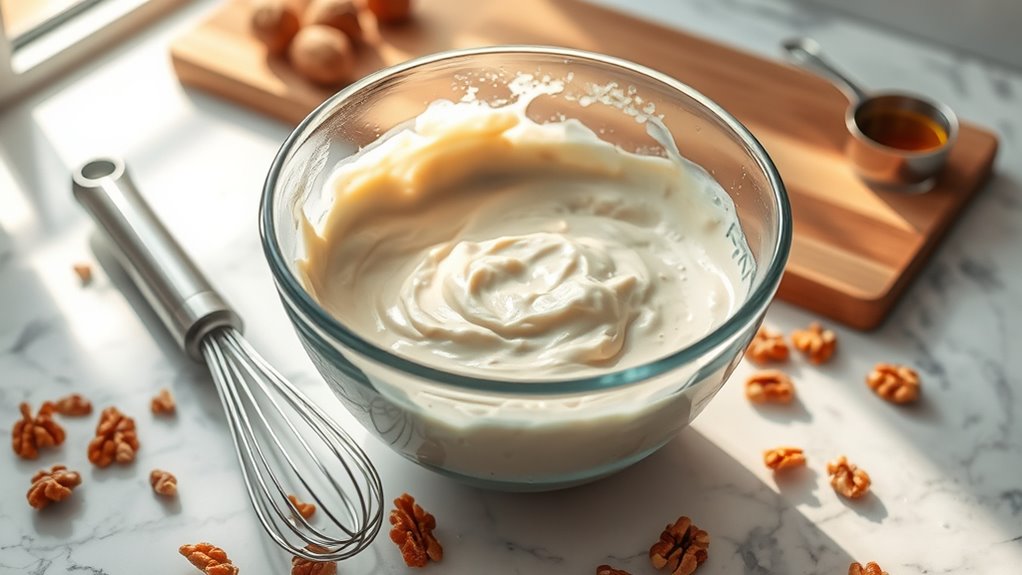
Step 4. Whip Cream Until Fluffy

Whip the chilled cream in a mixing bowl until it transforms into soft peaks, creating a light and airy texture. Use an electric mixer on medium speed for best results, guaranteeing you don’t overwhip, which can lead to a grainy consistency.
Keep an eye on the cream as it thickens; you want it to hold its shape but still be smooth. Once you achieve the desired fluffiness, stop the mixer.
If you’re adding sugar or vanilla for extra flavor, do so gradually while whipping to guarantee even distribution.
Gently fold in the whipped cream into your walnut mixture, combining both until they’re well blended. This step is essential for achieving that creamy, delightful texture in your homemade walnut ice cream.
Step 5. Freeze Mixture Until Solid
To achieve that perfect walnut ice cream texture, you’ll need to freeze the mixture until it’s solid.
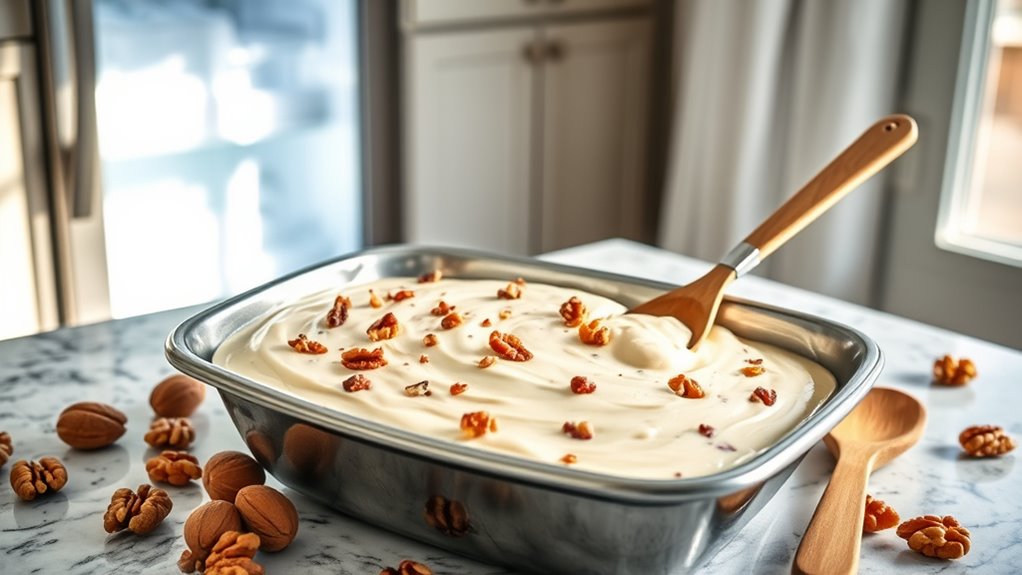
Start by pouring the whipped cream and walnut mixture into an airtight container. Make sure it’s evenly spread to promote even freezing. Seal the container tightly to prevent ice crystals from forming, which can ruin the creaminess.
Place the container in your freezer, and let it chill for about 4 to 6 hours. If you want a smoother texture, stir the mixture every hour for the first few hours.
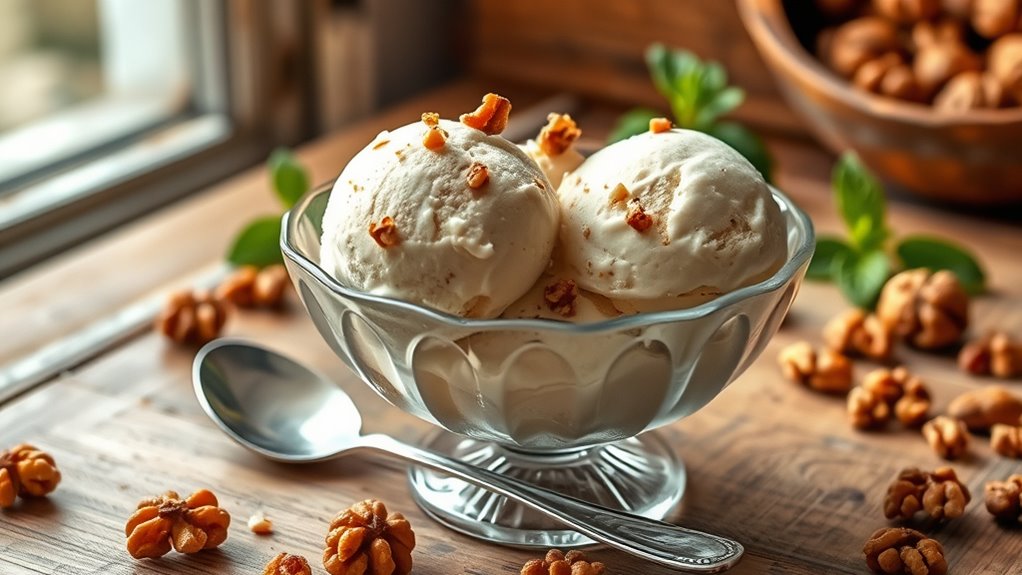
Once it’s firm and scoopable, it’s ready to serve. Enjoy your homemade walnut ice cream with your favorite toppings or on its own! You’ve earned this delicious treat!
Final Thoughts
While you might be tempted to plunge into another dessert, take a moment to appreciate the creamy goodness of homemade walnut ice cream. This delightful treat combines rich flavors and crunchy textures that can elevate any occasion. With just a few simple ingredients and some patience, you can create a dessert that’s not only delicious but also a crowd-pleaser.
Don’t be afraid to experiment by adding your favorite mix-ins or adjusting the sweetness to suit your taste. Remember, the joy of making ice cream lies in the process and the enjoyment of sharing it with others. So, the next time you crave something sweet, whip up a batch of walnut ice cream, and indulge in a homemade delight that’s sure to impress!
Frequently Asked Questions
Can I Use Unsweetened Walnut Butter Instead of Whole Walnuts?
You can definitely use unsweetened walnut butter instead of whole walnuts in your recipe.
It’ll give you a creamy texture and a rich walnut flavor, but keep in mind the consistency might change. You might want to adjust the other ingredients to maintain the balance.
Since walnut butter is smoother, your final product could be silkier, which can be a delightful twist.
Just remember to taste as you go to achieve the desired flavor!
How Can I Make This Ice Cream Dairy-Free?
If you want to create the richest, creamiest dairy-free ice cream ever, you’re in for a treat!
Start with coconut milk or cashew cream for that luscious texture. Blend in some maple syrup for sweetness, and don’t forget to add a splash of vanilla for flavor magic.
Toss in your favorite dairy-free mix-ins, and you’ll have an ice cream that’ll make everyone forget all about traditional dairy!
Enjoy your creamy masterpiece!
What Is the Best Way to Store Leftover Walnut Ice Cream?
To store leftover ice cream, you’ll want to transfer it to an airtight container.
Make sure to smooth the top before sealing to minimize air exposure, which can cause freezer burn. If you’ve got space, you can place a piece of parchment paper directly on the surface before sealing.
Store it in the coldest part of your freezer, and it should stay fresh for about two weeks, though it’ll likely disappear sooner!
Can I Add Other Flavors to Walnut Ice Cream?
Imagine a scoop of creamy delight, swirling with a hint of chocolate or a burst of raspberry.
You absolutely can add other flavors to walnut ice cream! Just fold in your favorite extracts or purees during the mixing process.
Think chocolate chips, caramel swirls, or even a sprinkle of cinnamon for extra warmth.
Don’t be afraid to experiment; the combination of flavors can create a unique and delicious treat that’ll surprise your taste buds!
Is There a Vegan Version of Walnut Ice Cream?
Yes, you can definitely make a vegan version of walnut ice cream!
You’ll want to replace traditional dairy with plant-based alternatives like coconut milk, almond milk, or cashew cream.
Blend your chosen milk with sweeteners and chopped walnuts for that nutty flavor.
Feel free to add vanilla extract or other vegan-friendly flavorings to enhance it.
Once mixed, churn it in an ice cream maker or freeze it in a container for a delicious treat!