
To make a delicious soy-free coconut milk ice cream, start with 2 cans of full-fat coconut milk, ¾ cup of maple syrup, 1 teaspoon vanilla extract, and a pinch of sea salt. Blend until smooth, chill for a few hours, then churn in an ice cream maker for 20-30 minutes. Feel free to add mix-ins like fruit or chocolate chips for fun flavors. Keep going to discover more tips for the perfect homemade treat!
Key Takeaways
- Use 2 cans of full-fat coconut milk, ¾ cup maple syrup, 1 teaspoon vanilla extract, and ¼ teaspoon sea salt for the base recipe.
- Blend the ingredients until smooth, then chill the mixture in the freezer for 2-4 hours before churning.
- Churn the chilled mixture in an ice cream maker for 20-30 minutes, adjusting sweetness to taste before serving.
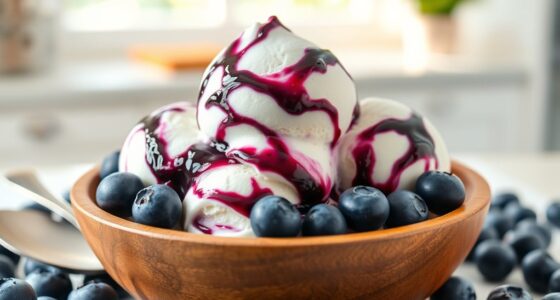
- Consider adding mix-ins like chocolate chips, fruit, or nuts for extra flavor and texture.
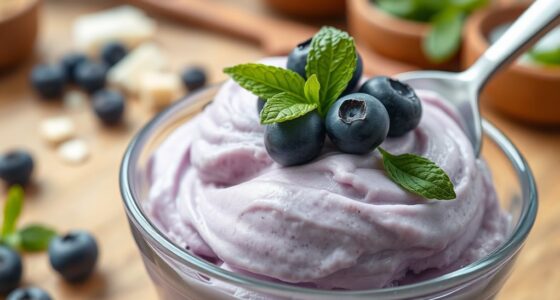
- Serve on its own or topped with fresh fruits and nuts for a delightful treat.

Nostalgia Electric Ice Cream Maker With 4 Qt Capacity- Old Fashioned Ice Cream Machine Makes Frozen Yogurt or Gelato in Minutes- Vintage Wooden Style Ice Cream Maker with Aluminum Canister- Light Wood
- Quick and Easy Ice Cream: Make 4 quarts in minutes
- Versatile Frozen Desserts: Create gelato, frozen yogurt, and more
- Family-Friendly Fun: Safe and simple for kids to use
As an affiliate, we earn on qualifying purchases.
As an affiliate, we earn on qualifying purchases.
History
Coconut milk ice cream has a rich history that dates back centuries, particularly in tropical regions where coconuts thrive. You’d find this creamy treat in various cultures, often made with simple ingredients like sugar and fresh coconut milk.
In Southeast Asia, locals have perfected their recipes, blending flavors like pandan and mango with the base. As trade routes expanded, coconut milk ice cream gained popularity beyond its origins, enchanting dessert lovers worldwide.
By the 20th century, ice cream makers started experimenting with coconut milk as a dairy alternative, appealing to those with lactose intolerance or dietary restrictions.
Today, this delightful dessert continues to evolve, reflecting diverse culinary traditions while offering a revitalizing option for everyone to enjoy.
Recipe
Making your own soy-free coconut milk ice cream can be a delightful and rewarding experience. This creamy, rich dessert is perfect for those who are lactose intolerant or simply seeking a dairy-free alternative. The natural sweetness of coconut milk pairs beautifully with various flavors, allowing for endless customization.
Creating your own soy-free coconut milk ice cream is a delightful journey into dairy-free indulgence, perfect for customization and enjoyment.
Whether you prefer a classic vanilla or a more adventurous chocolate or fruit-infused version, this recipe will guide you through the process of creating a delicious ice cream that’s sure to impress.
To get started, confirm you have all your ingredients ready and a suitable ice cream maker on hand. The beauty of coconut milk ice cream lies in its simplicity; with just a few ingredients, you can whip up a delightful treat that’s both satisfying and healthy.
This recipe is straightforward, making it a great project to involve family or friends in the kitchen. Let’s explore the ingredients and the steps to make your soy-free coconut milk ice cream.
Ingredients:
- 2 cans (13.5 oz each) full-fat coconut milk
- ¾ cup maple syrup (or any other sweetener of choice)
- 1 teaspoon vanilla extract
- ¼ teaspoon sea salt
- Optional: Mix-ins like chocolate chips, fruit, or nuts
Instructions:
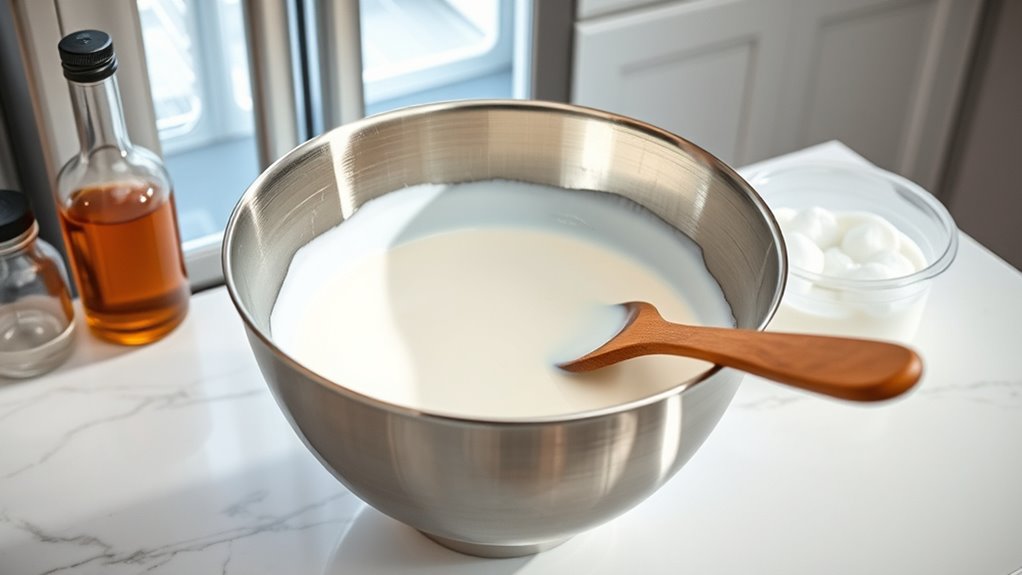
In a mixing bowl, combine the full-fat coconut milk, maple syrup, vanilla extract, and sea salt. Whisk the mixture until well combined and smooth. If you desire, you can taste and adjust the sweetness if necessary.
Pour the mixture into your ice cream maker and churn according to the manufacturer’s instructions, usually about 20-25 minutes, until it reaches a soft-serve consistency. If you want a firmer texture, transfer the ice cream to an airtight container and freeze for at least 2-4 hours before serving.
Extra Tips:
For an even creamier texture, chill your coconut milk in the refrigerator overnight before using it in the recipe. This helps the fat to solidify slightly, which enhances the creaminess when churned.
If you don’t have an ice cream maker, you can pour the mixture into a shallow dish and stir every 30 minutes while it freezes to break up any ice crystals until it reaches your desired consistency.
Also, feel free to experiment with flavors by adding cocoa powder for chocolate ice cream or fresh fruit for a fruity twist!
Cooking Steps
To make your soy-free coconut milk ice cream, you’ll first want to gather all your ingredients.
Once you’ve got everything ready, blend the coconut milk mixture until smooth.
After that, you can chill the mixture in the freezer before churning it in your ice cream maker.
Step 1. Gather All Ingredients
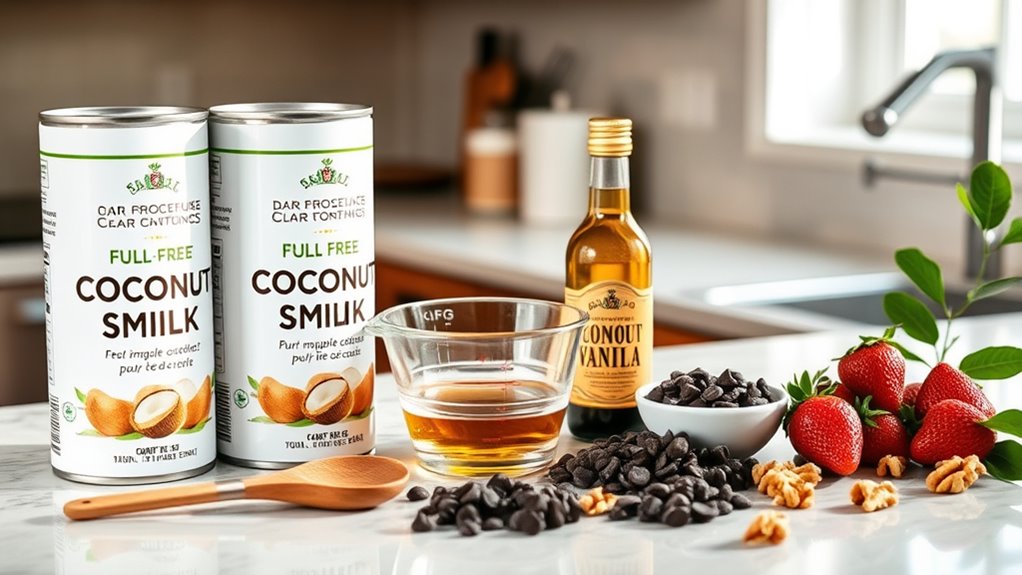
Before diving into the creation of your soy-free coconut milk ice cream, you’ll want to guarantee you’ve gathered all the necessary ingredients.
First, grab a can of full-fat coconut milk; this will be your base. Next, you’ll need a sweetener of your choice, like maple syrup or agave, to add that perfect touch of sweetness.
Don’t forget to include a pinch of salt, as it enhances the flavors. For added richness, consider vanilla extract or even cocoa powder, depending on your desired flavor.
Finally, if you want a touch of creaminess, have some chopped nuts or dairy-free chocolate chips ready. With everything in place, you’re set to start crafting your delicious treat!
Step 2. Blend Coconut Milk Mixture
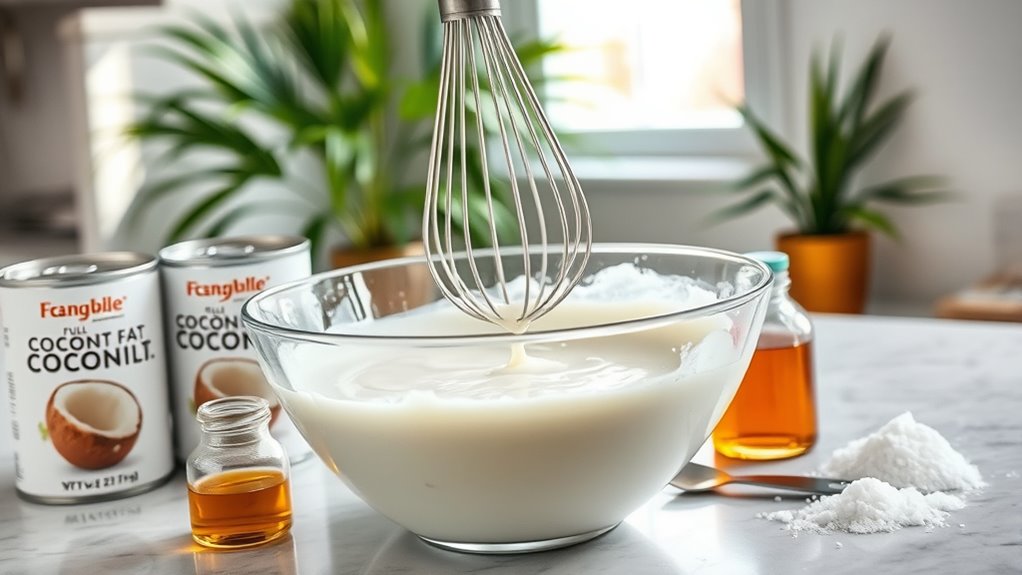
With all your ingredients ready, it’s time to blend the coconut milk mixture.
Start by pouring the coconut milk into your blender. Add the sweetener of your choice, vanilla extract, and any additional flavorings you desire.
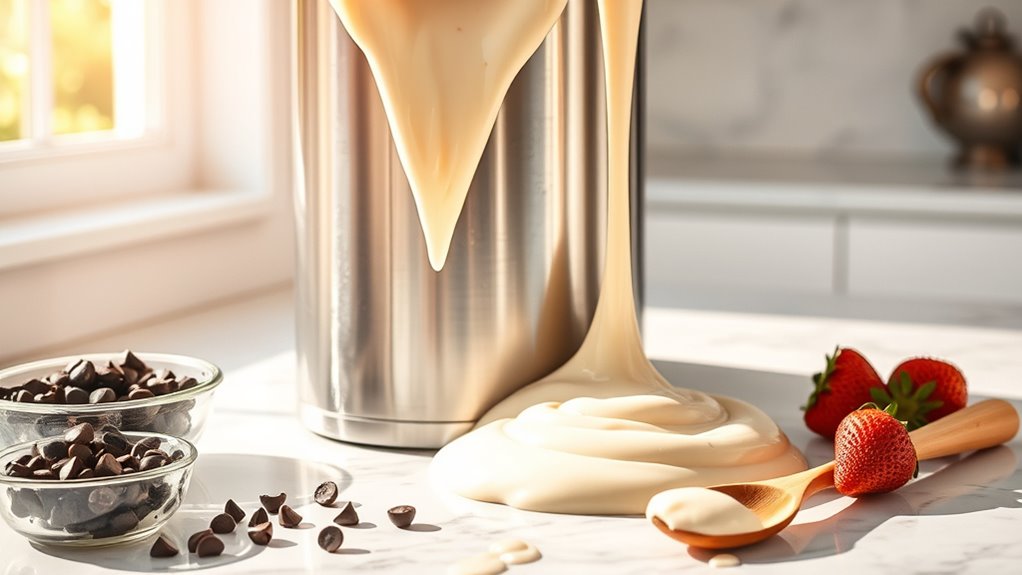
If you’re using any mix-ins like shredded coconut or chocolate chips, you can toss those in now, too.
Secure the lid tightly and blend on high speed until everything is smooth and well combined. You want the mixture to have a creamy consistency, so take a moment to scrape down the sides if needed.
Once it’s perfectly blended, taste it and adjust the sweetness or flavoring as desired.
Now you’re ready to move on to the next step in making your delicious ice cream!
Step 3. Chill Mixture in Freezer
Now that your coconut milk mixture is blended to perfection, it’s time to chill it in the freezer.
Pour the mixture into a shallow, freezer-safe container. A wider surface area helps it cool faster, so choose a container that’s not too deep.
Cover it with a lid or plastic wrap to prevent ice crystals from forming. Place it in the freezer for about 2 to 4 hours, or until it’s cold but not completely frozen.
You want it to be cold enough for the next step but still soft enough to churn easily. Make certain to check on it occasionally, giving it a gentle stir if it starts to freeze at the edges.
This guarantees an even chill throughout.
Step 4. Churn Mixture in Ice Cream Maker
Once your mixture is adequately chilled, it’s time to churn it in your ice cream maker.
Pour the cold mixture into the machine, making sure not to overfill it. Turn on the ice cream maker according to the manufacturer’s instructions.
As the mixture churns, it’ll gradually thicken and become creamy. This process usually takes about 20 to 30 minutes, so be patient.
Keep an eye on it; you want a soft-serve consistency. If your ice cream maker has a timer, set it for this duration.
Once it reaches the desired texture, turn off the machine. You can serve it right away for a soft ice cream or transfer it to a container and freeze it for a firmer texture later.
Enjoy!
Step 5. Add Sweetener to Taste

How do you guarantee your coconut milk ice cream is perfectly sweetened? Start by tasting your mixture before churning it.
Keep in mind that flavors can change slightly once frozen, so don’t be afraid to adjust the sweetness. Use your preferred sweetener—whether it’s maple syrup, agave nectar, or a sugar substitute.
Add a little at a time, stirring well, then taste again. You want a balance where the sweetness complements the coconut flavor without overpowering it. Additionally, consider that herbal teas can be a delightful pairing for your dessert, offering a soothing end to your meal. Beet juice is another option to enhance your dessert experience as its natural sweetness can complement the coconut flavor while providing health benefits.
If you prefer a richer flavor, consider adding a pinch of salt; it can enhance the sweetness. Additionally, remember that the shelf life of homemade ice cream can be affected by exposure to air and other factors, so store it properly for the best taste.
Final Thoughts
As you wrap up your journey into making soy-free coconut milk ice cream, it’s clear that this delightful treat not only caters to dietary needs but also satisfies sweet cravings.
You’ve crafted a delicious dessert that’s creamy, rich, and entirely plant-based. The versatility of coconut milk allows you to experiment with flavors and mix-ins, making each batch uniquely yours.
Whether you enjoy it on its own or topped with fresh fruits and nuts, you’re sure to impress friends and family alike. Plus, knowing you’ve created something healthy and free from allergens adds to the joy.
Frequently Asked Questions
Can I Use Other Milk Alternatives Instead of Coconut Milk?
Absolutely, you can use other milk alternatives instead of coconut milk!
Almond milk, oat milk, or cashew milk work great, each adding its unique flavor and texture.
Just make sure to choose a variety that’s creamy enough to mimic the richness you want.
You might need to adjust sweeteners or flavors to complement the milk you choose.
Experimenting will help you find the perfect match for your taste preferences!
How Long Does Soy-Free Coconut Milk Ice Cream Last in the Freezer?
You might be wondering just how long that delicious treat will last in your freezer.
Well, if you store your soy-free coconut milk ice cream properly, it can stay fresh for about two to three weeks.
But beware! After that, the texture and flavor may start to suffer.
To keep it at its best, try sealing it tightly in an airtight container.
You don’t want to lose that creamy goodness too soon!
Is This Recipe Suitable for a Vegan Diet?
If you’re wondering whether this recipe fits a vegan diet, you’re in luck! It’s made with coconut milk and doesn’t include any animal products.
You’ll find that it’s creamy and delicious, perfect for your plant-based lifestyle. Just double-check the other ingredients to verify they’re vegan-friendly.
Enjoy your guilt-free treat, knowing it aligns with your dietary choices while satisfying your sweet tooth!
What Are Some Common Allergens in Ice Cream?
When you think about common allergens in ice cream, dairy is often the main culprit. Many people are lactose intolerant or allergic to milk proteins.
Additionally, some ice creams contain eggs, which can trigger reactions in those with egg allergies. Nuts are also a concern, especially in gourmet flavors.
Always check labels, as cross-contamination can occur, and ingredients vary widely between brands. Being cautious guarantees you enjoy your treat safely.
Can I Make This Ice Cream Without an Ice Cream Maker?
Yes, you can definitely make ice cream without an ice cream maker!
Just mix your ingredients well, then pour the mixture into a shallow dish. Freeze it for about an hour, then stir it vigorously with a fork to break up any ice crystals.
Return it to the freezer and repeat this stirring process every 30-60 minutes until it’s creamy and fully frozen.
Enjoy your homemade treat even without fancy equipment!