To make perfect chocolate ice cream at home, combine 2 cups heavy cream, 1 cup whole milk, 3/4 cup sugar, 1/2 cup cocoa powder, and 1 teaspoon vanilla extract in a bowl. Whisk until smooth, chill, then churn in an ice cream maker until creamy. Transfer to an airtight container and freeze. For extra indulgence, mix in chocolate chips or top with nuts. This treat’s history and method have more layers to explore for ultimate enjoyment!
Key Takeaways
- Combine 2 cups heavy cream, 1 cup whole milk, 3/4 cup sugar, 1/2 cup cocoa powder, and 1 teaspoon vanilla extract for a rich base.
- Chill the mixture for at least 2 hours before churning to enhance texture and creaminess.
- Use an ice cream maker, churning until the desired consistency is reached, usually around 20-30 minutes.
- Store the finished ice cream in an airtight container in the freezer for optimal freshness and texture.
- Serve with toppings like sprinkles or nuts, and enjoy alongside desserts or fruits for a delightful treat.
History
Chocolate ice cream has a rich history that dates back centuries, evolving from simple chocolate drinks to the creamy dessert we enjoy today.
In the 17th century, chocolate was first introduced to Europe as a beverage, cherished by the elite. By the 18th century, innovative chefs began experimenting with ice and cream, combining these elements to create early forms of ice cream.
The first recorded chocolate ice cream recipe appeared in the 19th century, paving the way for the treats we savor now. As technology advanced, ice cream makers emerged, making the process easier and more accessible.
Today, chocolate ice cream stands as a beloved favorite, a delicious blend of rich flavors and creamy texture that continues to delight taste buds worldwide.
Recipe
Making homemade chocolate ice cream is a delightful way to indulge in a classic dessert that’s creamy, rich, and utterly delicious. With just a few simple ingredients and a little bit of patience, you can create a treat that rivals any store-bought version. The best part about making ice cream at home is that you can customize it to your taste, whether you prefer a dark chocolate flavor or a lighter, more decadent version.
Indulge in rich, creamy homemade chocolate ice cream that you can easily customize to your taste.
To get started, gather your ingredients and equipment. You’ll need an ice cream maker for the best texture, but you can also use a simple mixing bowl and a freezer if you’re willing to put in a bit more effort. Confirm that you have everything ready before you begin, as the process of making ice cream requires a few steps and some chilling time.
Once you’ve got your ingredients, you’ll be well on your way to enjoying a scoop (or two!) of homemade chocolate goodness.
Ingredients:
- 2 cups heavy cream
- 1 cup whole milk
- 3/4 cup granulated sugar
- 1/2 cup unsweetened cocoa powder
- 1 teaspoon pure vanilla extract
- 1/2 cup semi-sweet chocolate chips (optional)
- A pinch of salt
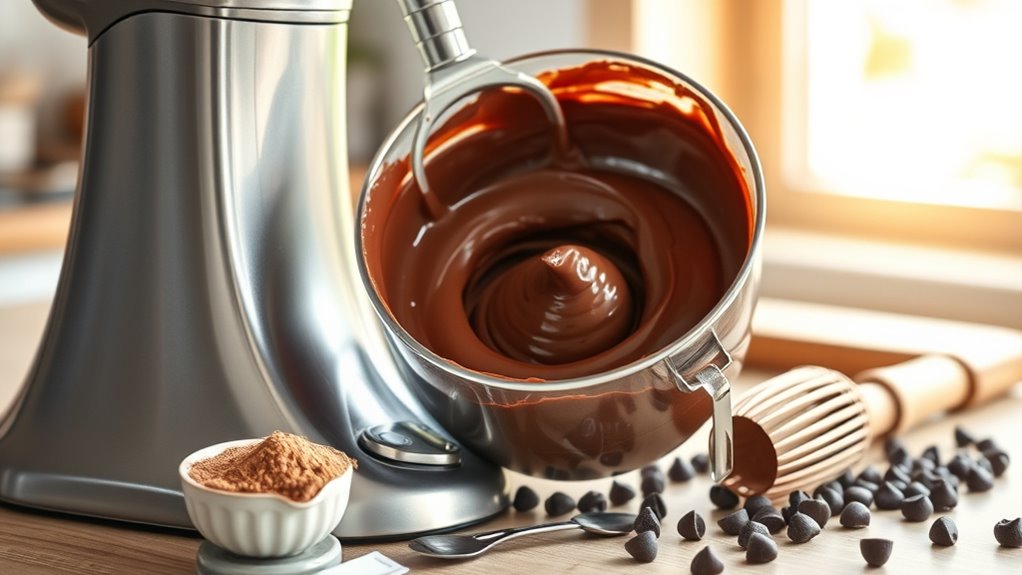
To make the chocolate ice cream, start by whisking together the heavy cream, whole milk, granulated sugar, cocoa powder, vanilla extract, and salt in a large mixing bowl until the sugar and cocoa powder are fully dissolved and the mixture is smooth.
If you’re using chocolate chips, melt them in a microwave or double boiler and then stir them into the mixture until well combined. Once you have your base ready, pour it into your ice cream maker and churn according to the manufacturer’s instructions until it reaches a soft-serve consistency.
Transfer the churned ice cream into a lidded container and freeze for at least 4 hours, or until firm. For the best results, remember to chill your mixing bowl and any tools you’ll be using to make the ice cream beforehand. This helps the mixture stay cold during the process and can result in a creamier texture.
If you don’t have an ice cream maker, you can pour the mixture into a shallow dish and stir it every 30 minutes for about 3-4 hours to break up ice crystals, confirming a smoother consistency. Feel free to experiment with mix-ins like nuts, fruits, or additional chocolate for a personalized touch!
Cooking Steps
To make your chocolate ice cream, you’ll want to start by chilling your mixing bowl.
Next, you’ll add the cocoa powder mixture and incorporate the whipped cream carefully.
Finally, churn until smooth and freeze for several hours to achieve that perfect creamy texture.
Step 1. Chill the Mixing Bowl
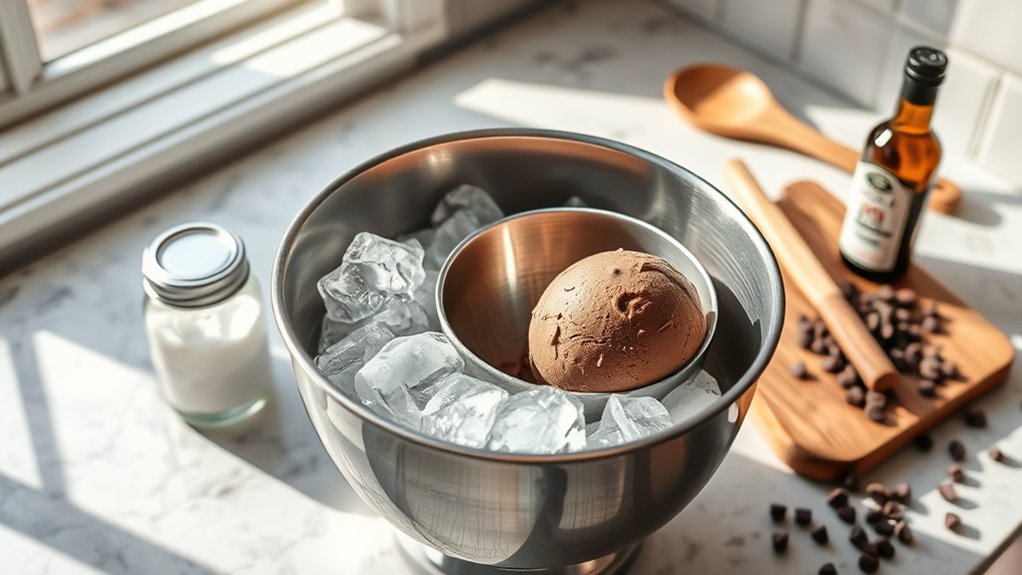
Before you start mixing your ingredients, it’s essential to chill the mixing bowl, as this helps keep the ice cream mixture cold and guarantees a creamier texture.
To do this, simply place your mixing bowl in the freezer for about 15 to 30 minutes. Make sure it’s a bowl made of metal or glass, as these materials retain the cold better than plastic.
While the bowl chills, gather your ingredients to streamline the process. Once it’s sufficiently chilled, take it out of the freezer and quickly add your ingredients to maintain that cold temperature.
This step might seem small, but it makes a significant difference in the final product’s creaminess and overall quality. Enjoy the process, and let’s create something delicious!
Step 2. Add Cocoa Powder Mixture
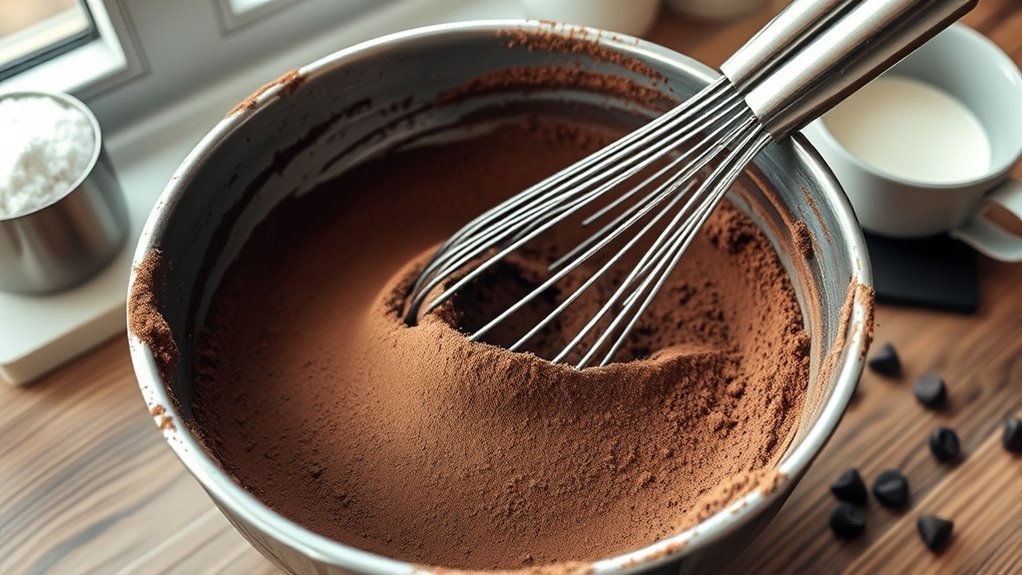
Now it’s time to blend in the cocoa powder mixture to create that rich chocolate flavor.
Start by sifting the cocoa powder into your chilled mixing bowl to prevent any lumps. Then, add in the sugar, ensuring an even distribution.
Pour in the milk and vanilla extract next, stirring gently to combine everything smoothly. You want to achieve a luscious, chocolatey base without any dry spots.
Once the mixture is well combined, taste it to see if it meets your chocolate cravings. If you desire a deeper flavor, don’t hesitate to add a bit more cocoa.
Now that you’ve created this decadent chocolate mixture, you’re one step closer to the perfect ice cream. Get ready for the next exciting phase!
Step 3. Incorporate Whipped Cream Carefully
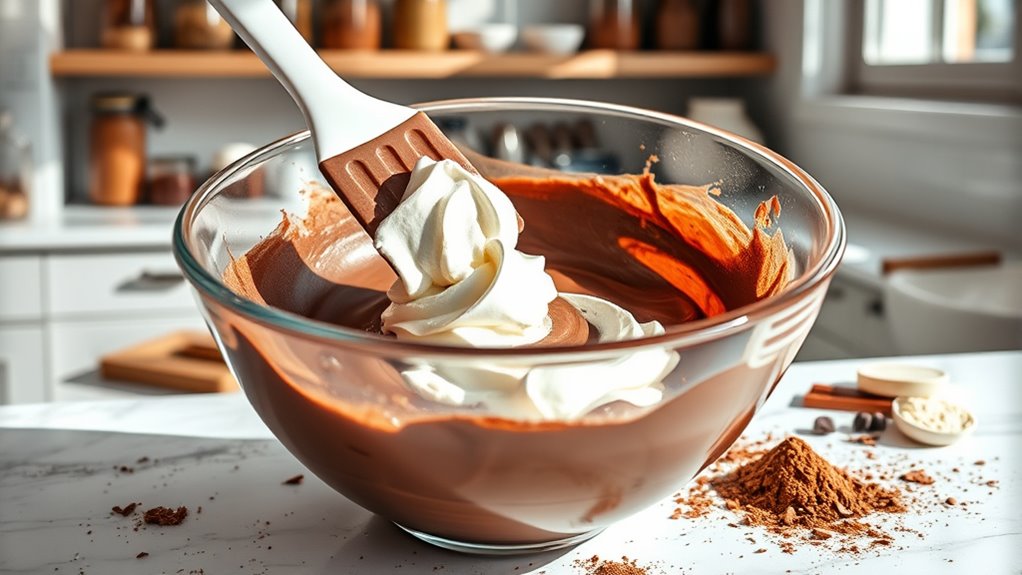
With your rich chocolate mixture ready, it’s time to incorporate whipped cream carefully for that creamy texture.
Start by taking a generous dollop of whipped cream and gently folding it into the chocolate mixture. Use a spatula to lift from the bottom and then fold over the top. This technique helps maintain the lightness of the whipped cream while blending it into the chocolate.
Don’t rush; you want to combine them without deflating the whipped cream. Continue this process until you see a uniform color, but avoid over-mixing. The goal is a smooth blend that retains some airiness.
Once you’ve achieved that perfect consistency, you’re set for the next step in crafting your delicious chocolate ice cream.
Step 4. Churn Until Smooth
As you prepare to churn your mixture, guarantee your ice cream maker is prepped and chilled according to the manufacturer’s instructions.
Pour your chocolate mixture into the ice cream maker’s bowl, ensuring it doesn’t exceed the maximum fill line. Turn on the machine and let it churn the mixture for about 20 to 25 minutes.
You’ll notice the texture transforming as air gets incorporated, resulting in a creamy consistency. Keep an eye on it; once it reaches a soft-serve texture, you know it’s ready to go.
If you prefer a firmer ice cream, you can churn a bit longer, but avoid over-churning, which can lead to a grainy texture.
Enjoy the delightful transformation from liquid to luscious ice cream!
Step 5. Freeze for Several Hours
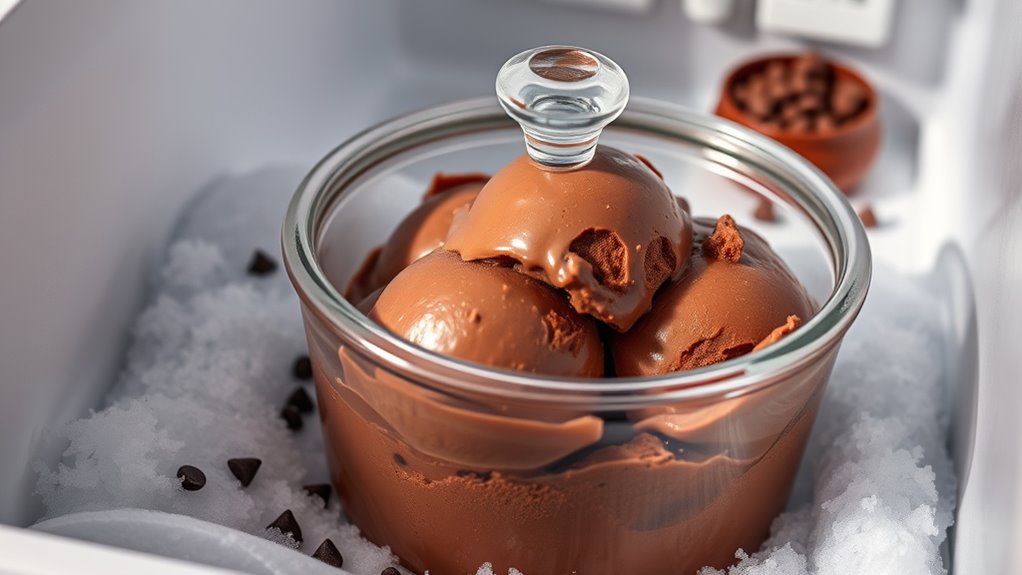
Once your ice cream reaches that perfect soft-serve consistency, transfer it to an airtight container.
Make sure to spread it evenly, smoothing the top with a spatula to eliminate any air pockets. Seal the container tightly to prevent ice crystals from forming.
Now, place it in the freezer and let it freeze for several hours. Aim for a minimum of four hours for the best texture, but overnight is even better.
Check it periodically; if it’s too hard, let it sit at room temperature for a few minutes before scooping.
When it’s ready, you’ll have rich, creamy chocolate ice cream that’s perfect for serving. Enjoy it plain or with your favorite toppings!
Final Thoughts
While making chocolate ice cream can seem challenging at first, it’s a rewarding process that results in a delicious treat you’ll love.
With just a few ingredients and some patience, you can create a rich, creamy dessert that rivals any store-bought version.
Remember, the key to success lies in using quality chocolate and allowing the mixture to chill thoroughly before churning.
Don’t be afraid to experiment with flavors or mix-ins to make it your own.
Once you’ve mastered the basics, you might find yourself making ice cream for every occasion.
So gather your ingredients, roll up your sleeves, and enjoy the satisfaction of creating your very own chocolate ice cream.
You won’t regret it—every scoop will be worth the effort!
Frequently Asked Questions
Can I Use Dark Chocolate Instead of Cocoa Powder?
Yes, you can use dark chocolate instead of cocoa powder!
Just remember that dark chocolate has a higher fat content, so you might need to adjust the other ingredients. Melt the dark chocolate before incorporating it into your mixture for a smoother texture.
Keep in mind that the flavor might be richer and less sweet, so taste as you go. Enjoy experimenting and creating a delicious treat tailored to your preferences!
How Long Can Homemade Chocolate Ice Cream Be Stored?
Did you know that homemade ice cream can last up to two weeks in the freezer?
If you store your chocolate ice cream properly in an airtight container, it stays fresh and delicious for about that long.
After two weeks, you might notice a decline in texture and flavor quality.
To enjoy it at its best, try to consume it within that timeframe, but it’s hard to resist for long!
Is an Ice Cream Maker Necessary for This Recipe?
An ice cream maker isn’t strictly necessary for making ice cream. You can create delicious homemade ice cream using a simple mixing method.
Just combine your ingredients, pour them into a shallow dish, and freeze. Every 30 minutes, stir it to break up ice crystals until it reaches your desired texture.
While an ice cream maker might streamline the process, you can still enjoy creamy ice cream without one. It just takes a little more effort!
Can I Make Chocolate Ice Cream Dairy-Free?
Absolutely, you can make chocolate ice cream dairy-free!
Instead of using regular milk and cream, try coconut milk or almond milk for a rich, creamy texture. You can also add cocoa powder or melted dairy-free chocolate for that delicious chocolate flavor.
Just sweeten it with your favorite dairy-free sweetener, and you’ll have a tasty treat that everyone can enjoy, regardless of dietary restrictions.
Enjoy experimenting with different ingredients!
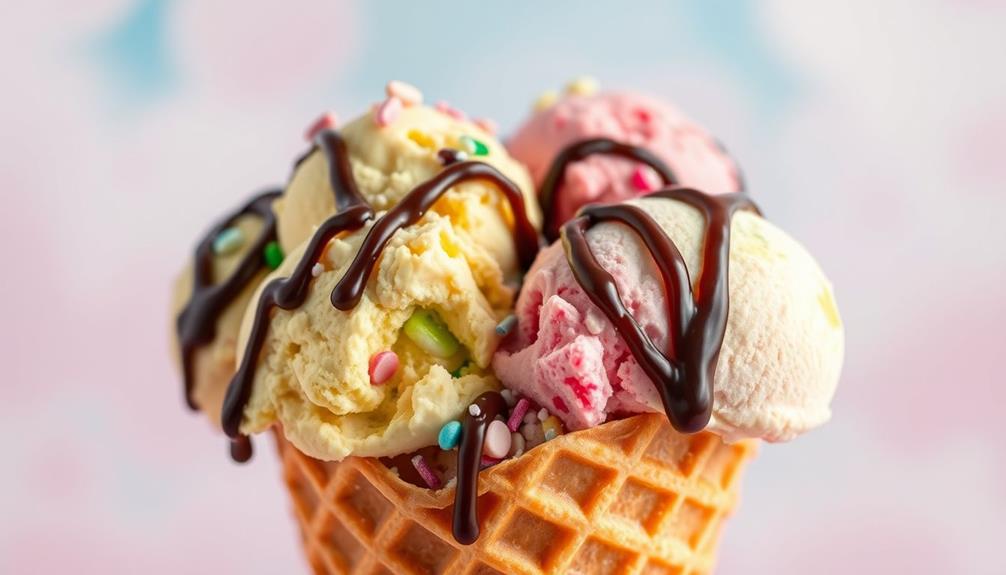
What Toppings Pair Well With Chocolate Ice Cream?
Imagine a canvas waiting for vibrant colors. When it comes to chocolate ice cream, toppings are your palette.
You can sprinkle crushed nuts for a crunchy contrast, drizzle warm caramel for a sweet embrace, or add fresh berries for a burst of freshness.
Don’t forget whipped cream—it’s like clouds of joy atop your masterpiece.
Each topping brings its own story, inviting you to indulge in a delightful experience that’s uniquely yours.