
You can whip up a delicious nut-free oat milk ice cream using just a few simple ingredients. Combine 2 cups of oat milk, 1 cup of coconut cream, 3/4 cup of maple syrup, a teaspoon of vanilla extract, and a pinch of salt. Chill the mixture, churn it, and freeze it for a creamy treat. Feel free to add chocolate chips or fruits for extra flavor. There’s more to discover about serving and storing your homemade ice cream!
Key Takeaways
- Combine 2 cups of oat milk, 1 cup of coconut cream, and sweeteners for a creamy base.
- Blend the mixture, then chill in the freezer for 1-2 hours before churning.
- Use an ice cream maker to churn until a creamy consistency is achieved.
- Customize with mix-ins like chocolate chips or fruit for added flavor.
- Store in an airtight container in the freezer for optimal freshness and texture.
History
Oat milk has gained popularity in recent years, but its roots trace back much further. You might be surprised to learn that people have been making oat-based drinks since the Middle Ages. Initially, oats were used primarily in regions with colder climates, where they thrived and provided a hearty source of nutrition. As you explore its history, you’ll find that this creamy beverage was often a staple for those seeking dairy alternatives. Additionally, the rise of nutritional benefits associated with oats, such as their high fiber content, contributed to their appeal.
In the 20th century, with the rise of veganism and lactose intolerance awareness, oat milk began to reemerge as a preferred choice. Its unique flavor and creamy texture have made it a favorite for various applications, paving the way for its modern resurgence in cafes and homes alike. Today, the growing interest in halal dietary practices reflects a broader trend in food choices, including plant-based options like oat milk.
Recipe
If you’re looking for a delicious and creamy dessert that’s free from nuts, this nut-free oat milk ice cream recipe is just what you need. Made with simple ingredients, this ice cream isn’t only easy to whip up, but it’s also dairy-free and perfect for those with nut allergies.
Oat milk provides a rich, smooth base that blends perfectly with flavorings, making this treat indulgent yet wholesome. This recipe can be easily customized with your favorite add-ins, such as fruits or chocolate chips, allowing you to create a variety of flavors.
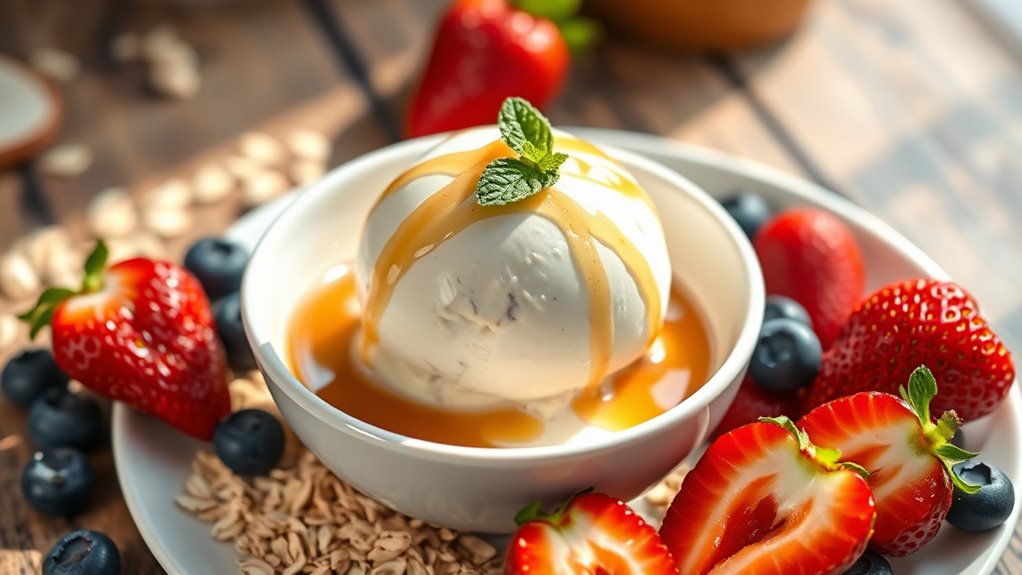
Whether you choose to enjoy it on a hot summer day or as a comforting dessert any time of the year, this oat milk ice cream is sure to delight your taste buds and satisfy your cravings.
Indulge in this creamy oat milk ice cream, perfect for warm days or cozy nights, satisfying your sweet cravings year-round.
Ingredients:
- 2 cups oat milk
- 1 cup coconut cream
- 3/4 cup maple syrup or agave syrup
- 1 teaspoon vanilla extract
- 1/4 teaspoon salt
- Optional: 1/2 cup mix-ins (chocolate chips, fruit, etc.)
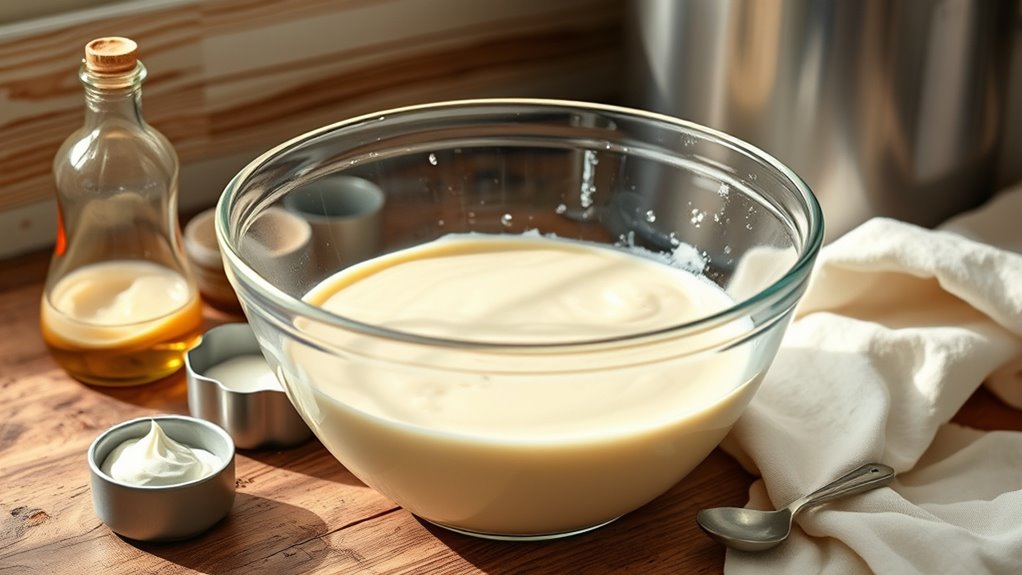
In a medium-sized mixing bowl, whisk together the oat milk, coconut cream, maple syrup, vanilla extract, and salt until well combined and smooth.
Pour the mixture into an ice cream maker and churn according to the manufacturer’s instructions, usually about 20-30 minutes. If you choose to add mix-ins, fold them in during the last few minutes of churning.
Once the ice cream reaches a soft-serve consistency, transfer it to a lidded container and freeze for at least 4 hours or until firm. For the best texture, allow the ice cream to sit out for a few minutes before scooping.
If it becomes too hard in the freezer, you can let it soften slightly at room temperature or give it a quick stir to break up any ice crystals. Feel free to experiment with different flavorings, such as cocoa powder for chocolate ice cream or fresh fruit purees for a fruity twist.
Enjoy your homemade nut-free oat milk ice cream!
Cooking Steps
To make your nut-free oat milk ice cream, you’ll start by blending oats and water until smooth.
Next, strain the mixture to get a creamy base, then add your favorite sweeteners and flavorings.
Finally, chill it in the freezer before churning to the perfect creamy consistency.
Step 1. Blend Oats and Water

Start by measuring out one cup of rolled oats and adding them to your blender.
Next, pour in four cups of water to create a smooth blend.
Make certain your blender lid is securely in place, then blend on high for about 30 to 45 seconds.
You want the mixture to be creamy and well-combined, so don’t rush this step.
If you prefer a thicker consistency, feel free to adjust the water amount slightly.
Once blended, check the texture; it should resemble a milky liquid.
This oat-water mixture is the base for your ice cream, so guarantee it’s fully blended for the best flavor and creaminess.
You’re on your way to a delicious nut-free treat!
Step 2. Strain Oat Mixture

After blending your oats and water into a creamy mixture, it’s time to strain out the solids.
Grab a fine mesh strainer or cheesecloth and set it over a large bowl. Carefully pour the blended mixture through the strainer, allowing the liquid to flow into the bowl while the oat pulp remains behind.
You may want to use a spatula to gently press down on the solids, extracting as much liquid as possible. This step is essential for achieving a smooth texture in your ice cream.
Once you’ve strained everything, discard the leftover oat pulp or save it for another recipe.
Now, you’re ready to move on to adding sweeteners and flavorings to create your delicious oat milk ice cream!
Step 3. Add Sweetener and Flavorings

Now that you’ve strained the oat mixture, it’s time to elevate the flavor of your ice cream. Start by adding your preferred sweetener—maple syrup, agave, or granulated sugar all work beautifully. Stir until it’s fully dissolved, ensuring a smooth consistency.
Next, consider adding some vanilla extract for that classic ice cream flavor. You can also get creative with other flavorings like cocoa powder for chocolate lovers or a pinch of cinnamon for a warm twist. If you enjoy fruity flavors, pureed berries or a splash of fruit juice can add a revitalizing note.
Mix everything well, tasting as you go, so you can adjust the sweetness and flavors to your liking. Your base is now ready for the next steps!
Step 4. Chill Mixture in Freezer
With your sweetened and flavored oat mixture ready, it’s time to chill it in the freezer.
Pour the mixture into a shallow, freezer-safe container to help it cool evenly. Make sure the container isn’t too deep; a wider surface area allows for quicker freezing.
Cover it tightly with a lid or plastic wrap to prevent ice crystals from forming. Place the container in the freezer and let it chill for about 1 to 2 hours.
Keep an eye on it; you want it cold but not frozen solid. This step prepares your mixture for the next phase, ensuring it reaches the perfect temperature before you churn it into creamy, delicious ice cream.
Enjoy the anticipation!
Step 5. Churn Until Creamy Consistency
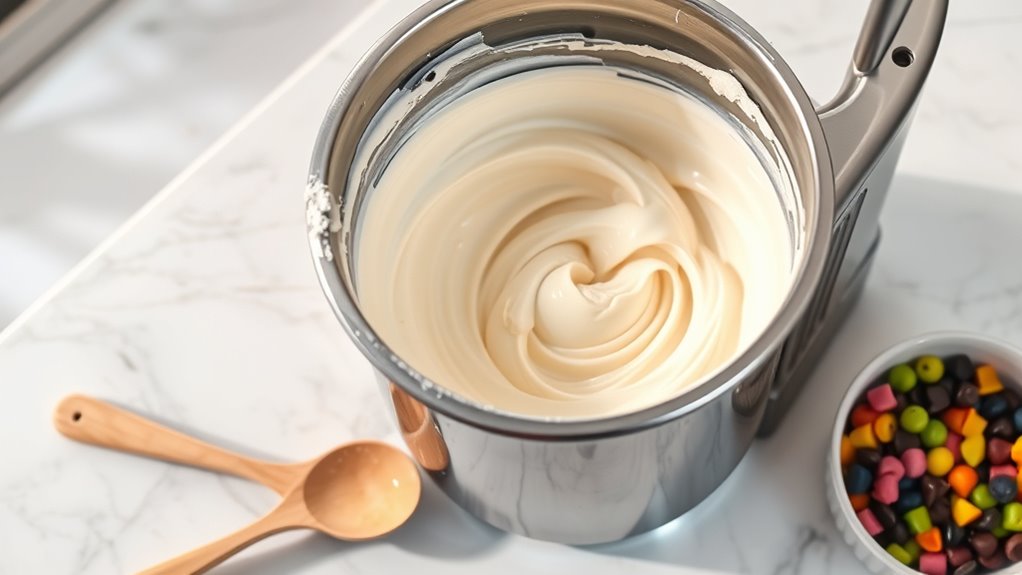
Churn the chilled oat mixture using an ice cream maker for the best results.
Pour the mixture into the ice cream maker’s bowl and turn it on. Let it churn for about 20 to 30 minutes, or until you notice a creamy, soft-serve texture forming. Keep an eye on it; the mixture should thicken as air is incorporated.
If you don’t have an ice cream maker, you can also place the mixture in a shallow dish and stir it every 30 minutes to break up ice crystals, but this method may take longer.
Once it reaches that creamy consistency, you can either serve it immediately for a soft texture or transfer it to a freezer-safe container for a firmer ice cream.
Enjoy!
Final Thoughts
As you explore the delicious world of nut-free oat milk ice cream, you’ll find that it offers a delightful alternative for those with dietary restrictions.
This creamy treat isn’t only easy to make but also customizable to suit your taste. By using simple ingredients, you can whip up flavors that excite your palate while keeping everyone safe from allergens.
This creamy, customizable treat allows you to create exciting flavors while ensuring safety from allergens.
Don’t hesitate to experiment with mix-ins like fruits or dairy-free chocolate. You’ll enjoy the satisfaction of creating a frozen dessert that everyone can indulge in without worry.
So, gather your ingredients, embrace your creativity, and savor each scoop. You’ll be amazed at how this nut-free option can bring joy to your dessert table!
Enjoy your homemade ice cream adventures!
Frequently Asked Questions
Can I Use Flavored Oat Milk Instead of Plain?
You might think flavored oat milk could overpower your dish, but it can actually add a delightful twist!
Yes, you can use flavored oat milk instead of plain. Just keep in mind that the flavor will influence the final taste, so choose a flavor that complements your recipe.
Experimenting with different flavors can lead to delicious surprises, so don’t hesitate to try something new and see how it enhances your creation!
How Can I Make This Recipe Vegan?
To make this recipe vegan, you’ll need to substitute any dairy ingredients with plant-based alternatives.
For instance, replace regular milk with oat milk or almond milk. If the recipe calls for eggs, you can use flaxseed meal or chia seeds mixed with water as a binding agent.
Make sure any sweeteners or flavorings you use are also vegan-friendly.
With these tweaks, you’ll enjoy a delicious vegan treat that everyone can savor!
What Are the Best Toppings for Oat Milk Ice Cream?
Imagine hosting a summer party, and your friends rave about your oat milk ice cream.
To elevate it, consider toppings like fresh berries, which add a burst of flavor and color. You can also try crushed cookies for a crunchy texture or a drizzle of chocolate sauce for sweetness.
Don’t forget about sprinkles; they bring a fun, festive touch.
Experimenting with toppings lets you personalize each serving, making it more enjoyable for everyone!
How Long Can I Store Homemade Oat Milk Ice Cream?
You can store homemade oat milk ice cream in the freezer for about two to three weeks.
After that, it might lose its creamy texture and flavor.
Make sure to keep it in an airtight container to prevent freezer burn.
When you’re ready to enjoy it, let it sit at room temperature for a few minutes before scooping.
This way, it’ll be easier to serve and taste just as delicious.
Enjoy!
Is Oat Milk Ice Cream Suitable for Lactose-Intolerant Individuals?
Yes, oat milk ice cream is suitable for lactose-intolerant individuals.
Since it’s made from oats and doesn’t contain dairy, you won’t have to worry about lactose-related issues. You can enjoy the creamy texture and delicious flavors without discomfort.
Just make sure to check the ingredient list for any additives that might contain dairy, but generally, oat milk ice cream is a great alternative that fits your dietary needs perfectly.

Giulia is the creative force behind our content strategy. With a knack for storytelling and a deep understanding of what our readers want, she plans and develops the content that keeps “Icecream Hater” fresh and exciting. Giulia works closely with the editorial team to ensure that every article, recipe, and review aligns with our mission and vision. She aims to inspire our readers to explore, create, and enjoy ice cream in new and innovative ways.