
Making ice cream without an ice cream maker is simple! Start by mixing sweetened condensed milk, heavy whipping cream, a pinch of salt, and vanilla extract. Whip the cream to stiff peaks, then gently fold it into the condensed milk mixture and freeze for at least 8 hours. You can customize flavors with chocolate, fruit, or nuts. To make it even better, stick around to discover essential tips and unique variations that’ll elevate your ice cream game!
Key Takeaways
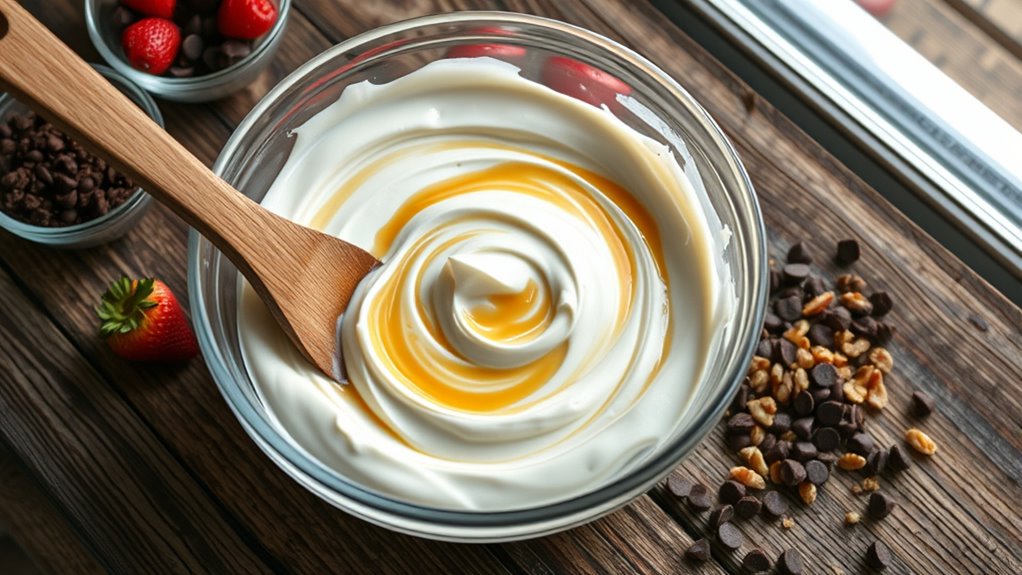
- Combine sweetened condensed milk, heavy whipping cream, a pinch of salt, and vanilla extract for a rich base.
- Whip heavy cream to stiff peaks, then gently fold it into the condensed milk mixture.
- Pour the mixture into a freezer-safe container and freeze for at least 8 hours.
- Customize your ice cream with various flavors and mix-ins like chocolate, fruit, or nuts.
- Store in airtight containers at the back of the freezer to prevent freezer burn and maintain texture.
Core Ingredients and Basic Process
To create delicious ice cream without an ice cream maker, you’ll need a few core ingredients that work together to form a creamy base. Start with sweetened condensed milk for richness and sweetness, then add heavy whipping cream, which gives your ice cream a smooth texture and allows air to be incorporated. A pinch of salt enhances the overall flavor, while vanilla extract adds a delightful aroma. It’s important to use heavy whipping cream that has at least 36% milk fat for proper whipping. Mixing in birthday cake ice cream flavors can elevate your homemade treat. Mix the sweetened condensed milk, salt, and vanilla in a large bowl. Whip the heavy cream to stiff peaks in another bowl. Gently fold the whipped cream into the condensed milk mixture, then transfer it to an airtight container. Freeze for at least 8 hours for a smooth, creamy treat you’ll love!
Flavor Variations to Try

Whether you crave something classic or adventurous, there are countless flavor variations to try when making ice cream without an ice cream maker. For a timeless treat, whip up chocolate ice cream with cocoa powder or melted chocolate. If you’re feeling fruity, blend fresh strawberries for a delightful strawberry shortcake. For a nutty twist, mix in creamy peanut butter or roasted walnuts. You can even get creative with seasonal flavors like pumpkin or honey and lime. Additionally, consider the ease of making no-churn ice cream for a fun and simple twist on your favorite flavors. Don’t forget about candy-inspired options! Add salted caramel for a rich sweetness or mix in crushed Oreos for a fun crunch. No matter your choice, you’re bound to enjoy a delicious homemade treat!
Essential Equipment for No-Churn Ice Cream

Creating delicious no-churn ice cream requires some essential equipment that makes the process smooth and enjoyable.
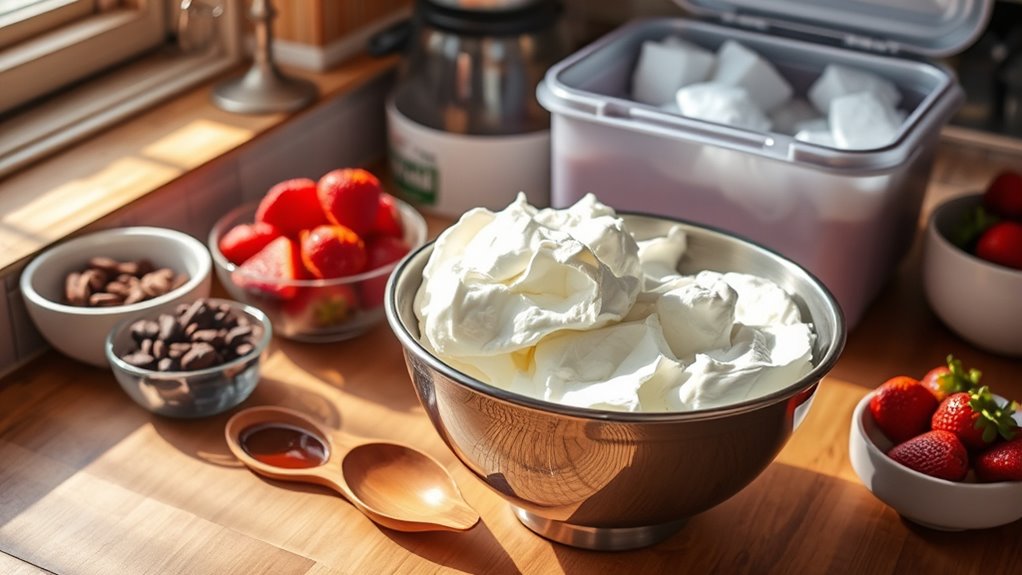
First, you’ll need large mixing bowls to whip and combine your ingredients effectively. An electric mixer, whether a stand or handheld version, is vital for whipping cream to stiff peaks, so don’t forget the whisk attachment if you’re using a stand mixer. The base recipe consists of three ingredients that are easy to find and combine, and for a richer flavor, consider using egg-enhanced vanilla ice cream for a more luxurious texture.
To create no-churn ice cream, you’ll need large mixing bowls and an electric mixer for perfect whipped cream.
Freezer-safe containers, ideally 1.5-quart size, are perfect for freezing your ice cream base. Accurate measuring cups and spoons are essential for precise ingredient measurements. If you’re trying alternative methods, consider a food processor or blender for a smoother texture. Finally, having an ice cream scoop on hand will help you serve up those perfect scoops when your creation is ready!
Tips for a Perfect No-Churn Ice Cream

While making no-churn ice cream can be simple, a few key tips can elevate your homemade treat to perfection.
Start with cold ingredients, especially your heavy cream, to guarantee better whipping. Whip the cream to stiff peaks, then gently fold it into the sweetened condensed milk mixture without overmixing. This maintains the lightness you want. Additionally, no-churn ice cream primarily requires heavy whipping cream and sweetened condensed milk, providing a rich and creamy texture. Freshly squeezed juice, like orange juice, can be used as a natural flavoring to enhance your ice cream experience.
Chill your mixing bowl before whipping for ideal results. To prevent ice crystals, press plastic wrap directly against the ice cream’s surface before freezing. Use a freezer-safe container to avoid freezer burn, and be patient—your ice cream needs 4 to 8 hours to set properly.
Finally, customize your flavors with add-ins like fruit, chocolate, or nuts for a personal touch!
Storage and Serving Suggestions
To guarantee your homemade ice cream stays fresh and delicious, proper storage and serving techniques are essential.
Use airtight containers made of plastic, glass, or metal to prevent freezer burn. Opt for quart-sized containers to control portions and minimize air exposure, sealing them with plastic wrap or wax paper.
Store containers at the back of the freezer for stable temperatures, filling them to the top to prevent gaps that can cause ice crystals. No-churn methods allow you to experiment with flavors while ensuring your ice cream remains smooth and creamy.
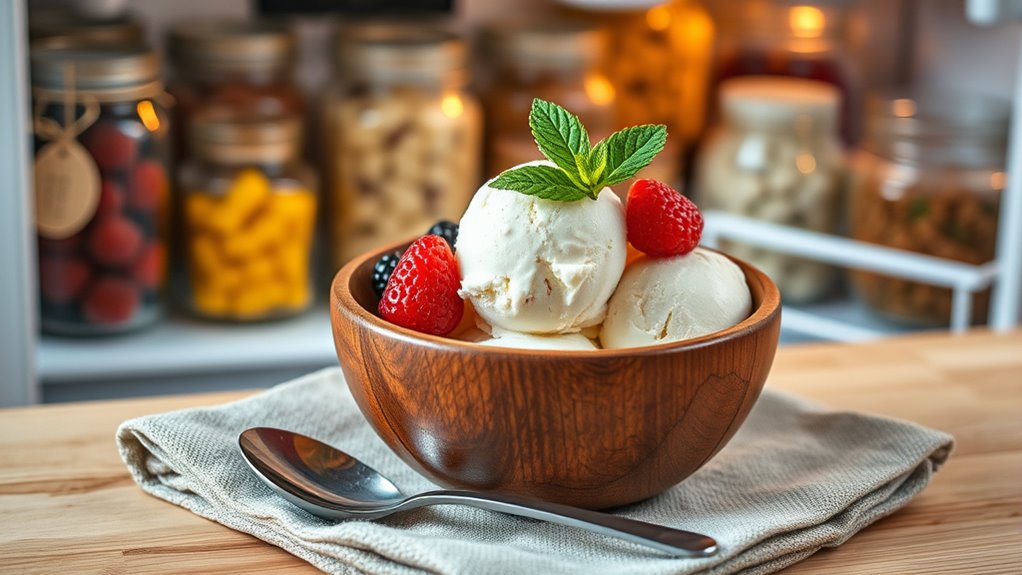
When serving, let the ice cream sit at room temperature for a few minutes if it’s too hard, and use a warm scoop for easier serving.
Enhance your treat with mix-ins and toppings, and enjoy it alongside warm desserts for a delightful pairing!
Frequently Asked Questions
Can I Use Alternatives to Heavy Cream?
Yes, you can use alternatives to heavy cream! Whole milk, half-and-half, or non-dairy milks like coconut or almond milk work well, though they might alter the texture.
If you want creaminess, consider higher-fat options like coconut cream or mascarpone cheese.
Just remember, using substitutes can affect the flavor and stability, so you might need to adjust sweetness or add flavor enhancers like vanilla extract to achieve the taste you desire.
How Can I Achieve a Firmer Texture?
To achieve a firmer texture in your ice cream, start by using evaporated milk to enhance creaminess without excess butterfat.
Incorporate stabilizers like corn syrup to prevent ice crystals, and guarantee you freeze the mixture for at least six hours.
Whip your heavy cream to stiff peaks, but don’t over-whip.
Also, use metal containers for better cold conductivity, and avoid frequent freezer openings to maintain a consistent temperature.
What Are Common Mistakes to Avoid?
When making ice cream, you should avoid common mistakes that can ruin your texture and flavor.
Don’t skimp on fat; low-fat ingredients can make it icy. Be careful with cream—too much can lead to a waxy aftertaste.
Verify your dry ingredients are mixed well and avoid over or under-whipping your mixture.
Finally, monitor your freezing environment and time closely to achieve that perfect consistency you’re aiming for.
Can No-Churn Ice Cream Be Refrozen?
Yes, you can refreeze no-churn ice cream, but it’s not ideal.
When you do, you’ll notice a change in texture; it often becomes icy and crunchy due to large ice crystals forming.
You’ll also lose some of that airy lightness because the air gets lost during melting.
If you decide to refreeze it, consider mixing in some flavorings or using it in other recipes to enhance its taste and mask the texture issues.
How Do I Incorporate Mix-Ins Evenly?
Did you know that nearly 90% of people enjoy adding mix-ins to their ice cream?
To incorporate them evenly, wait until your ice cream reaches a soft-serve consistency. Gently fold about 1 cup of your chosen mix-ins into the base, ensuring you avoid deflating the mixture.
For the best presentation, reserve some to sprinkle on top. Experiment with different combinations to create unique flavors, making your ice cream truly one-of-a-kind!
Conclusion
To conclude, creating creamy, dreamy no-churn ice cream is simple and satisfying. With just a few core ingredients and your favorite flavors, you can whip up a delightful dessert in no time. Remember to store it snugly and serve it stylishly for the best experience. So, grab your essentials, get creative, and indulge in a sweet scoop of homemade happiness. You’ll be savoring your sensational treats before you know it!

Mia is the connector for the “Ice Cream Hater” team, responsible for spreading the word about our brand and building relationships with our audience and partners. With a background in marketing and a passion for community engagement, Mia manages our outreach efforts, coordinates marketing campaigns, and develops strategies to expand our reach. She is passionate about bringing the joy of ice cream to as many people as possible and is always looking for new ways to share our content with the world.