To make a delicious homemade chocolate sauce for your ice cream, start by melting high-quality chocolate over low heat. Add your choice of sweetener to taste, then stir in some vanilla and heavy cream for a rich, silky texture. Adjust the consistency with a bit of milk if needed. This sauce isn’t just great on ice cream; you can use it on fruits or pancakes too. Stick around to discover more ways to enjoy your creation!
Key Takeaways
- Melt high-quality chocolate chips over low heat using a double boiler for optimal flavor and texture.
- Sweeten the melted chocolate to your preference, adjusting the amount of sweetener as desired.
- Stir in vanilla extract after removing from heat to enhance the sauce’s flavor profile.
- Add heavy cream for a rich, silky texture, adjusting with milk for desired consistency.
- Store leftover sauce in an airtight container in the fridge for up to a week, reheating before use.
History
Chocolate sauce has a rich history that dates back centuries, as ancient civilizations discovered the delightful properties of cacao. The Mayans and Aztecs used cacao beans not just for drinks but as currency, highlighting its value.
They whipped up a bitter chocolate beverage, often spiced with chili and vanilla, which you mightn’t recognize as chocolate sauce today. When Europeans encountered cacao in the 16th century, they sweetened it with sugar, paving the way for the chocolate we appreciate and love.
Recipe
Homemade chocolate sauce is a delightful addition to any ice cream sundae, elevating your dessert experience to a whole new level. This rich and creamy sauce is incredibly easy to make and requires only a handful of ingredients you probably already have in your pantry.
Elevate your dessert experience with this easy, rich homemade chocolate sauce—perfect for ice cream sundaes and more!
Whether you’re hosting a party or just treating yourself, this chocolate sauce is sure to impress.
To make your chocolate sauce, you’ll need to combine simple ingredients over gentle heat. The result is a velvety sauce that can be drizzled over ice cream, used as a dip for fruits, or even poured over pancakes for a decadent breakfast treat.
Plus, you can customize the sweetness and richness to your liking, making it a perfect recipe to suit your taste.
Ingredients:
- 1 cup semi-sweet chocolate chips
- 1/2 cup heavy cream
- 1/4 cup granulated sugar
- 1 teaspoon vanilla extract
- A pinch of salt
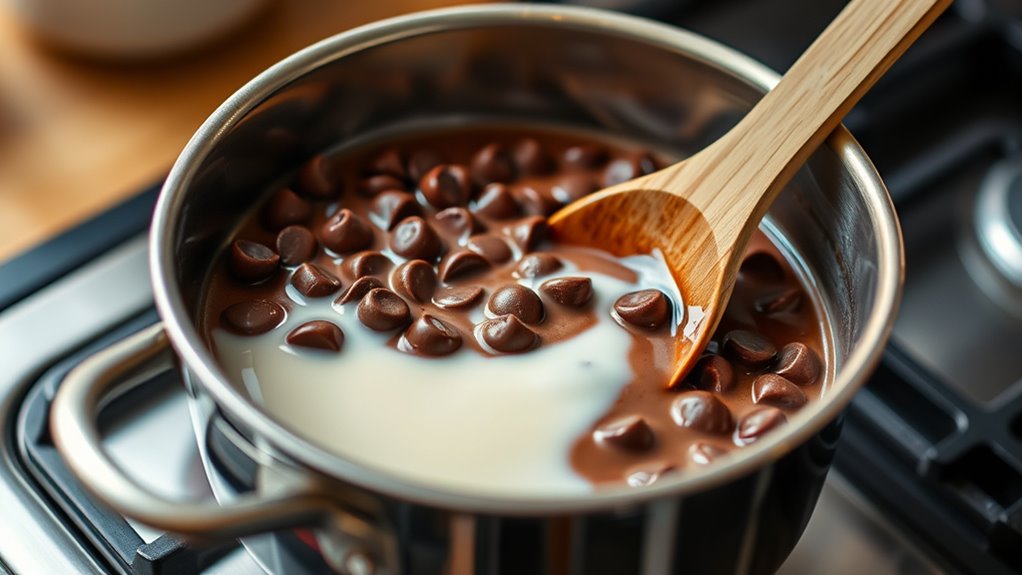
In a medium saucepan, combine the chocolate chips, heavy cream, and granulated sugar over low heat. Stir continuously until the chocolate chips melt and the mixture is smooth and well combined.
Once melted, remove the saucepan from heat and stir in the vanilla extract and a pinch of salt to enhance the flavor. Allow the sauce to cool for a few minutes before serving it over your favorite ice cream.
For the best results, make sure to use high-quality chocolate chips, as they’ll greatly affect the flavor and texture of your sauce.
If you prefer a richer sauce, consider using dark chocolate chips instead of semi-sweet. Additionally, this sauce can be stored in an airtight container in the refrigerator for up to a week.
Just reheat it gently in the microwave or on the stove before serving, and feel free to adjust the consistency by adding a splash of cream if it thickens too much.
Enjoy your homemade chocolate sauce!
Cooking Steps
To make your homemade chocolate sauce, you’ll start by melting chocolate over low heat.
Next, mix in your sweetener and stir in some vanilla extract for flavor.
Finally, add cream to achieve the smoothness you desire, and adjust the consistency with a splash of milk if needed.
Step 1. Melt Chocolate Over Low Heat

As you prepare to melt chocolate over low heat, it’s essential to use a double boiler or a heatproof bowl set over a pot of simmering water. This method guarantees gentle and even heating, preventing the chocolate from burning.
Begin by breaking your chocolate into small, uniform pieces; this helps it melt more evenly. Place the chocolate in your chosen bowl and set it over the simmering water, making sure the bottom of the bowl doesn’t touch the water.
Stir the chocolate occasionally with a silicone spatula as it starts to melt. Keep a close eye on it, and once it’s mostly melted, remove it from the heat. Stir until completely smooth and glossy, ready for your delicious sauce!
Step 2. Add Sweetener to Mixture

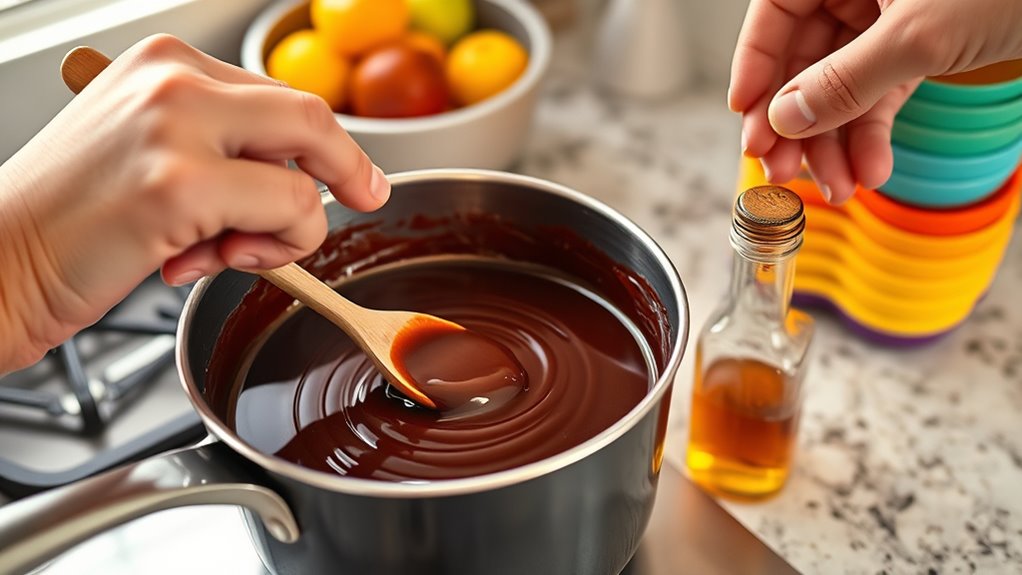
Once your chocolate is melted and smooth, it’s time to sweeten the mixture. You can use granulated sugar, brown sugar, or even maple syrup, depending on your taste preference.
Start by adding a couple of tablespoons of your chosen sweetener to the melted chocolate. Stir it in thoroughly to guarantee it dissolves completely.
Taste the mixture as you go; if you want it sweeter, gradually add more until you reach your desired sweetness. Remember, the chocolate sauce will taste a bit less sweet when it cools, so don’t overdo it.
Once you’ve got the perfect balance of sweetness, you’ll be ready to move on to the next step and enhance the flavor even further!
Step 3. Stir in Vanilla Extract

Adding vanilla extract is a simple yet essential step that elevates your chocolate sauce.
Once your mixture is well combined and heated, remove it from the heat. Let it cool for a moment before you stir in the vanilla. This helps to preserve the extract’s aromatic qualities and flavor.
Use about one to two teaspoons, depending on how strong you want the vanilla flavor to be. Stir gently but thoroughly, ensuring the vanilla is evenly distributed throughout the sauce.
You’ll notice a delightful depth of flavor developing as you mix. This addition transforms your chocolate sauce, making it irresistible.
Now you’re ready for the next steps in creating the perfect topping for your ice cream!
Step 4. Add Cream for Smoothness

To achieve a silky texture in your chocolate sauce, incorporate cream into the mixture.
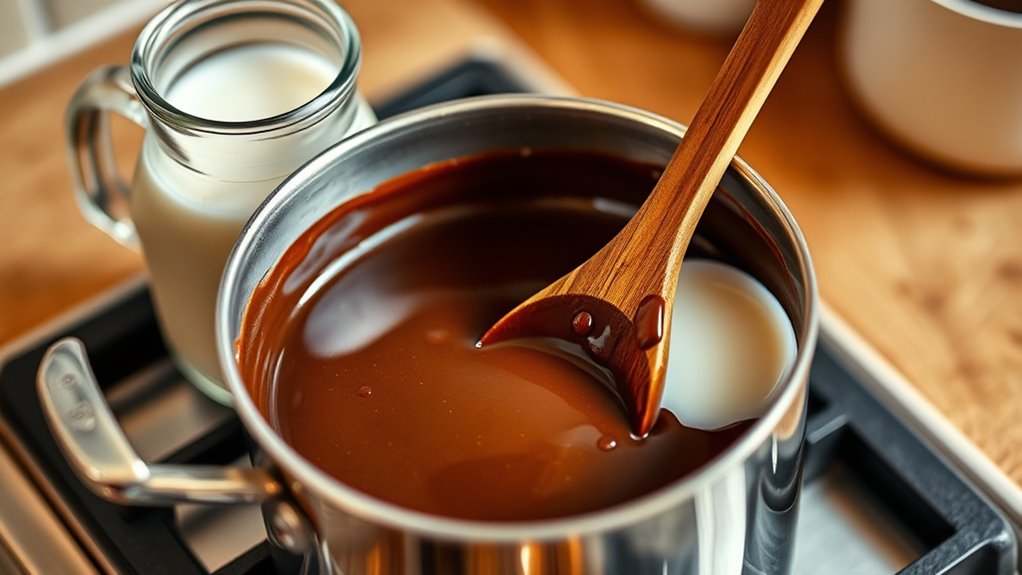
Start by measuring out your heavy cream—about a half cup should do. As your chocolate sauce simmers on low heat, slowly whisk in the cream. This not only enhances the sauce’s smoothness but also adds a rich, velvety flavor. Adding cream is similar to the way pumpkin puree contributes to the moist texture of pumpkin bread.
Keep stirring until the cream is fully integrated, ensuring there are no lumps. You’ll notice the sauce becoming thicker and more luxurious. If you want an even creamier finish, feel free to adjust the amount of cream to your liking.
Once combined, remove the sauce from the heat, and let it cool slightly before drizzling over your favorite ice cream. Enjoy the decadence!
Step 5. Adjust Consistency With Milk

Achieving the perfect consistency for your chocolate sauce can be done by adjusting with milk. Start by adding a tablespoon of milk to your warm chocolate sauce. Stir it in thoroughly, letting it mix completely. This helps you gauge how the sauce responds to the added liquid.
If it’s still too thick for your liking, continue adding milk, one tablespoon at a time. Keep stirring until you reach that luscious, pourable texture. Remember, you can always add more milk, but it’s tough to fix an overly thin sauce, so go slow.
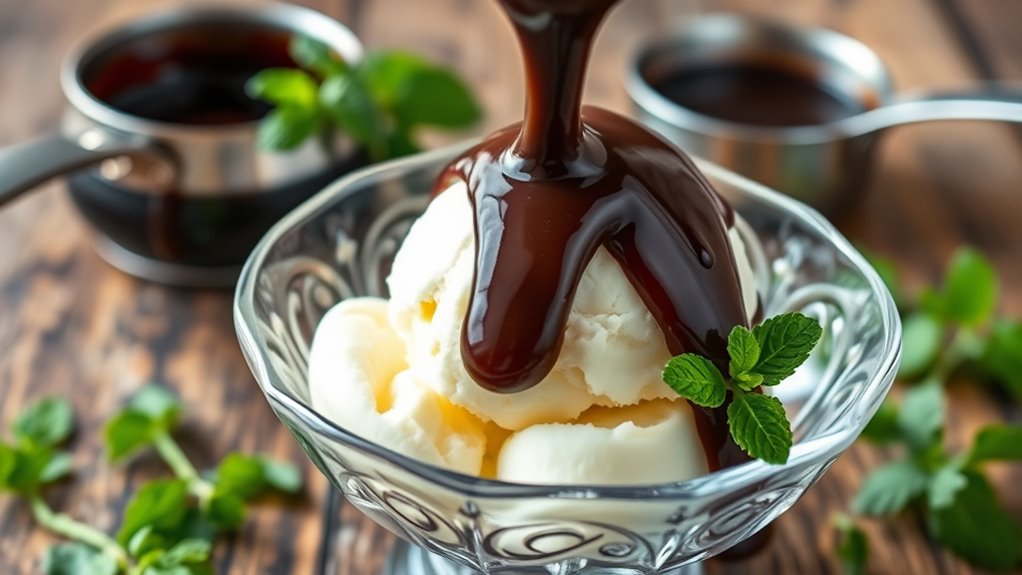
Once you’ve reached your desired consistency, remove the sauce from heat and let it cool slightly before serving. Enjoy drizzling it over your favorite ice cream!
Final Thoughts
While you’ve crafted a delicious homemade chocolate sauce for your ice cream, the experience doesn’t just end with the recipe. It’s about enjoying the process and the joy it brings to your dessert.
Experiment with different flavors by adding extracts like vanilla or peppermint to customize your sauce. You can also try various toppings like nuts or sprinkles to elevate your ice cream game.
Don’t forget to share your creation with friends and family; it’s a great way to bond over a sweet treat. Store any leftover sauce in the fridge for later use; it’ll keep your ice cream adventures going.
Frequently Asked Questions
Can I Use Cocoa Powder Instead of Chocolate?
Sure, why not just trade the rich, luscious chocolate for cocoa powder?
It’s not like you’re trying to create a decadent dessert, right? You can definitely use cocoa powder, but keep in mind it’s less sweet and won’t give you that same smooth texture.
You’ll need to add sugar and some fat, like butter or oil, to mimic chocolate’s richness.
How Long Does Homemade Chocolate Sauce Last?
Homemade chocolate sauce can last about two weeks when stored properly.
You should keep it in an airtight container in the fridge to maintain its freshness. If you notice any changes in color, texture, or smell, it’s best to toss it.
For longer storage, consider freezing it; just be sure to thaw it in the fridge before using.
Enjoy your sauce while it’s at its best for the ultimate treat!
Can I Make It Dairy-Free?
Absolutely, you can make it dairy-free! Just swap out regular milk or cream for a dairy-free alternative like almond milk, coconut milk, or oat milk.
Use dairy-free chocolate chips or cocoa powder to keep it vegan. Melt them together with a sweetener of your choice, and you’ll have a rich, creamy chocolate sauce that everyone can enjoy.
Experiment with different flavors to find your perfect dairy-free recipe!
What Can I Use Chocolate Sauce for Besides Ice Cream?
Chocolate sauce isn’t just a sweet companion; it’s like a warm hug for your taste buds.
You can drizzle it over pancakes, waffles, or even fresh fruit to elevate any breakfast. It makes a fantastic topping for cakes and brownies or can be swirled into yogurt for a delightful treat.
You might also try it in your coffee or milkshakes, adding a touch of decadence to your everyday favorites.
Enjoy the possibilities!
How Do I Store Leftover Chocolate Sauce?
To store leftover chocolate sauce, you’ve got a couple of easy options.
First, let it cool completely, then transfer it into an airtight container. You can keep it in the refrigerator for up to two weeks.
If you want it to last longer, consider freezing it in ice cube trays, then transferring the frozen cubes to a freezer bag.
When you’re ready to use it, just thaw what you need!


