If you’re looking for a delicious and nutritious treat, try making chia seed ice cream! This creamy dessert uses coconut milk and packed with fiber, omega-3 fatty acids, and protein. Simply soak chia seeds overnight, blend them with coconut milk, and add your favorite sweeteners. Freeze the mixture, stirring every 30 minutes until it’s firm yet scoopable. Top it off with fresh fruit or nuts for extra flavor. There’s more to discover about the health benefits and customization options!
Key Takeaways
- Soak chia seeds overnight to achieve optimal texture and enhance their fiber content before blending with coconut milk.
- Blend soaked chia seeds with creamy coconut milk and sweeteners like honey or maple syrup for a delicious base.
- Freeze the mixture in an airtight container, stirring every 30 minutes to prevent ice crystals and ensure a smooth texture.
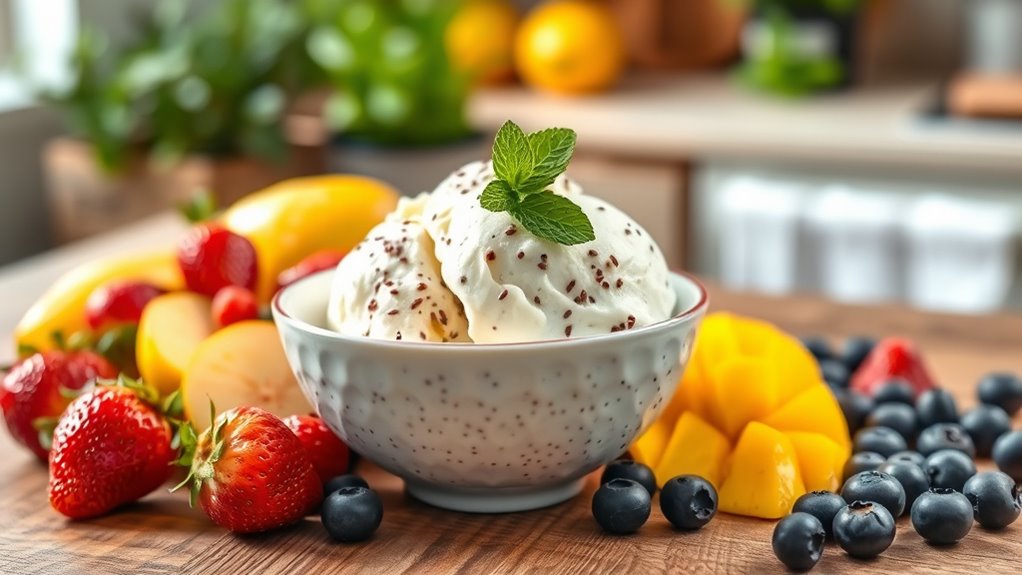
- Serve chia seed ice cream topped with fresh fruit, nuts, or a drizzle of chocolate sauce for added flavor and nutrition.
- Explore various flavor combinations, such as cocoa or fruit purees, to create unique, fiber-rich dessert options.
History
Chia seeds have a rich history that dates back to ancient civilizations, particularly the Aztecs and Mayans, who valued them for their nutritional benefits and energy-boosting properties. You might find it fascinating that these small seeds were often used by warriors as a source of sustenance during long journeys and battles. They considered chia seeds a superfood, packed with omega-3 fatty acids, protein, and fiber. In fact, the word “chia” comes from the Mayan word for strength. Over centuries, these tiny seeds found their way into various cultural dishes, showcasing their versatility. Today, you can enjoy chia seeds in numerous forms, celebrating their rich heritage and health benefits that have stood the test of time. Additionally, their high fiber content contributes significantly to digestive health, making them a popular choice in modern diets. Furthermore, chia seeds are a complete protein source, containing all nine essential amino acids, which makes them even more appealing in today’s health-conscious culinary landscape. Interestingly, modern nutritionists often refer to chia seeds as a nutritional powerhouse, highlighting their impressive array of health benefits.
Recipe
Chia seed ice cream is a delicious and healthy alternative to traditional ice cream, perfect for those looking for a revitalizing treat without the guilt. Packed with nutrients, chia seeds offer a satisfying crunch while providing a good dose of fiber and omega-3 fatty acids, making them an excellent choice for a plant-based source. This recipe isn’t only simple to follow but also allows for plenty of customization, so you can experiment with different flavors and add-ins to suit your taste. Additionally, incorporating essential oils can enhance the flavor profile of your ice cream.
Chia seed ice cream is a nutritious and customizable treat that’s both satisfying and guilt-free, perfect for warm weather indulgence.
Making chia seed ice cream at home is a fun and engaging activity, especially during warm weather. The base is made from creamy coconut milk, which gives the ice cream a rich texture, while the chia seeds add an interesting twist. With just a few ingredients and a little patience, you can whip up a delightful dessert that’s sure to impress friends and family alike.
Ingredients:
- 1 can (14 oz) full-fat coconut milk
- 1/4 cup honey or maple syrup
- 1 teaspoon vanilla extract
- 1/2 cup chia seeds
- Optional: cocoa powder, fruit puree, or any flavoring of your choice
To prepare the chia seed ice cream, begin by combining the coconut milk, honey (or maple syrup), and vanilla extract in a mixing bowl. Stir well until the ingredients are fully blended.
Next, add the chia seeds to the mixture and stir thoroughly to make certain they’re evenly distributed. Pour the mixture into an airtight container and refrigerate for at least 4 hours or overnight, allowing the chia seeds to absorb the liquid and thicken the mixture.
Once the mixture has set, transfer it to an ice cream maker and churn according to the manufacturer’s instructions, or simply freeze it in the container for a firmer texture.
For best results, make sure to stir the ice cream every 30 minutes while it’s freezing to prevent ice crystals from forming. If you want to add extra flavor, consider blending in some fruit puree or a couple of tablespoons of cocoa powder before freezing.
Chia seed ice cream can be enjoyed as is or topped with fresh fruit, nuts, or a drizzle of chocolate sauce for added indulgence. Remember, the longer it sits in the freezer, the firmer it will become, so plan accordingly for serving. Enjoy your healthy and delicious homemade treat! Additionally, chia seeds are a great source of omega-3 fatty acids which can offer heart health benefits.
Cooking Steps
To make your chia seed ice cream, start by soaking the chia seeds overnight for the best texture.
Next, blend them with coconut milk and your choice of sweetener until smooth.
After that, chill the mixture in the freezer before serving it with fresh fruit for a delightful treat.
Step 1. Soak Chia Seeds Overnight

While preparing your chia seed ice cream, soaking the seeds overnight is essential for achieving that creamy texture.
Start by measuring out the desired amount of chia seeds, typically around 1/4 cup for a single batch. Place the seeds in a bowl or jar, then add enough water or your choice of plant-based milk to fully submerge them—about 1 cup should do.
Stir the mixture gently to prevent clumping. Cover the bowl or jar and let it sit in the fridge for at least 4-6 hours, or ideally overnight.
This soaking process allows the seeds to absorb the liquid, expand, and develop a gel-like consistency, which is vital for your ice cream’s smoothness.
Enjoy the wait; it’s worth it!
Step 2. Blend With Coconut Milk
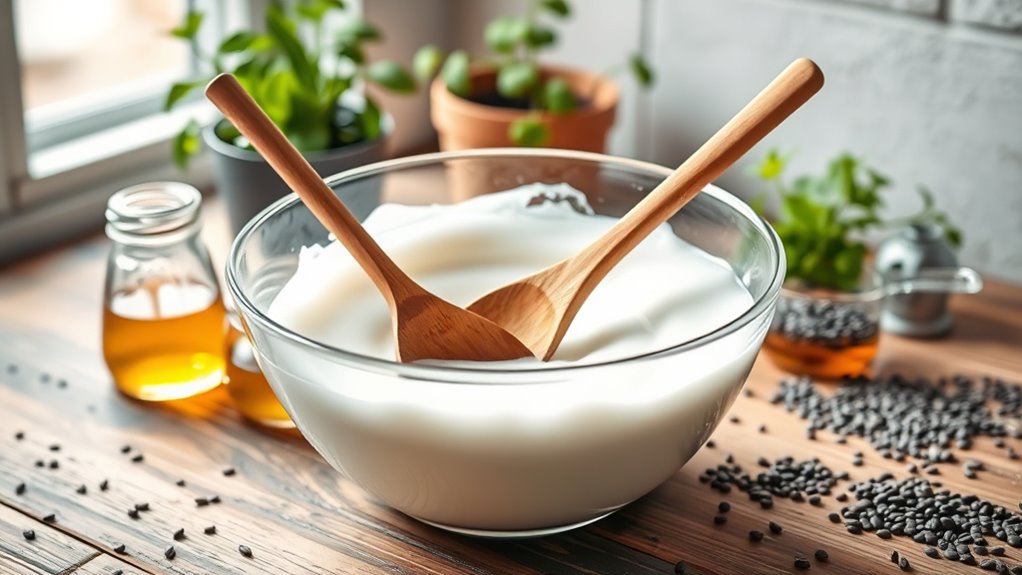
With your soaked chia seeds ready, it’s time to blend them with coconut milk for that rich, creamy base.
Start by pouring the soaked chia seeds into your blender. Next, add the coconut milk, ensuring you have enough liquid to achieve a smooth consistency.
Blend on high until the mixture is creamy and well combined. Don’t rush; take a moment to scrape down the sides of the blender if needed, making sure everything’s incorporated. This step is essential for that velvety texture you’re aiming for.
Once everything’s blended to perfection, taste a small amount. You should enjoy the distinct coconut flavor combined with the slight nuttiness of the chia seeds.
Incorporating chia seeds into your diet can also help with reducing hunger, making this ice cream a satisfying treat that aligns with your weight loss goals.
Now you’re ready for the next step!
Step 3. Add Sweetener to Mixture
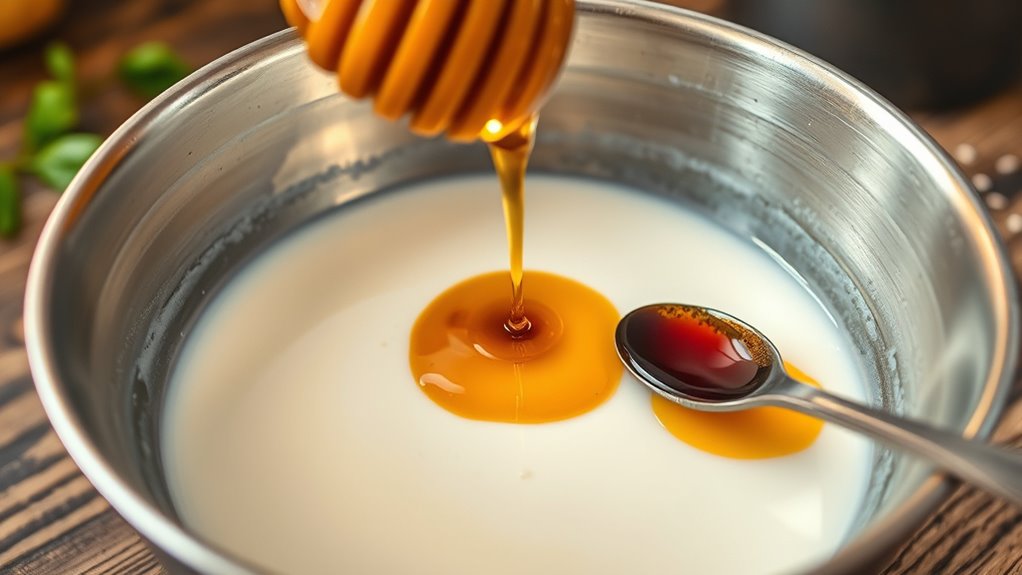
Now it’s time to sweeten your mixture to perfection. Depending on your taste, you can choose from various sweeteners like honey, maple syrup, agave nectar, or stevia.
Start by adding a tablespoon of your chosen sweetener to the blended mixture. Stir it in thoroughly, ensuring it’s evenly distributed. Taste as you go; you might want to adjust the sweetness level by adding more if needed. Fresh orange juice tends to have natural sweetness that can complement your ice cream nicely.
Remember, you can always add, but you can’t take away, so go slow! If you prefer a sugar-free option, stevia or erythritol are fantastic alternatives. Additionally, consider incorporating plant-based alternatives to enhance the flavor profile while keeping it vegan-friendly.
Once you’re satisfied with the sweetness, give it one final stir. Your mixture is now ready for the next step in creating delicious chia seed ice cream!
Step 4. Chill Mixture in Freezer
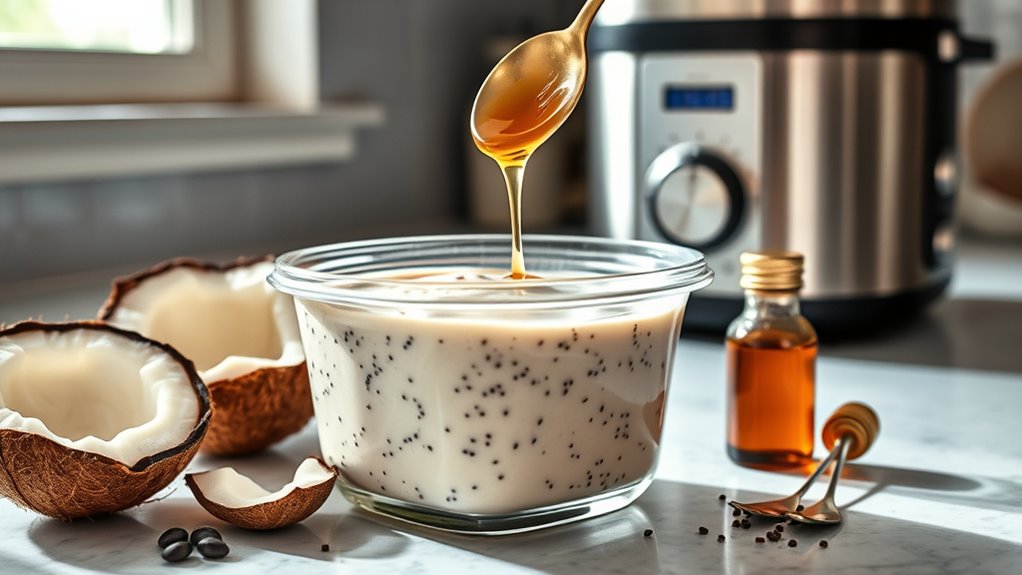
Once you’ve achieved the perfect level of sweetness, pour your mixture into a suitable container for freezing.
Make sure the container is airtight to prevent ice crystals from forming. Place it in the freezer and let it chill for about 4 to 6 hours.
If you want a creamier texture, stir the mixture every hour for the first few hours. This helps incorporate air and keeps it from becoming too hard.
Once it’s firm but scoopable, you can take it out and let it sit for a few minutes at room temperature for easier serving.
Just remember to check it periodically, as freezing times can vary based on your freezer’s temperature and the container size.
Enjoy your homemade ice cream!
Step 5. Serve With Fresh Fruit
After letting your chia seed ice cream chill to the perfect consistency, it’s time to elevate your dessert by serving it with fresh fruit.
Start by gathering a selection of your favorite fruits—berries, bananas, or peaches work wonderfully. Slice the fruit into bite-sized pieces for easy enjoyment. Including fiber-rich fruits will enhance the health benefits of your dessert.
Scoop a generous portion of your creamy chia seed ice cream into a bowl, and then top it with the fresh fruit. The bright colors and natural sweetness of the fruit won’t only enhance the flavor but also add a delightful crunch.
If you want an extra touch, drizzle a bit of honey or a sprinkle of nuts on top. Be mindful that allergic reactions to chia seeds can occur, so ensure that everyone enjoying this dessert is aware of any potential sensitivities. Your invigorating, fiber-rich dessert is now ready to impress! Enjoy!
Final Thoughts
As you savor your homemade chia seed ice cream, you’ll likely appreciate how simple and delicious it can be to create a healthy treat at home. This recipe not only offers a delightful taste but also packs a nutritious punch, thanks to the fiber and omega-3s found in chia seeds. Additionally, chia seeds are known for their high nutrient content, making them an excellent choice for enhancing your desserts. Incorporating vegetarian-friendly ingredients into your recipes can further elevate their health benefits, making it a versatile dessert for any occasion.
Plus, it’s a fantastic way to impress friends and family with your culinary skills! Remember, experimenting with different ingredients can lead to exciting new variations. Incorporating protein-packed seeds like chia into your desserts can enhance their nutritional value even further.
Frequently Asked Questions
Can I Substitute Chia Seeds With Another Ingredient?
Yes, you can substitute chia seeds with other ingredients!
Flaxseeds are a popular alternative; just grind them to a similar texture. You might also try hemp seeds for a slightly different flavor and texture.
If you’re looking for a thicker consistency, consider using ground oats or even a nut butter.
Just keep in mind that each substitute will alter the final taste and texture, so experiment to find what you like best!
How Long Does the Ice Cream Last in the Freezer?
Did you know that homemade ice cream can last up to two weeks in the freezer?
If you’ve made a batch, it’s best to enjoy it within that timeframe for ideal taste and texture. After two weeks, it may start to develop ice crystals and lose its creamy consistency.
Is This Recipe Suitable for Vegan Diets?
Yes, this recipe is suitable for vegan diets. It doesn’t contain any animal products, making it a perfect choice for those following a plant-based lifestyle.
You’ll enjoy the creamy texture and delicious flavors without compromising your dietary preferences. Just make sure to check any additional ingredients you might use, ensuring they align with vegan standards.
With this recipe, you can indulge guilt-free and share it with your vegan friends too!
What Are the Health Benefits of Chia Seeds?
Did you know that just two tablespoons of chia seeds contain about 11 grams of fiber?
When you incorporate chia seeds into your diet, you’re boosting your omega-3 fatty acids, which support heart health. They’re also rich in antioxidants, helping to fight inflammation.
Plus, their high fiber content can aid digestion and keep you feeling full longer. You’ll find they’re a simple, nutritious addition to smoothies, salads, or even desserts!
Can I Add Other Flavors to the Ice Cream?
Absolutely, you can add other flavors to your ice cream!
Experimenting with different ingredients can make your dessert even more delightful. Whether you prefer chocolate, vanilla, or fruity options like strawberry or mango, just mix them in during the preparation process.
You can also incorporate extracts or natural sweeteners to enhance the taste. Don’t hesitate to get creative and find your perfect flavor combination that suits your palate!