
To make fall apple pie ice cream, combine 2 cups heavy cream, 1 cup whole milk, and 3/4 cup granulated sugar in a saucepan with warm spices like cinnamon and nutmeg. Cook diced apples until tender with lemon juice and brown sugar. Whisk in tempered egg yolks, mix in the apple filling, and churn in an ice cream maker. Freeze until firm. This treat perfectly captures autumn flavors, and you’ll discover even more delicious tips ahead!
Key Takeaways
- Combine 2 cups heavy cream, 1 cup whole milk, and 3/4 cup sugar in a saucepan for a rich base.
- Cook diced apples with cinnamon and nutmeg until tender, enhancing the classic apple pie flavor.
- Temper egg yolks with the warm cream mixture to create a creamy custard for the ice cream.
- Mix the cooled custard with the apple filling before churning in an ice cream maker for texture.
- Freeze the churned mixture in an airtight container until firm, perfect for serving alone or with warm apple pie.
History
The history of apple pie dates back centuries, intertwining with various cultures and traditions. You mightn’t know that the earliest recorded recipe comes from England in the 14th century, where apples were wrapped in a pastry crust.
This delightful dessert made its way to America with early settlers, who adapted it using local ingredients. As you savor each bite of apple pie, you’re also tasting a blend of cultures, from Dutch apple pie with its crumbly topping to the sweetened versions popular in New England.
Over time, apple pie became a symbol of American comfort, often associated with family gatherings and celebrations. So, when you indulge in this treat, you’re enjoying a rich tapestry of history and tradition.
Recipe
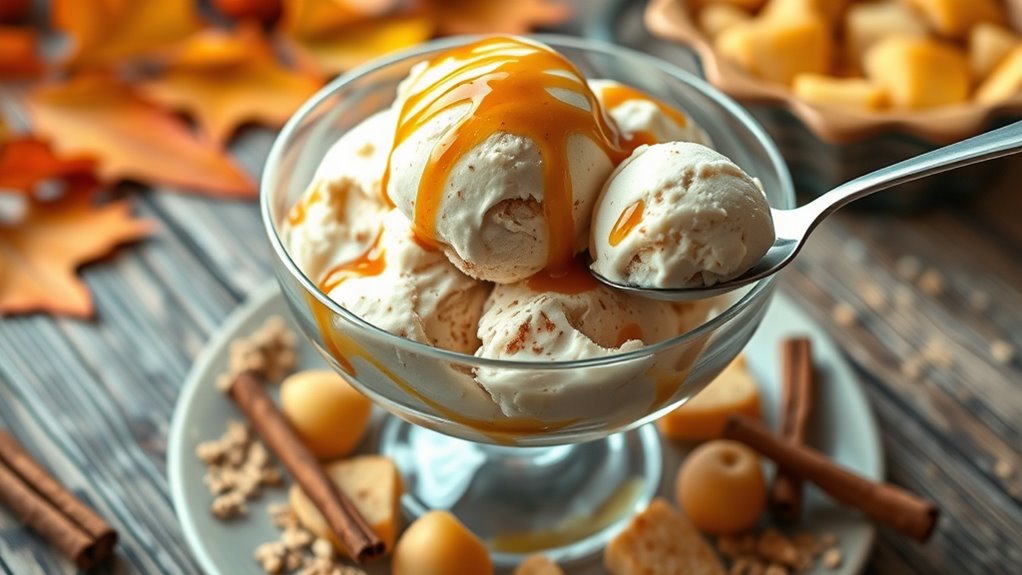
Fall Apple Pie Ice Cream is the perfect dessert to celebrate the cozy flavors of autumn. This delightful treat combines the classic taste of apple pie with the creamy, invigorating texture of ice cream. With warm spices like cinnamon and nutmeg, and chunks of tender apples, every spoonful takes you on a nostalgic journey to fall family gatherings and Thanksgiving feasts.
Experience the essence of autumn with creamy Fall Apple Pie Ice Cream, blending nostalgic flavors and warm spices in every delightful spoonful.
Making this ice cream is a fun and rewarding process that can be enjoyed by the whole family. The recipe involves preparing a rich, custard-based ice cream, mixing in the delicious apple pie filling, and then churning it to create a smooth and creamy texture. Whether you serve it on its own or alongside a slice of warm apple pie, this dessert is sure to impress and satisfy your sweet tooth.
Ingredients:
- 2 cups heavy cream
- 1 cup whole milk
- 3/4 cup granulated sugar
- 1 teaspoon vanilla extract
- 1 teaspoon ground cinnamon
- 1/4 teaspoon ground nutmeg
- 4 large egg yolks
- 2 cups diced apples (peeled and cored)
- 1 tablespoon lemon juice
- 1/2 cup brown sugar
- 1 teaspoon cornstarch
- Pinch of salt
Cooking Instructions:
In a medium saucepan, combine the heavy cream, whole milk, granulated sugar, vanilla extract, cinnamon, and nutmeg over medium heat.
In a separate bowl, whisk the egg yolks and slowly temper them with the warm cream mixture before returning everything to the saucepan. Cook on low heat, stirring constantly, until the mixture thickens enough to coat the back of a spoon.
Meanwhile, prepare the apple filling by tossing the diced apples with lemon juice, brown sugar, cornstarch, and salt, then sautéing in a skillet until soft.
Allow the custard to cool, mix in the apple filling, and then pour the mixture into an ice cream maker, churning according to the manufacturer’s instructions until it reaches a soft-serve consistency. Transfer to an airtight container and freeze until firm.
Extra Tips:
For the best flavor, use a mix of sweet and tart apples like Granny Smith and Honeycrisp.
If you don’t have an ice cream maker, you can still make this recipe by placing the mixture in a shallow dish and freezing it, stirring every 30 minutes until it reaches the desired consistency.
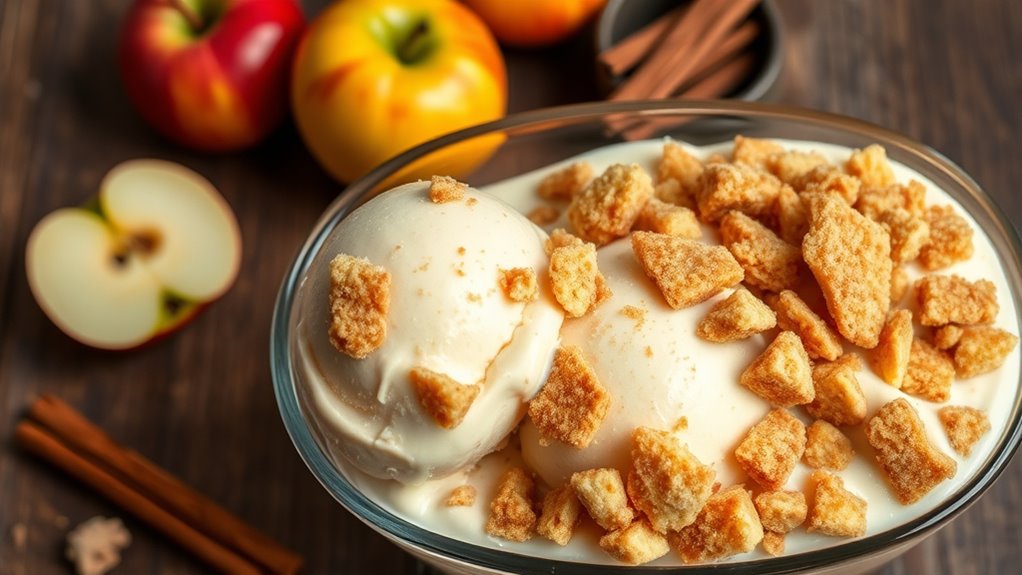
Additionally, consider adding a crumb topping made from crushed graham crackers or pie crust for a delightful crunch.
Cooking Steps
To make your Fall Apple Pie Ice Cream, you’ll start by preheating the oven to 375°F.
Next, mix your apples with spices for that perfect autumn flavor.
Once that’s done, you’ll add the pie crust topping and bake it for about 45 minutes.
Step 1. Preheat the Oven to 375°F

Start by preheating your oven to 375°F. This step is vital for achieving the perfect apple pie crust.
As the oven warms up, you’ll guarantee that your pie bakes evenly, resulting in a golden, flaky crust. Make sure to give your oven enough time to reach the desired temperature before you start the baking process.
You can check the temperature with an oven thermometer for accuracy, especially if your oven tends to run hot or cold.
Once it’s preheated, you’ll be ready to fill your pie with delicious ingredients.
Remember, a well-preheated oven sets the stage for a scrumptious dessert, so don’t skip this essential step.
Get ready to create a delightful fall treat!
Step 2. Mix Apples With Spices
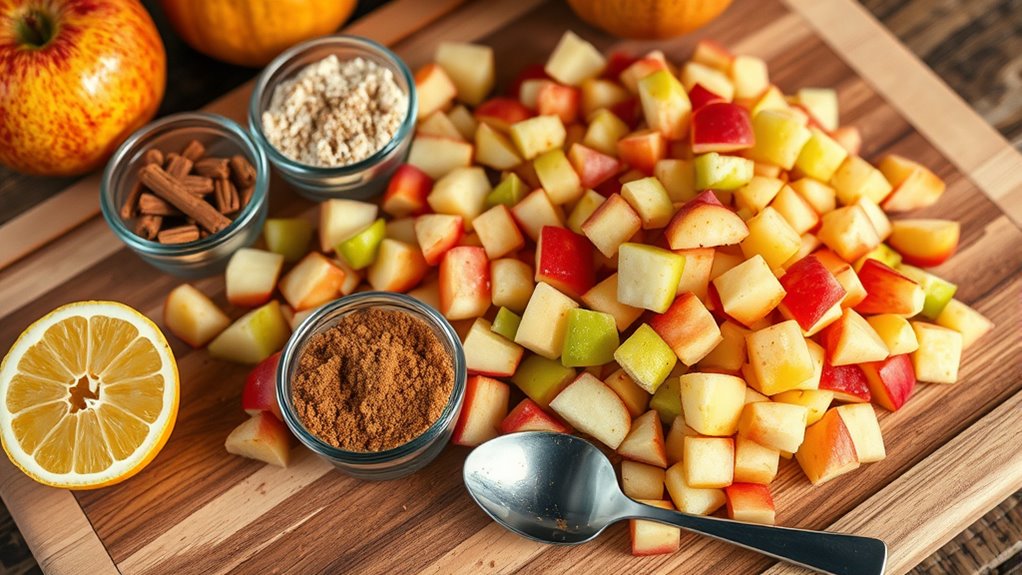
With your oven preheated, it’s time to focus on the apples. Start by peeling, coring, and slicing your apples into thin wedges.
In a large mixing bowl, toss the apple slices with sugar, cinnamon, nutmeg, and a pinch of salt. Make sure every slice is well-coated; this will enhance the flavor of your pie filling.
If you want a little extra zing, consider adding a splash of lemon juice to brighten the flavors. Once everything’s mixed together, let the apples sit for about 10 minutes. This allows the spices to meld with the natural juices of the apples.
Now, you’re ready to move on to the next step—layering your delicious apple mixture into the pie crust!
Step 3. Add Pie Crust Topping
As you prepare to add the pie crust topping, guarantee your apple filling is evenly distributed across the pie crust.
Roll out your second pie crust on a floured surface until it’s about 1/8-inch thick. Carefully place it over your apple-filled pie, ensuring it covers the filling completely. Trim any excess crust hanging over the edges, then crimp the edges to seal.
If you want a decorative touch, cut a few slits in the top to let steam escape. You can also create a lattice design if you’re feeling creative.
Finally, brush the crust with an egg wash for a golden finish. Sprinkle some sugar on top for added sweetness and a delightful crunch.
Step 4. Bake for 45 Minutes
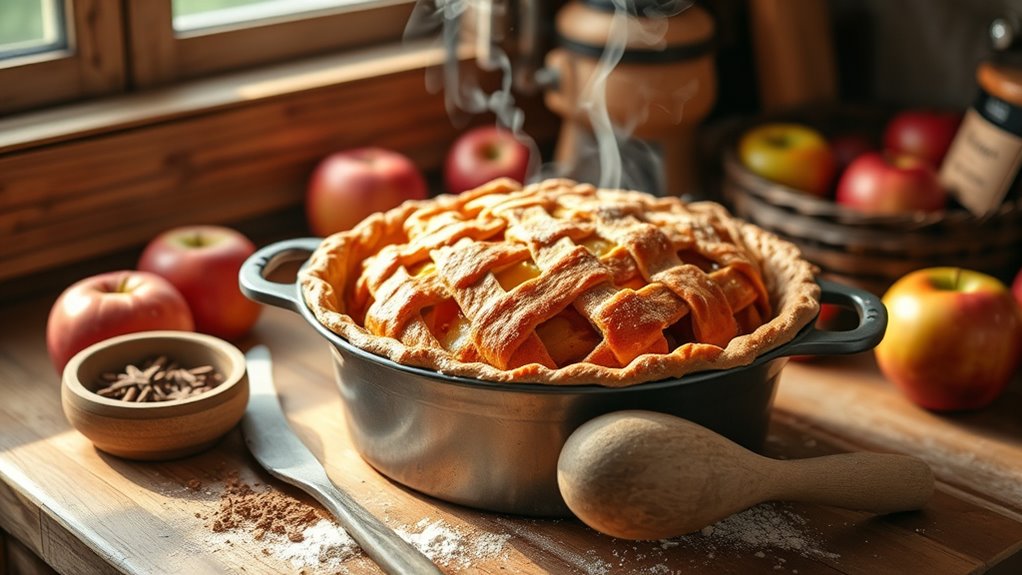
Once your pie crust topping is in place, it’s time to bake. Preheat your oven to 425°F (220°C) to guarantee that the crust gets nice and golden.
Place your pie on the center rack and set a timer for 45 minutes. Keep an eye on it as it bakes; you want the crust to turn a beautiful golden brown and the filling to bubble slightly.
If the edges of the crust start to brown too quickly, cover them with aluminum foil to prevent burning.
Once the timer goes off, carefully remove the pie from the oven and let it sit for a moment. The aroma of baked apples and spices will fill your kitchen, making it hard to resist!
Step 5. Cool Before Serving

After pulling your pie from the oven, it’s essential to let it cool before serving. Cooling allows the filling to set, making it easier to slice and enjoy.
Place the pie on a wire rack to promote airflow, which helps it cool evenly. Let it sit for at least 1 to 2 hours, but if you can resist, letting it cool overnight is even better.
This extra time enhances the flavors and texture, making each bite more delicious. Once cooled, consider pairing it with your homemade ice cream for a delightful contrast of temperatures. Remember that serving it with a glass of freshly squeezed juices can elevate the experience.
Serve it warm or at room temperature, and watch everyone’s eyes light up with joy as they dig into this comforting fall treat.
Final Thoughts
While you savor each scoop of this Fall Apple Pie Ice Cream, it’s clear that this recipe brings together the comforting flavors of autumn in a delightful way.
The creamy texture, combined with the spiced apples and buttery pie crust, makes every bite a cozy experience. Whether you’re enjoying it on a chilly evening or serving it at a festive gathering, this ice cream is sure to impress.
Don’t hesitate to customize it with your favorite toppings, like caramel or nuts, to make it even more special. Remember, making this treat is as enjoyable as eating it, so invite friends or family to join in the fun.
Embrace the season and indulge in this delicious autumn dessert!
Frequently Asked Questions
Can I Use Store-Bought Apple Pie for This Recipe?
Absolutely, you can use store-bought apple pie for this recipe! It’s a great time-saver and still delivers that delicious apple pie flavor.
Just make sure to choose a pie you enjoy, as it’ll influence the final dish. You can crumble it up or slice it, depending on your preference.
Using store-bought doesn’t mean you’re compromising quality; it’ll still taste fantastic and save you some time in the kitchen!
How Long Does the Ice Cream Take to Freeze?
When you’re making ice cream, it typically takes about 4 to 6 hours to freeze properly. You want it to reach a firm, scoopable consistency.
If you’re using an ice cream maker, follow the manufacturer’s instructions, but usually, the mixture needs to churn for about 20 to 30 minutes before transferring it to the freezer.
Just be patient, and you’ll have a delicious treat ready to enjoy in no time!
What Type of Apples Are Best for This Recipe?
For making a delicious apple dessert, you’ll want to choose the right apples. Tart varieties like Granny Smith or Jonagold work great, as they balance sweetness with a bit of tang.
Honeycrisp apples are also excellent for their crisp texture and flavor. You might even mix different types to enhance the taste!
Just remember, the fresher the apples, the better your dish will turn out, so pick them carefully!
Can I Make This Recipe Dairy-Free?
Yes, you can definitely make this recipe dairy-free!
Simply substitute regular milk and cream with your favorite plant-based alternatives like almond milk, coconut cream, or cashew milk. These options provide a creamy texture without the dairy.
Just make certain that any additional ingredients, like ice cream bases or toppings, are also dairy-free.
You’ll still enjoy that delicious flavor, and it’ll be perfect for those who are lactose intolerant or prefer a dairy-free lifestyle.
How Should I Store Leftover Ice Cream?
You’ve got a delightful treat, but how do you keep it from becoming a frosty mess?
Store leftover ice cream in an airtight container to prevent freezer burn and maintain its creamy texture. If you’re using a store-bought tub, simply press plastic wrap against the ice cream’s surface before sealing it.
Enjoy the contrast of rich flavors now, and avoid the disappointment of icy, bland bites later. Treat your leftovers right!