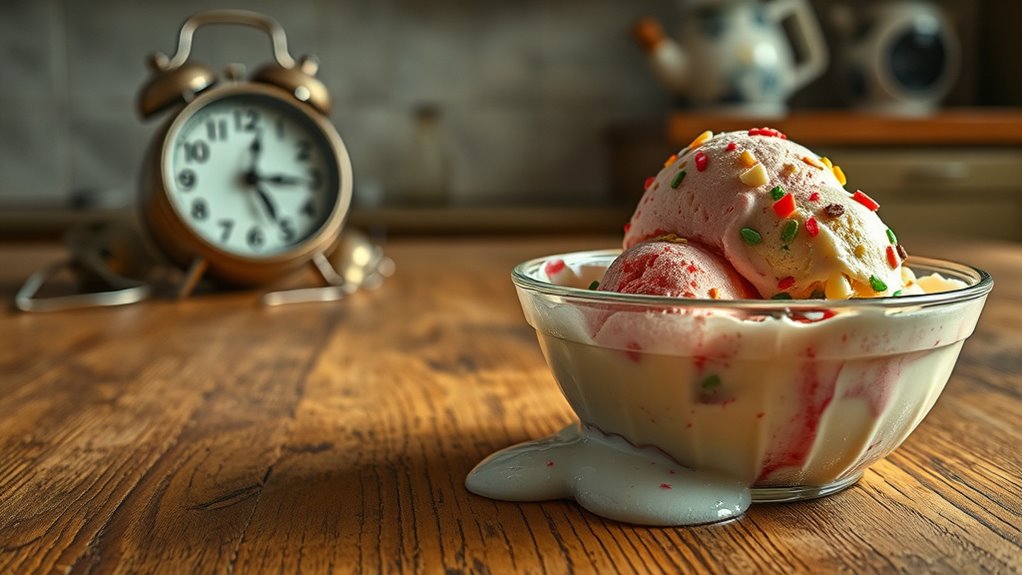
To avoid common homemade ice cream mistakes, pay attention to water content and avoid excessive liquid for smoother texture. Use sufficient stabilizers like guar gum to enhance creaminess and prevent graininess. Freeze your mixture correctly, ensuring the ice cream maker bowl is pre-frozen. Stir the mixture occasionally while freezing, and don’t overfill the churner. Finally, remember to rest the mixture for flavor development. Stick around to discover even more tips for perfect homemade ice cream!
Key Takeaways
- Use high-fat dairy and quality ingredients to avoid icy textures and enhance flavor in your homemade ice cream.
- Ensure proper emulsification by balancing fats and liquids to prevent separation and achieve a creamy consistency.
- Pre-freeze your ice cream maker bowl for at least 24 hours and keep the base below 39°F before churning.
- Stir the mixture every 30 minutes during freezing to reduce ice crystal size and improve texture.
- Allow adequate rest time for flavors to mature and to stabilize the mixture before freezing.
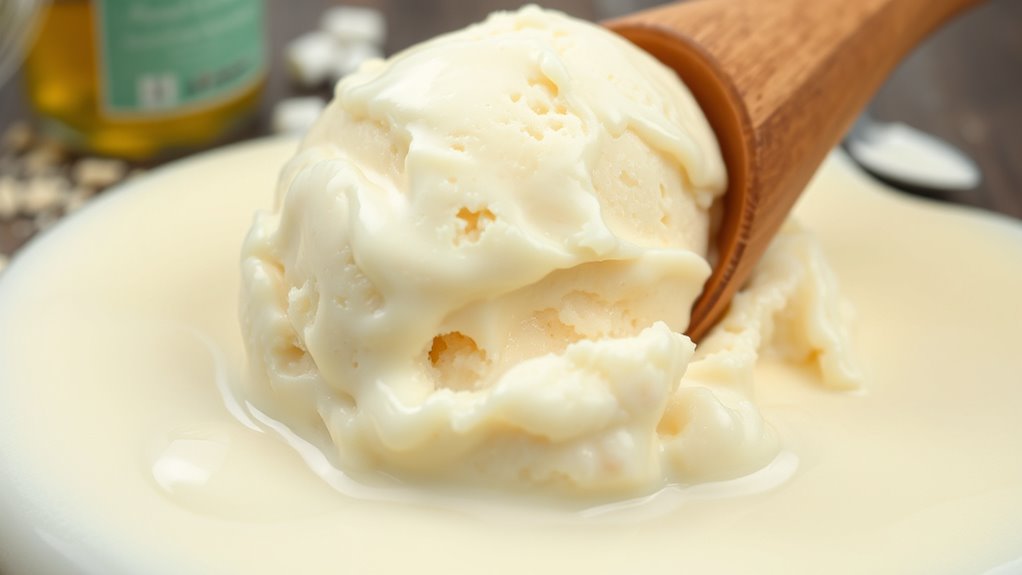
Excessive Water Content
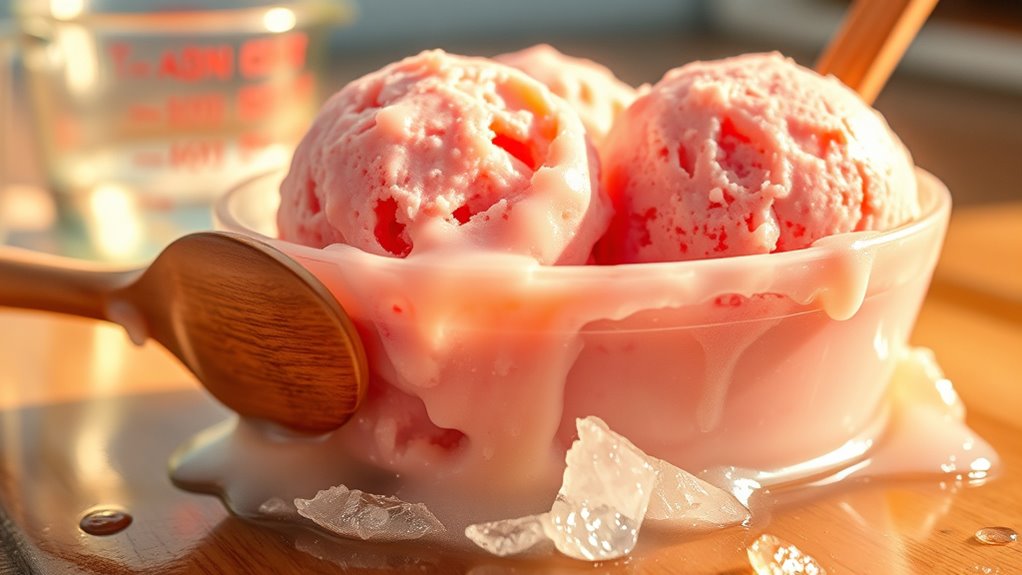
When making homemade ice cream, one of the biggest pitfalls you can encounter is excessive water content. This often happens when you use too much liquid, like milk or cream, without balancing it with solid ingredients. The result? Large ice crystals that lead to an icy, coarse texture instead of the creamy smoothness you crave. To combat this, measure your ingredients carefully, ensuring you have enough solids like sugar or skimmed milk powder. Additionally, accurate measurement of ingredients is crucial to avoid an unbalanced mixture. Incorporating higher fat content from ingredients like cream can also help achieve that desired creaminess. Chilling your base before churning helps, too. Don’t forget to monitor your churning time, as inadequate churning can also worsen the problem.
Insufficient Stabilizers
Insufficient stabilizers can leave you with an icy, unappetizing texture. Stabilizers like guar gum, sodium alginate, and carob bean gum not only enhance creaminess but also reduce ice crystal growth. Without them, your ice cream may melt too quickly and develop a watery serum. To fix this, consider adding stabilizers such as gelatin or xanthan gum to your mix. Experiment with concentrations to find the right balance for smoothness and scoopability. Additionally, the use of stabilizers can help manage ice crystal growth during both hardening and storage, improving the overall quality of your homemade ice cream.
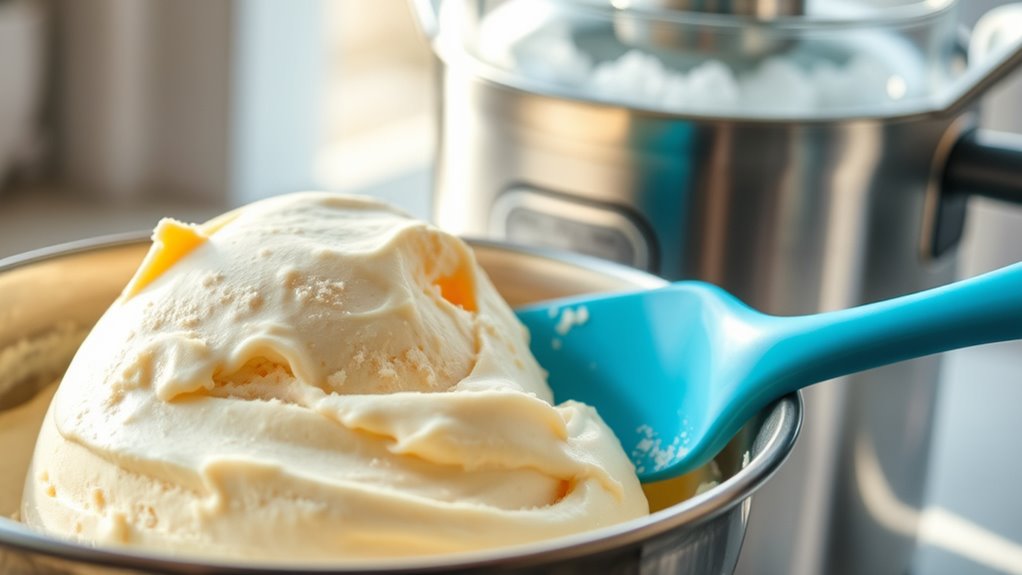
Incorrect Freezing Techniques
If you want to achieve the perfect scoop of homemade ice cream, mastering freezing techniques is essential.
Start by verifying your ice cream maker bowl is pre-frozen for at least 24 hours. Keep your ice cream base at or below 39°F (4°C) before churning to prevent ice crystals. Additionally, using no-churn ice cream methods can simplify the freezing process and yield delicious results without a machine.
Ensure your ice cream maker bowl is frozen for 24 hours and keep your base below 39°F (4°C) to avoid ice crystals.
Monitor your freezer’s temperature, maintaining it at 0°F (-18°C) or lower to avoid fluctuations that can affect texture. Use shallow, airtight containers to minimize air exposure and facilitate quick freezing. Avoid placing your ice cream near the freezer door, where temperature changes can occur. Finally, allow enough time for complete freezing; removing it too soon can lead to a soft, icy texture.
Follow these tips to enjoy creamy, delicious results!
Lack of Churning
Failing to churn your ice cream properly can lead to disappointing results, leaving you with a grainy, icy texture instead of the creamy delight you desire.
Insufficient churning prevents air from incorporating, making your ice cream harder to scoop. To combat this, use high-fat ingredients like double cream and condensed milk, which can improve texture. Remember to chill your mixture before churning; adding warm ingredients disrupts ice crystal formation. Stirring the mixture every 30 minutes during freezing helps reduce ice crystal size and prevents large ice crystals from forming.
Keep an eye on your churning time—over-churning can lead to excessive air and a butter-like texture. By balancing your ingredients and maintaining proper churning practices, you can achieve a deliciously smooth ice cream.
Overfilling the Churner

Overfilling the churner can lead to a series of frustrating problems that ruin your homemade ice cream experience. When you fill it too much, there’s insufficient room for the mix to expand, resulting in inefficient churning.
You might find the ice cream mix overflowing, creating a mess. This disrupts the balance between air and fat, leading to a denser, less airy final product. Additionally, proper temperature control is crucial as warm bases can exacerbate issues caused by overfilling.
Plus, uneven mixing can leave you with inconsistent texture and separation of ingredients. To avoid this, only fill the churner two-thirds full and measure ingredients accurately, perhaps using a scale.
If you have excess mix, divide it into smaller batches or store it for later. Taking these steps guarantees a creamy, smooth treat every time.
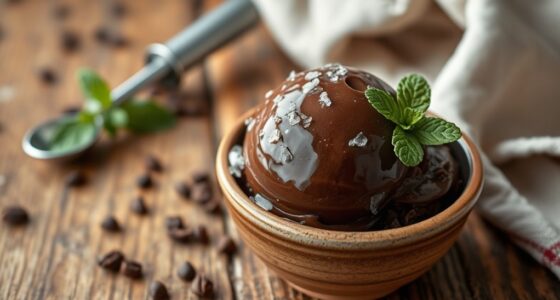
Low-Quality Ingredients

While you might be tempted to cut corners with ingredients for your homemade ice cream, using low-quality components can greatly compromise the final product. Low-fat dairy or poor-quality cream creates an icy texture, while additives like artificial flavors and fillers dilute the authentic taste. For instance, many popular brands, like Blue Bunny, use low-quality artificial ingredients that detract from the overall quality. Instead of high-fructose corn syrup, opt for natural sweeteners like cane sugar or honey for better flavor. Prioritize fresh, high-fat dairy such as heavy cream and whole milk for a creamy consistency. Additionally, be mindful that ice cream contains high sugar and fat content, which can lead to health issues if consumed excessively. Real vanilla extract or beans enhance flavor, eliminating the need for artificial alternatives.
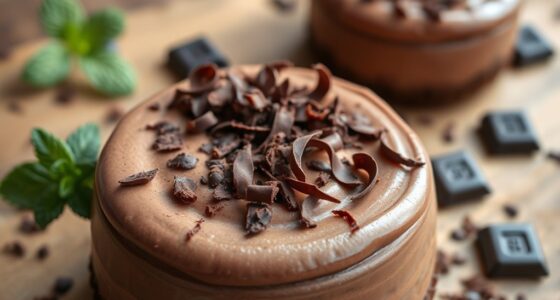
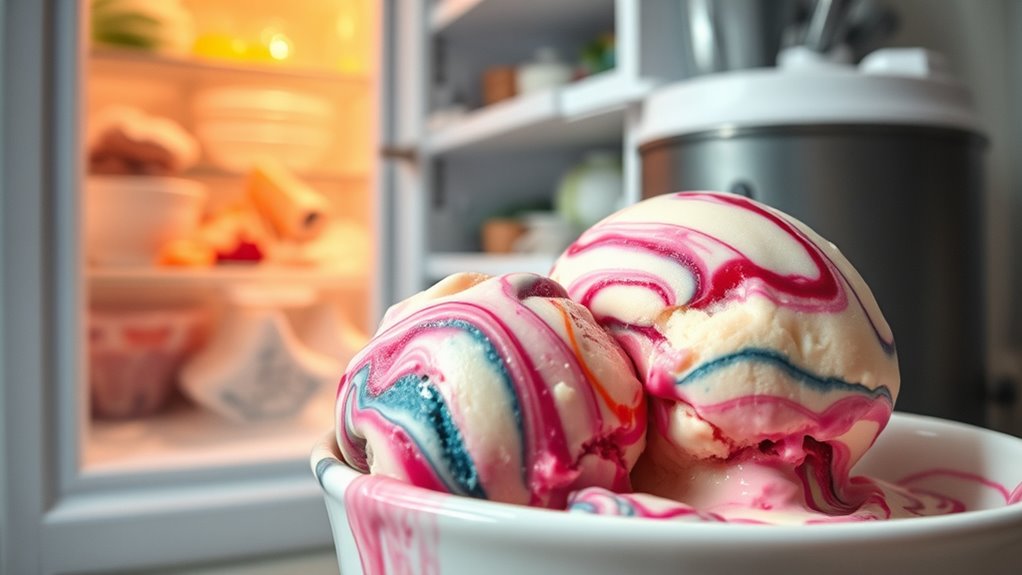
Incorrect Mix-In Timing
Using high-quality ingredients sets the foundation for delicious homemade ice cream, but getting the timing right for adding mix-ins is just as important.
If you add mix-ins too early, you risk overmixing, which can ruin that creamy texture you love. Instead, wait until the ice cream has finished churning to incorporate them.
Freezing your mix-ins beforehand helps them maintain their shape, preventing sogginess and ice crystal formation. Cut them into small pieces for even distribution; this way, you avoid chunky textures. Freshly squeezed juices, like fresh orange juice, can also be used as flavorful mix-ins for a unique twist.
Remember to gently fold them in to preserve the overall structure and visual appeal. By nailing the timing and preparation, you guarantee a satisfying flavor profile and a delightful ice cream experience. Additionally, make sure the ice cream machine is frozen solid before use to achieve the best results.
Over- or Under-Chilling the Base

Achieving the perfect texture in homemade ice cream hinges on the chilling process; getting it just right is vital. Over-chilling your base can turn it too thick, making churning a challenge. Aim to chill your mixture for at least 8 hours, preferably overnight, to develop flavors and improve texture. If time’s tight, use an ice bath for quicker cooling. Ideally, your base should be below 40°F (4°C) before churning. On the flip side, under-chilling leads to large ice crystals and an icy texture. Always verify your base is as cold as possible, ideally below 39°F (4°C), to avoid inefficient freezing. Quick freezing methods can also help minimize ice crystal formation, enhancing the creaminess of your final product. Balancing these chilling techniques is essential for that creamy, delicious ice cream you crave.
Ignored Measurements

When you ignore measurements in your homemade ice cream, you risk compromising both its taste and texture. Inaccurate ingredient ratios can lead to an unbalanced flavor profile, while insufficient stabilizers may create a grainy texture. If you don’t monitor freezing temperatures, your ice cream mightn’t set properly, resulting in larger ice crystals that make it icy. Poor emulsification can cause fats and water to separate, ruining the overall consistency. Additionally, overfilling your ice cream maker leads to inefficient churning, affecting texture. To avoid these pitfalls, always use accurate measuring tools and follow established recipes. Remember that ice cream making classes can also provide you with valuable techniques and tips to enhance your skills. For instance, understanding the importance of emulsification techniques can greatly improve the creaminess of your ice cream. Regularly check the consistency during churning and adjust mix-in sizes for even distribution. Precision is key to achieving that perfect scoop!
Inadequate Rest Time
Although it might be tempting to churn your ice cream mixture right after mixing, inadequate rest time can seriously undermine your final product. When you skip this vital step, flavors won’t mature properly, leading to a less satisfying taste. Resting also stabilizes the mixture, reducing the risk of separation during freezing. Without enough time, you’re likely to end up with large ice crystals, resulting in an icy texture rather than the creamy consistency you desire. To avoid these pitfalls, plan ahead and allow your mix to rest, ideally overnight. If you’re short on time, cool it quickly in an ice bath. Additionally, allowing for proper balance of components can further enhance the overall quality of your ice cream.
Frequently Asked Questions
How Can I Enhance the Flavor of Homemade Ice Cream?
To enhance the flavor of your homemade ice cream, start with high-quality ingredients like fresh cream and real vanilla.
Infuse your dairy with spices or herbs for complexity, and consider using a custard base for richness.
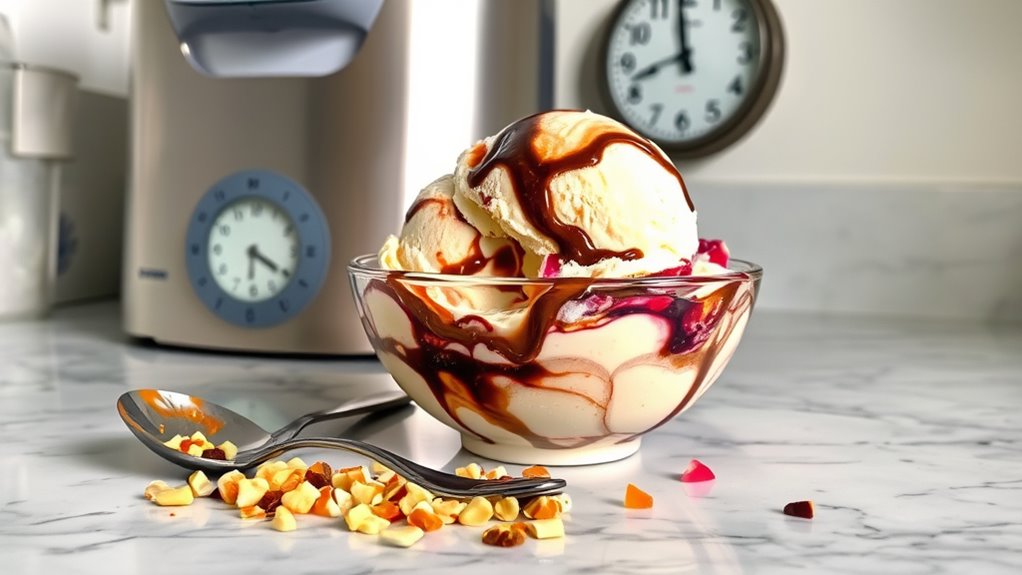
Add mix-ins like nuts or chocolate chips towards the end of churning for texture.
Experiment with swirls of sauces for visual appeal and flavor bursts.
Remember to balance sugar and salt for a well-rounded taste!
What Are the Best Mix-Ins for Ice Cream?
When it comes to mix-ins for ice cream, you’ve got plenty of delicious options!
Fresh fruits like strawberries or cherries add a revitalizing burst, while nuts like almonds or walnuts give you that satisfying crunch.
Don’t forget about chocolate chips for a classic treat or cookie pieces for extra fun.
For something unique, try swirling in fruit preserves or mixing in toasted coconut.
Experiment and find your perfect combination!
Can I Use Alternative Sweeteners in Ice Cream Recipes?
Using alternative sweeteners in ice cream recipes is like painting with a new palette; it opens up a world of flavors and textures.
You can absolutely experiment with options like honey, stevia, or maple syrup. Just remember to adjust the amounts since sweetness varies.
Some sweeteners might affect texture, so consider adding stabilizers to keep that creamy consistency.
With the right balance, your ice cream can be both delicious and healthier!
How Do I Store Leftover Ice Cream Properly?
To store leftover ice cream properly, use airtight containers to prevent freezer burn and maintain freshness.
Glass or plastic containers with tight lids work best; avoid cardboard ones.
Keep your freezer at or below -18°C (0°F) and store ice cream away from the door to avoid temperature fluctuations.
Press plastic wrap onto the surface before sealing, and always label containers to guarantee you use older ice cream first.
Enjoy your treats while they’re at their best!
Is It Safe to Eat Homemade Ice Cream After a Week?
Eating homemade ice cream after a week can feel like biting into a melting memory.
It’s generally safe for 1 to 2 weeks, but if you’ve stored it properly, you can enjoy it for up to 4 weeks.
Just keep it in an airtight container at 0°F (-18°C) or below.
Conclusion
Homemade ice cream is like a canvas waiting for your masterpiece. Avoiding these common mistakes guarantees your creation isn’t just a puddle of disappointment but a scoop of joy. With the right techniques, your kitchen can transform into an ice cream parlor where every bite feels like summer. So, embrace the process, learn from missteps, and let your imagination swirl into delicious flavors. After all, the best ice cream is a reflection of your passion!