To keep homemade ice cream safe, maintain a temperature of 0°F (-18°C) or lower in your freezer, and don’t leave it at room temperature for over two hours. Use a reliable temperature control device to monitor storage conditions and minimize exposure to unsafe temperatures during handling. Proper sanitation and quickly returning the ice cream to the freezer after serving help prevent bacterial growth. Continue exploring how to guarantee your ice cream stays fresh and safe.
Key Takeaways
- Keep homemade ice cream at or below 0°F (-18°C) to prevent bacterial growth and spoilage.
- Limit exposure at room temperature to no more than two hours during serving or handling.
- Use a reliable temperature control device to monitor storage conditions consistently.
- Return ice cream promptly to the freezer after serving to maintain safety and quality.
- Handle ingredients, utensils, and equipment with proper sanitation to reduce contamination risks.
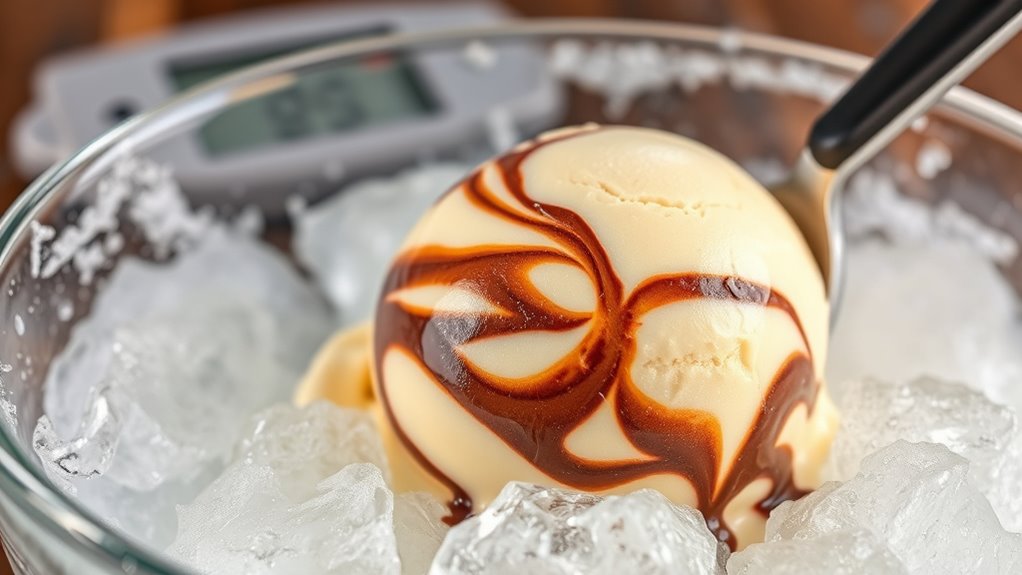
Proper time-temperature management is crucial to prevent bacterial growth and ensure the safety of homemade ice cream. Always keep your ice cream at or below 0°F (-18°C) when stored in the freezer, and do not leave it out at room temperature for extended periods. Using a temperature control device can help monitor and maintain optimal storage conditions, reducing the risk of spoilage. When preparing your ice cream, avoid contamination by using clean utensils and equipment, and ensure ingredients are fresh and properly handled. Be mindful of how long the ice cream sits at unsafe temperatures—ideally, it should not be left out for more than two hours. Remember that butter, when incorporated into recipes, should be stored correctly to maintain freshness and prevent spoilage, especially when used in custards or cream bases. Properly cooled and stored, homemade ice cream can be enjoyed safely, providing a delicious treat without compromising health.
Frequently Asked Questions
Can I Make Homemade Ice Cream Without a Freezer?
You can’t effectively make homemade ice cream without a freezer, but you can try alternative freezing methods like using a salt ice bath or a portable cooler with ice. These methods require frequent stirring to prevent ice crystals. You can also experiment with ingredient substitutions, such as using alcohol to lower freezing points. Keep in mind, these methods may not produce the same creamy texture as a freezer.
What Are the Signs of Spoiled Homemade Ice Cream?
You’ll recognize spoiled homemade ice cream by signs of spoilage like a sour or off smell, which indicates bacterial growth. Also, watch for changes in texture, such as excessive ice crystals or a slimy feel. If it develops an unusual color or flavor, it’s safer to discard it. Trust your senses—if it smells off or looks strange, don’t risk eating it. Always prioritize safety to avoid foodborne illnesses.
How Long Can Homemade Ice Cream Be Safely Stored?
Like a fleeting summer breeze, your homemade ice cream’s freshness doesn’t last forever. You should store it for no more than two to three months in the freezer, as its lifespan diminishes with time. After this period, quality declines and the risk of spoilage rises. Keep it well-covered and at a consistent freezing temperature to maximize its storage duration and enjoy your treat safely.
Are There Specific Ingredients That Increase Spoilage Risk?
Certain ingredients, like dairy, eggs, and fresh fruit, increase spoilage risk due to additive effects and ingredient stability issues. Dairy and eggs are prone to bacteria growth if not stored properly, while fresh fruit can introduce moisture and enzymes that spoil faster. Using preservatives or stabilizers can help, but you should still guarantee proper storage and handling to maintain safety. Always follow recommended guidelines to prevent spoilage and ensure quality.
How Do I Prevent Ice Crystals During Storage?
Think of your homemade ice cream like a delicate snowflake—preventing ice crystals is key. To do this, guarantee proper storage by keeping it at a consistent, cold temperature, ideally below 0°F. Cover tightly to minimize moisture exposure, which encourages ice crystal formation. Regularly stir or chisel the ice cream during storage if possible. These steps help maintain smooth texture and prevent unwanted ice crystals from forming.
Conclusion
Remember, when making homemade ice cream, safety should always come first. Keep it cold and follow proper time guidelines to prevent bacteria growth. Don’t rush the process or take shortcuts—”A stitch in time saves nine.” By paying attention to temperature and timing, you’ll enjoy delicious, safe ice cream every time. Stay vigilant, and your treats will be both tasty and worry-free. Your health and happiness are worth the extra effort!