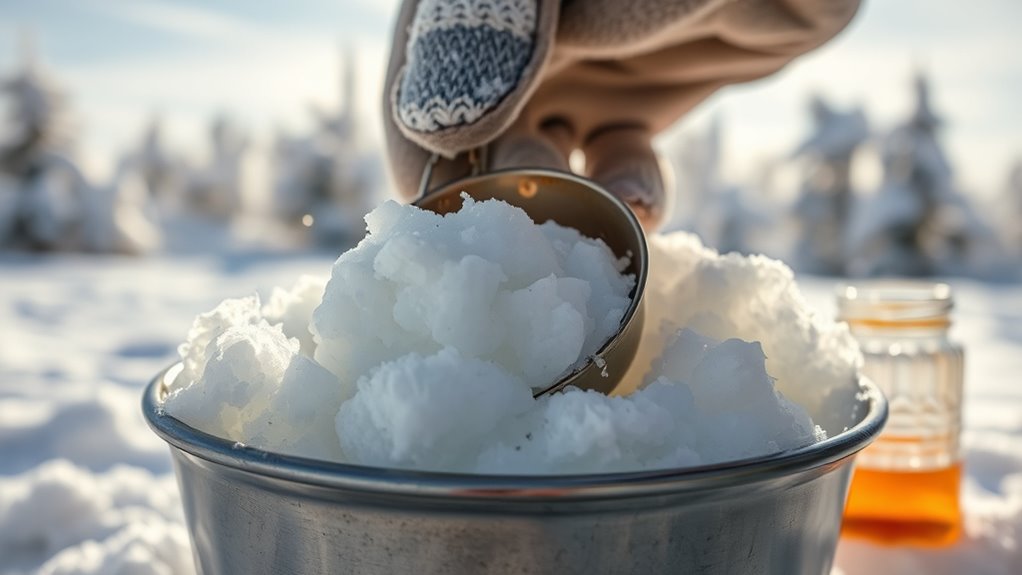

To make snow ice cream, gather about 8-10 cups of clean, fresh, and powdery snow from a safe spot away from roads or industrial areas. Mix milk, sugar, and vanilla, then gradually pour this over the snow while stirring until it reaches a creamy, scoopable consistency. Make sure the snow is uncontaminated to stay safe and enjoy the treat. Keep exploring for more tips on perfecting your snow ice cream recipe!
Key Takeaways
- Collect clean, fresh, powdery snow from safe areas away from pollutants or debris.
- Prepare a flavoring mixture with milk, sugar, vanilla, or other add-ins before combining.
- Gradually pour the liquid mixture over the snow while stirring to absorb the liquid evenly.
- Continue adding snow and stirring until reaching a thick, scoopable consistency.
- Always verify snow’s cleanliness to prevent illness and ensure a safe, fun winter activity.
Have you ever wondered how to turn fresh snow into a delicious treat? Making snow ice cream is a fun winter hack that lets you enjoy a sweet seasonal treat while embracing the chilly outdoors. But before you start, it’s vital to keep snow safety in mind. Not all snow is safe for eating—avoid snow that’s dirty, has been near roads, or contains any debris or chemicals. The best snow for snow ice cream is clean, fresh, and powdery, typically found away from busy streets or industrial areas. Always check that the snow looks white and fluffy, indicating it’s free from contaminants. Once you’ve confirmed it’s safe, you can gather enough snow to make your icy dessert.
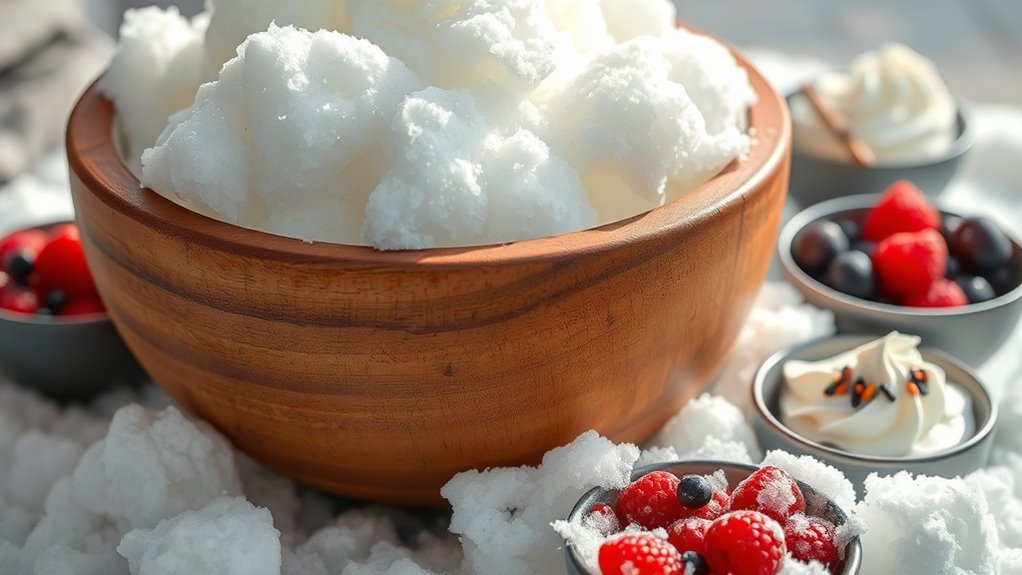
The process is straightforward and quick, making it a perfect activity to do with kids or friends. Start by collecting about 8-10 cups of fresh snow in a large bowl. In a separate container, mix together your flavorings and sweeteners. Vanilla extract, chocolate syrup, crushed cookies, or fruit purees work great as mix-ins. For a basic snow ice cream, combine one cup of milk, a half-cup of sugar, and a teaspoon of vanilla. You can add a splash of cream or condensed milk for extra richness. Once your liquid mixture is ready, pour it over the snow gradually, stirring constantly. The snow will begin to absorb the liquid and turn into a creamy, ice-cream-like consistency. Keep adding snow and stirring until it reaches your desired texture—thick but scoopable.
Being aware of cookie categories can help you understand how to customize your ingredients or flavorings for different preferences or dietary needs. This activity not only results in a tasty seasonal treat but also teaches you about snow safety. Always use snow that’s collected from safe locations and avoid snow that’s near roads or industrial areas. Remember, snow safety is vital because contaminated snow can cause illness. If you’re unsure about the snow’s cleanliness, it’s better to skip eating it altogether. You can still enjoy the experience by making snow sculptures or playing in the snow instead. Making snow ice cream is a delightful way to indulge in winter’s magic without needing an ice cream maker or complicated ingredients. Plus, it’s a great way to connect with the season, especially if you’re looking for simple ways to enjoy winter’s bounty. Just keep safety in mind, and you’ll end up with a sweet, creamy treat that’s perfect for any cold day. Whether it’s a family activity or a solo adventure, turning fresh snow into ice cream lets you savor the season in a fun and tasty way.
Frequently Asked Questions
Is Snow Ice Cream Safe for Children With Allergies?
You should be cautious about giving snow ice cream to children with allergies. It’s best to consult allergy testing results first, as snow can contain contaminants or allergens. If you’re unsure, consider alternative ingredients like allergy-safe milk or plant-based options instead of snow. Always supervise kids and check for any reactions. This way, you guarantee their safety while enjoying a fun winter treat.
How Long Does Homemade Snow Ice Cream Last?
You might worry about how long your homemade snow ice cream stays good, but it’s best enjoyed within a couple of hours for safety considerations. Storage duration is limited because the snow can melt or pick up bacteria. If you want to keep it longer, store it tightly in an airtight container in the freezer, but note that quality and safety decline after about 24 hours. Always prioritize freshness and hygiene.
Can I Use Flavored Syrups Instead of Vanilla?
Yes, you can use flavored syrup alternatives instead of vanilla to customize your snow ice cream. These options let you add a variety of flavors, from chocolate to fruit, making each batch unique. Just pour your preferred flavored syrup into the snow mixture and stir well. This way, you personalize your ice cream and enjoy different tastes every time, enhancing your winter treat experience with creative customization.
What Are the Best Snow Conditions for Making Ice Cream?
They say, “a little knowledge is a dangerous thing,” but with fresh snow, you’re in the clear. You want to look for fresh snow with a soft, fluffy texture, not crusted or icy. The ideal temperature is below freezing, ideally between 0°F and 20°F, to keep the snow light and easy to scoop. These conditions guarantee your snow is pure and perfect for making creamy, delicious ice cream.
Is There a Risk of Pollutants in Outdoor Snow?
You should be cautious about pollutant risks in outdoor snow, as snow may contain contaminants from vehicle exhaust, industrial pollution, or other sources. To guarantee snow purity, avoid areas near roads or factories. Always check the snow’s appearance and smell; if it looks discolored or has an unusual odor, don’t use it. Protect yourself by choosing fresh, clean snow away from potential pollution sources for safe snow ice cream.
Conclusion
So there you have it—who knew winter’s chill could turn into a sweet treat? Just when you think snow’s only good for shoveling, you realize it’s also perfect for ice cream. Sure, you might get a little cold, but hey, that’s just your taste buds crying out for dessert. Next time the snow falls, remember: you’re not just shoveling it away, you’re turning winter’s white blanket into a scoop of icy delight. Enjoy!