Making ice cream at home is simple and fun! Start with cream, milk, and sugar for a creamy base, and consider adding egg yolks for richness. Use quality ingredients and whisk your mix until smooth. Chill it before churning in an ice cream maker. Don’t forget to fold in your favorite mix-ins near the end. Finally, store it in an airtight container in the freezer for the best texture. You’ll discover even more tips to create your perfect treat!
Key Takeaways
- Start with a rich custard base using cream, milk, and sugar, heating until the sugar dissolves for smooth texture.
- Temper egg yolks by gradually whisking in hot cream, then cook to 170°F (77°C) for added richness.
- Chill your mixture thoroughly before churning in an ice cream maker for the best consistency.
- Fold in mix-ins like nuts or fruit during the last minute of churning for even distribution.
- Store ice cream in a pre-chilled airtight container and freeze for at least 4 hours for optimal texture.
Understanding Ice Cream Ingredients
When you plunge into making ice cream at home, understanding the ingredients is essential for achieving that perfect scoop.
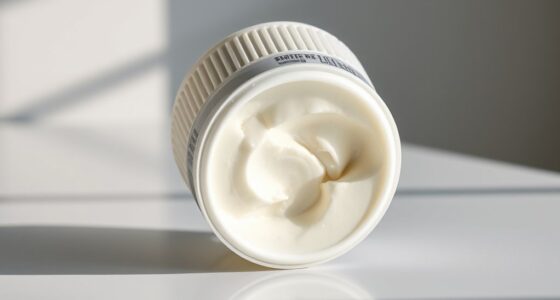
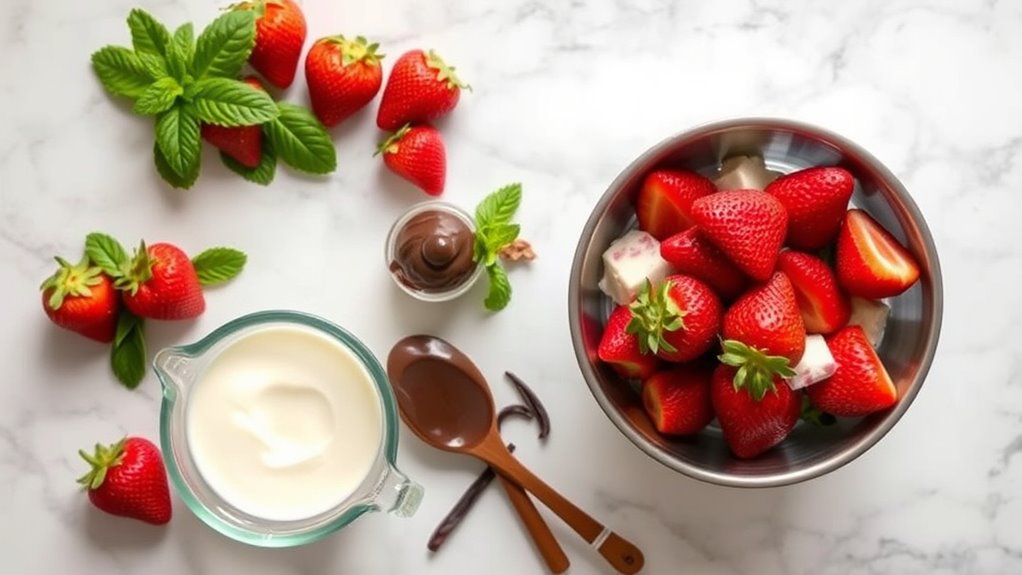
Start with cream and milk, as cream’s higher fat content yields a rich and creamy texture. Don’t forget sugar, which keeps your ice cream soft; you can even use low-carb substitutes like allulose if you’re watching your intake.
Adding egg yolks can enhance the custard base, making it even richer. For a vegan twist, consider coconut milk.
Always opt for quality ingredients like organic milk and high-quality vanilla extract, as they greatly elevate flavor.
If you’re trying a no-churn ice cream, additives like xanthan gum can help improve the texture, making your homemade ice cream recipe smooth and delightful.
Essential Techniques for Homemade Ice Cream
To create delicious homemade ice cream, mastering essential techniques is crucial.
Mastering essential techniques is key to creating delicious homemade ice cream.
Start with a rich custard base by combining heavy cream, whole milk, and sugar, then heat until the sugar dissolves. Chill this mixture thoroughly before using your ice cream maker attachment.
To prevent scrambling, temper egg yolks by gradually whisking in hot cream before cooking to 170°F (77°C). Once cooled, incorporate flavorings for enhanced taste.
When churning, aim for a soft-serve consistency and avoid overchurning; add mix-ins during the last minute for even distribution.
Store your finished homemade vanilla ice cream in a pre-chilled airtight container, pressing plastic wrap against the surface to minimize ice crystal formation.
Remember to freeze for at least 4 hours before serving!
Flavoring and Customizing Your Ice Cream

Once you’ve mastered the base techniques for making ice cream, it’s time to release your creativity with flavoring and customization.
Start by enhancing your ice cream’s flavor with extracts like vanilla or even a splash of alcohol, such as vodka, after the custard cools. For a richer vanilla experience, consider using real vanilla beans or increasing the extract. Incorporating nutrient-rich ingredients like fresh fruit can also elevate the flavor while adding health benefits. Additionally, consider using exotic fruit blends to create unique flavor profiles that can surprise and delight your taste buds. You might also explore global culinary delights that showcase diverse ingredients and techniques from various cultures.
Mix-ins like nuts, fruit, or chocolate chips can be added after churning for even distribution and unique combinations. You can also experiment with cocoa powder for a chocolatey twist or fruit purees for a fresh, fruity flavor.
Don’t forget to balance sweetness with flavored syrups like caramel or maple to maintain that creamy texture while elevating your ice cream. Additionally, consider using natural sweeteners for a healthier alternative to refined sugars in your ice cream recipes.
Tips for Successful Churning and Freezing

Achieving the perfect ice cream texture hinges on effective churning and freezing techniques.
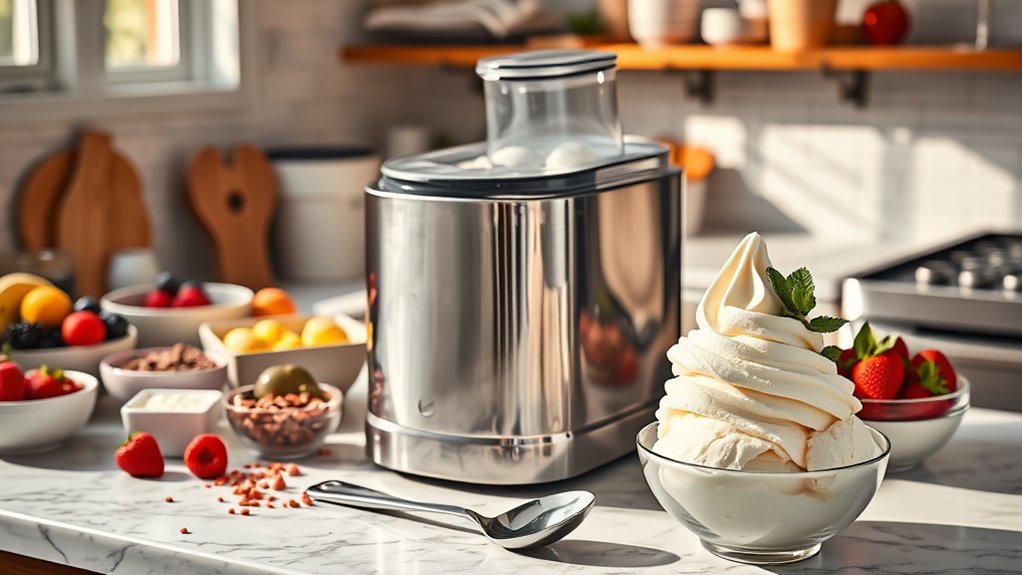
Start by confirming your ice cream maker’s bowl is frozen for at least 12 to 24 hours. Once ready, immediately add your mixture to the machine and begin to churn. This prevents it from freezing in chunks and helps create a smooth, creamy texture.
Ensure your ice cream maker’s bowl is frozen for 12 to 24 hours before churning for a perfectly smooth texture.
Follow the manufacturer’s instructions for churning time—typically 20 to 30 minutes—until you reach a soft-serve consistency. In the last minute, fold in your mix-ins like fruits or chocolate chips for even distribution.
After churning, transfer the soft ice cream to a pre-chilled airtight container and freeze for at least 4 hours or overnight to guarantee a successful firming before serving.
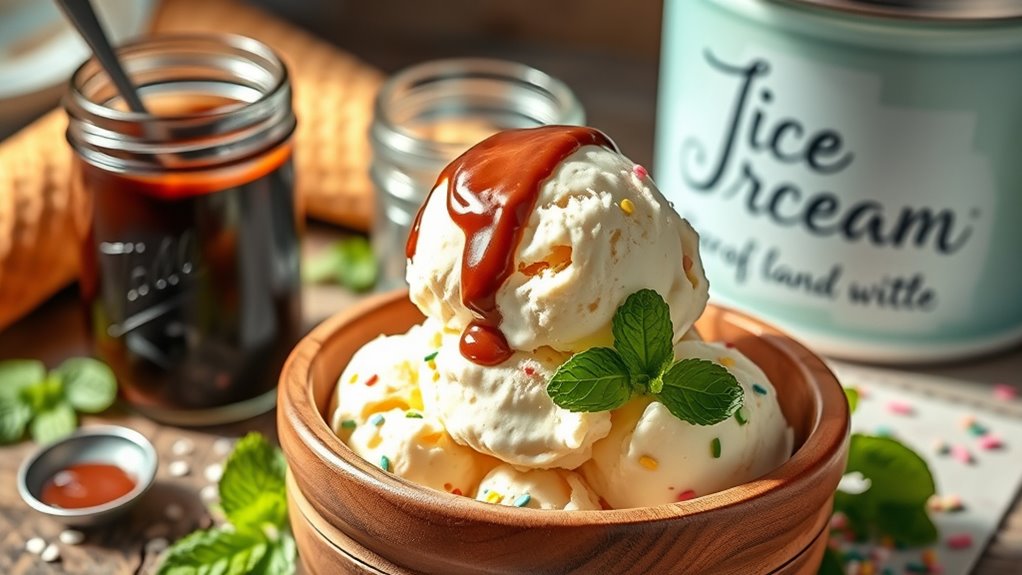
Delicious Serving Suggestions and Storage Tips
While you might be enthusiastic to dig into your homemade ice cream, knowing how to serve and store it can enhance your enjoyment.
For ideal storage, transfer your ice cream to a quart-size airtight container and press plastic wrap or foil into the top to minimize ice crystals. Freeze it for at least 4 hours or overnight to achieve the best texture.
Initially, scooping will be easy, but over time, the ice cream can become firmer, so let it sit at room temperature briefly for soft ice cream. You can store your rich homemade ice cream in the freezer for up to a month without significant quality loss.
For delightful serving suggestions, pair it with cherry pie or peach cobbler!
Frequently Asked Questions
How to Make Ice Cream at Home for Beginners?
To make ice cream at home, start by mixing heavy cream, whole milk, sugar, and vanilla extract for a creamy base.
If you prefer a custard-style, heat the cream and milk, whisk egg yolks with sugar, and combine them.
Chill the mixture and churn it in your ice cream maker.
In the last minute, fold in your favorite mix-ins.
Finally, freeze it in an airtight container for a few hours before enjoying your homemade treat.
What Ingredient Keeps Homemade Ice Cream Soft?
Imagine your ice cream as a cozy blanket on a chilly night. Sugar’s the secret ingredient that keeps it soft and inviting. It lowers the freezing point of your mixture, preventing that dreaded rock-hard texture.
When you whip in some heavy cream, you enhance the creaminess, making every scoop feel indulgent. So, don’t skimp on the sugar or fat; they’re the warm embrace your homemade ice cream needs to stay delightful!
How to Make 3 Ingredient Ice Cream?
To make 3-ingredient ice cream, you’ll whip 2 cups of heavy cream until you see stiff peaks.
Next, drizzle in a chilled can of sweetened condensed milk while gently folding it in, creating a creamy texture.
For extra flavor, add your favorite extracts or mix-ins like chocolate chips or fruit.
Finally, transfer the mixture to an airtight container and freeze for at least 4 hours until it’s solid and scoopable.
Enjoy!
How to Make Ice Cream in 7 Steps?
To make ice cream in seven steps, start by preparing your base with heavy cream, milk, sugar, and vanilla.
Heat until the sugar dissolves, then chill it.
Next, churn the chilled base in an ice cream maker for about 20 to 30 minutes.
Fold in your favorite mix-ins, transfer it to an airtight container, and freeze for at least four hours.
Finally, let it sit a bit at room temperature before serving for easy scooping.
Conclusion
Now that you’ve explored the essentials of making ice cream at home, it’s time to put your knowledge into action! Picture a creamy scoop of your favorite flavor, crafted by your own hands. With the right ingredients, techniques, and a dash of creativity, you can create delightful frozen treats that impress friends and family. So grab your ice cream maker, experiment with flavors, and enjoy the sweet rewards of your homemade creations—because nothing beats the joy of ice cream made with love!