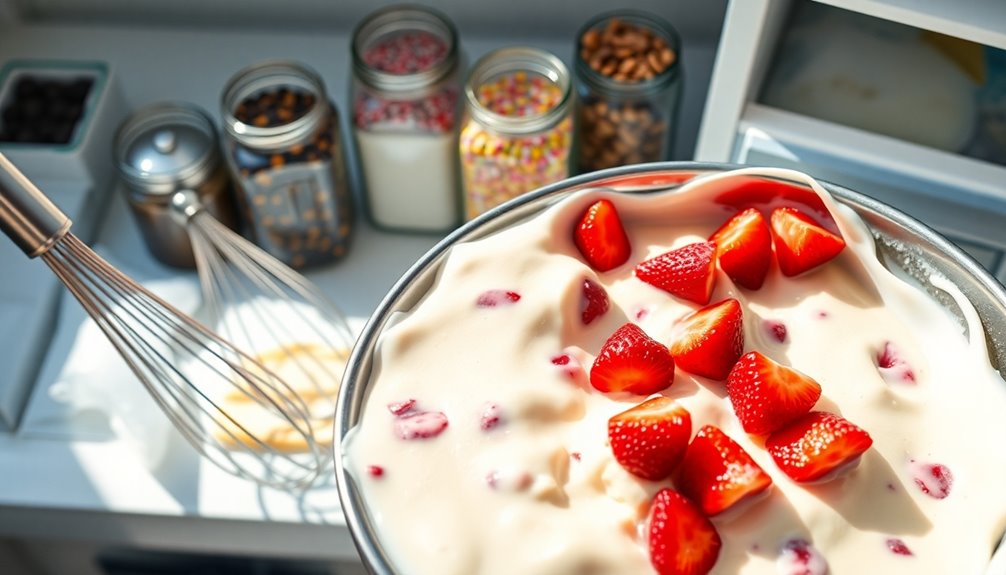
Making ice cream without a machine is super easy! Just whip together 2 cups of heavy cream until stiff peaks form, then mix in a can of sweetened condensed milk with your favorite flavorings. Gently fold the whipped cream into the condensed milk mixture and freeze it in an airtight container for 4 to 6 hours. You can customize it with seasonal fruits or cookie pieces for added fun. Keep going to discover more flavor ideas and tips!
Key Takeaways
- Use only three main ingredients: heavy cream, sweetened condensed milk, and optional flavorings for easy preparation.
- Whip heavy cream until stiff peaks form for a light and airy texture.
- Gently fold the whipped cream into the sweetened condensed milk mixture in three additions.
- Freeze the combined mixture in an airtight container for at least 4 to 6 hours until firm.
- Experiment with various mix-ins and seasonal fruits to create unique flavors and textures.
Overview of No Churn Ice Cream

If you’ve ever craved homemade ice cream but didn’t want to invest in an ice cream maker, no-churn ice cream is the perfect solution.
This easy alternative requires just a few ingredients: heavy cream, sweetened condensed milk, and whipping cream. You can whip the heavy cream to stiff peaks, fold in the sweetened condensed milk, and then add your favorite flavor variations, like cookies & cream or mint chocolate chip.
The best part? You can customize it with seasonal fruits and mix-ins. Once you mix everything, pour it into an airtight container and freeze.
This method not only makes ice cream simple but also allows for family fun in the kitchen—perfect for kids to help make ice cream together!
Ingredients and Preparation
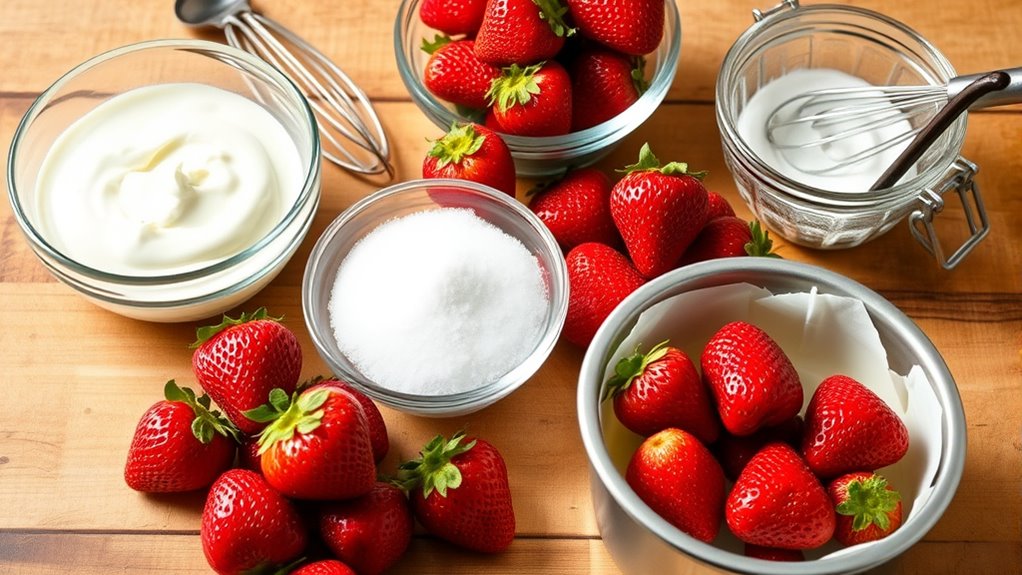
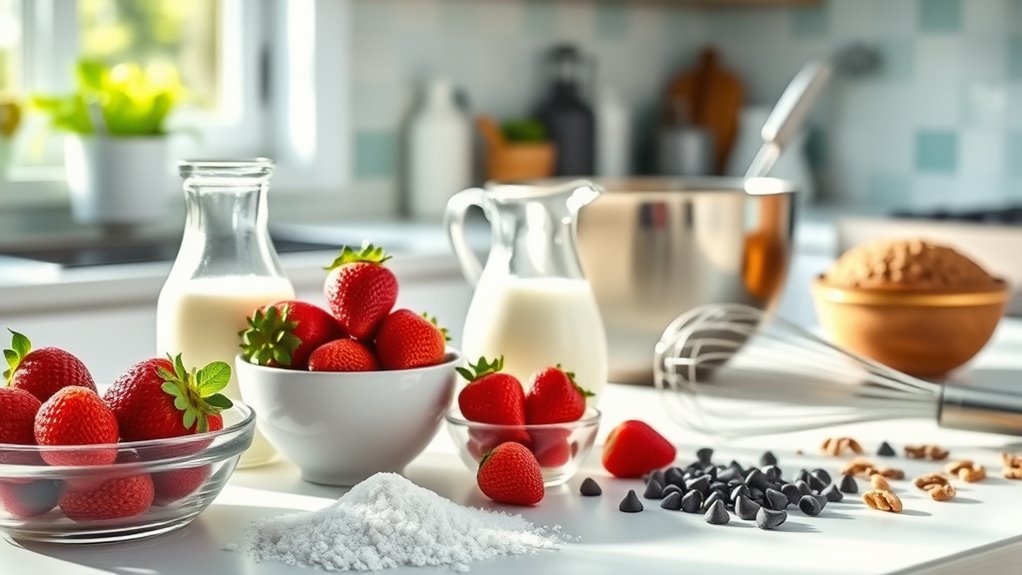
Making no-churn ice cream is straightforward, and gathering the right ingredients is the first step. You’ll need 2 cups of heavy cream, one can of sweetened condensed milk, and optional flavorings like vanilla extract or cocoa powder.
Start by whipping the heavy cream in a chilled metal bowl until stiff peaks form. This creates a light, airy texture. In a separate bowl, mix the sweetened condensed milk with your chosen flavorings.
Whip heavy cream until stiff peaks form, then combine it with sweetened condensed milk and your favorite flavorings for a delightful treat.
Next, gently fold the whipped cream into the condensed milk mixture, doing this in three additions to maintain that airy consistency.
Pour the combined mixture into an airtight container, cover it, and freeze for at least 4 to 6 hours until it’s firm and ready to enjoy! Additionally, you can explore global flavors by incorporating unique ingredients like matcha or mango into your ice cream recipes.
Flavor Variations and Customization

You can easily create your own unique ice cream flavors by experimenting with different mix-ins and ingredients.
Try popular combinations like cookies & cream or mint chocolate chip, or get creative with seasonal fruits and spices.
The possibilities are endless, so don’t hesitate to customize your ice cream to match your taste!
Popular Flavor Combinations
While traditional ice cream flavors like vanilla and chocolate will always have their fans, the world of no-churn ice cream offers endless possibilities for flavor combinations and customization.
You can create a delightful Cookies & Cream by folding in broken Oreo cookies or whip up a revitalizing Mint Chocolate Chip with peppermint extract and mini chocolate chips.
For a fruity twist, consider Raspberry White Chocolate by mixing in raspberries and chopped white chocolate.
Don’t forget the unique Key Lime Pie flavor, achieved by blending lime juice and zest with your sweetened condensed milk base.
Plus, enjoy the rich taste of Peanut Butter Swirl by adding peanut butter.
Experiment with seasonal fruits like fresh peaches for even more delicious options!
Experimenting With Ingredients
To create a truly unique ice cream experience, experimenting with ingredients opens up a world of flavor variations and customization.
Start with a basic ice cream mixture made from heavy whipping cream and sweetened condensed milk, then get creative! For a mint chocolate chip treat, add peppermint extract and mini chocolate chips, maybe even green food coloring for fun.
Crushed cookies can transform your base into a Cookies & Cream delight, while fresh fruits or seasonal ingredients like ripe berries or pumpkin puree can elevate your creation.
Don’t forget about layering mix-ins! Swirl in caramel or chocolate chips to enhance that delightful texture.
With these tips, you’ll make the ice cream that suits your taste perfectly!
Storage, Nutrition, and Serving Tips
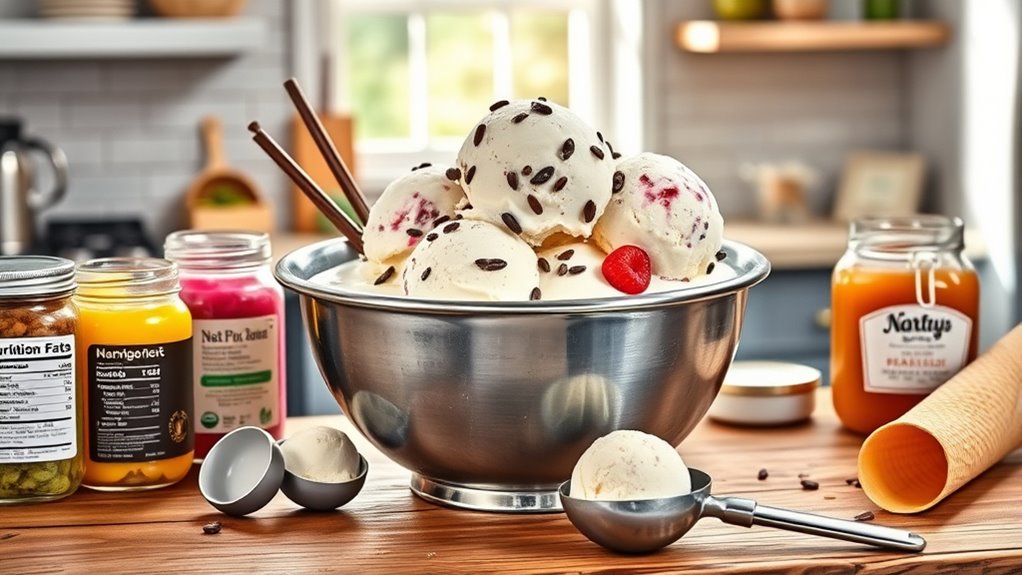
When it comes to storing your no-churn ice cream, keeping it in an airtight container is key to maintaining its texture.
You’ll want to be mindful of the nutritional content as well, since a typical serving packs a punch with calories and fat.
Finally, pairing it with desserts like pie can elevate your treat to a whole new level.
Proper Storage Techniques
Storing your homemade ice cream properly is essential for maintaining its delicious flavor and creamy texture.
To achieve the best results, follow these storage techniques:
- Use an airtight container, like a quart-size glass storage container, to prevent freezer burn.
- Press plastic wrap or foil directly onto the surface of the ice cream to minimize air exposure.
- For ideal texture, consume the ice cream within a week or two, as ice crystals can form over time.
- If your ice cream is hard to scoop, let it sit at room temperature for 5 to 10 minutes before serving.
Nutritional Information Overview
Understanding the nutritional information of your homemade ice cream can help you enjoy it guilt-free. When you make this delightful mixture, keep in mind that a typical serving size is about 1/2 cup, containing around 244 calories, 19g of carbohydrates, 17g of fat, and 4g of protein.
To preserve texture and flavor, store your ice cream in an airtight container, sealing it with plastic wrap to prevent freezer burn. If you want easy scooping, let it sit at room temperature for a few minutes before serving.
For best flavor, use metal pans to freeze your mixture, as they guarantee faster freezing. Don’t forget to incorporate mix-ins for an even more enjoyable treat!
User Engagement and Feedback
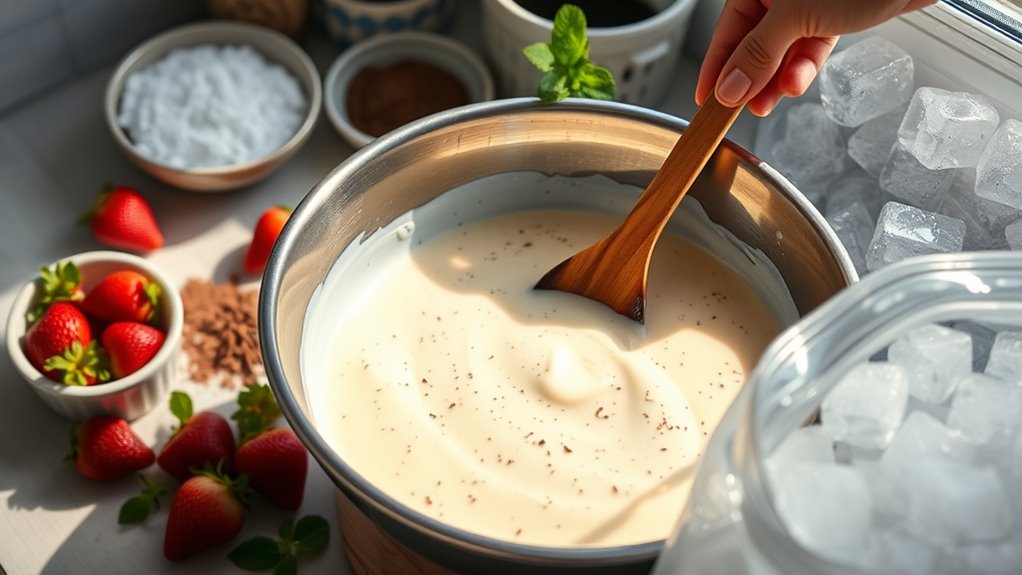
How can a simple recipe spark so much joy among home cooks? The excitement around making homemade ice cream without a machine is palpable, thanks to community feedback.
You’ll find users sharing their experiences and adaptations, celebrating the ease of this two-ingredient delight. It’s perfect for family gatherings, and the creativity doesn’t stop there:
- Users experiment with different flavors
- Many express gratitude for the recipe’s simplicity
- Some share health-conscious adaptations
- Everyone enjoys connecting over their ice cream stories
This blog serves as a vibrant platform, encouraging you to plunge into easy-to-make ice cream recipes. In moderation, homemade ice cream can be a health-conscious treat, allowing you to enjoy delicious creations without excessive sugar and fat.
You’re sure to feel inspired and excited about crafting your own delicious creations, fostering a sense of community in the process!
Brand Overview
At the heart of culinary exploration, our brand connects you with the joy of cooking through a diverse array of recipes and engaging culinary programs. Owned by Warner Bros. Discovery, Inc., we focus on delivering expertise from world-class chefs, ensuring you can create homemade ice cream that’s rich and creamy.
Our step-by-step recipes, including a delightful vanilla ice cream recipe, inspire you to release your creativity in the kitchen. We believe in community sharing, encouraging you to share your cooking experiences and feedback, fostering a supportive environment for all culinary enthusiasts.
With our commitment to transparency, we adhere to established privacy policies and copyright regulations, safeguarding your rights while you begin your delicious culinary journey.
Content Offerings
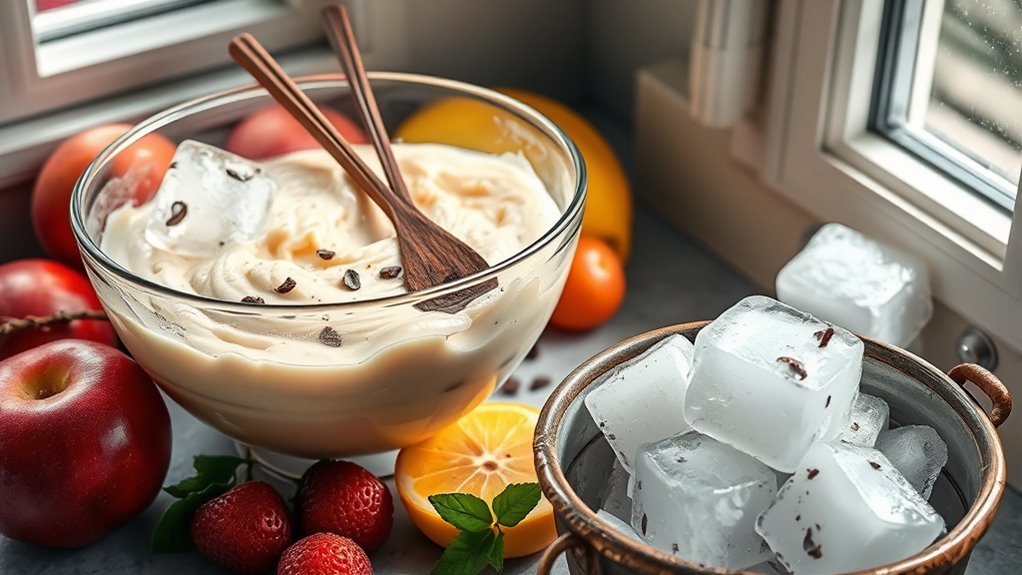
When you’re ready to immerse yourself in the world of homemade ice cream, you’ll find a treasure trove of content offerings designed to make the process enjoyable and straightforward.
You can engage in:
- Step-by-step recipe demonstrations for no-churn ice cream
- Flavor variations like cookies & cream and mint chocolate chip
- Interactive cooking experiences with expert advice
- Free resources such as ingredient measuring guides and ice cream label printables
These resources help you craft the perfect ice cream base, whether you’re incorporating fresh berries or creating a rich dessert.
Plus, you’ll be encouraged to share your variations and experiences, fostering a supportive community that celebrates creativity in homemade ice cream.
Get ready to release your inner ice cream maker!
Toppings & Variations
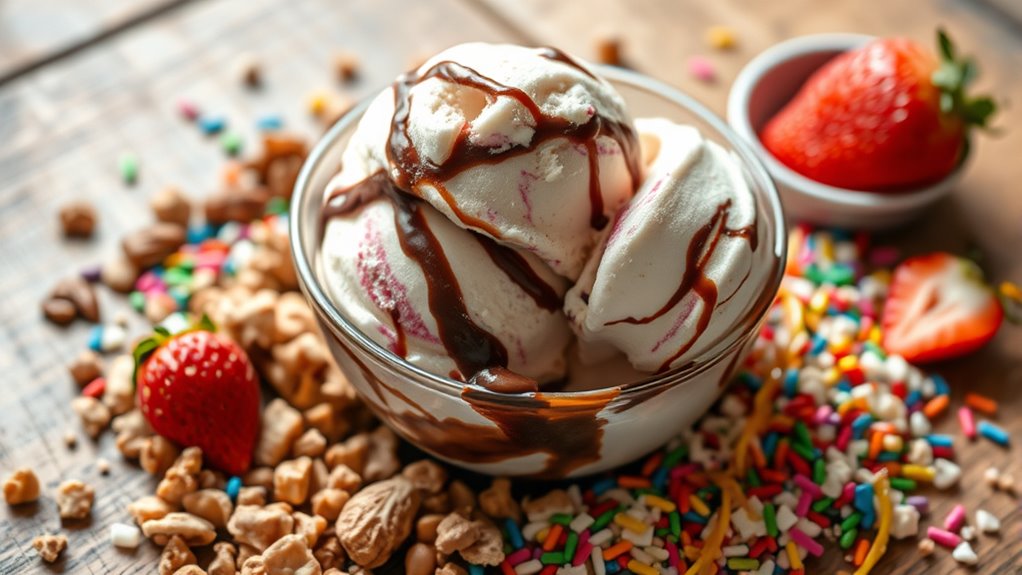
Toppings and variations can take your homemade ice cream from delightful to extraordinary. Consider drizzling your scoop with rich chocolate fudge or salted caramel sauce for a decadent touch.
For a delightful crunch, add crushed cookies, nuts, or even granola. You can elevate the experience further by layering in mini chocolate chips or sprinkles.
Seasonal fruit compotes, like fresh strawberry or blueberry, can provide a fruity twist that brightens each bite.
Don’t shy away from experimenting with flavor variations; mixing in crushed Oreos creates a fun Cookies & Cream effect, while a swirl of peanut butter delivers a nutty surprise.
Incorporating global flavors can also enhance your ice cream, offering a unique taste experience that reflects diverse culinary traditions.
The possibilities are endless, so let your creativity shine and craft your ultimate ice cream treat!
Frequently Asked Questions
How to Make Ice Cream Without an Ice Maker?
You can easily make ice cream at home without an ice maker!
Start by whipping heavy cream until stiff peaks form.
Then, gently fold in sweetened condensed milk.
For added flavor, mix in your favorite ingredients like crushed cookies or fruits.
Pour the mixture into a container, cover it tightly, and freeze for 6-8 hours.
Enjoy your creamy treat without the hassle of fancy equipment—it’s that simple!
What Can I Use if I Don’t Have an Ice Cream Maker?
What if you could indulge in creamy ice cream without an ice cream maker? You’ve got options!
Try the two-ingredient method with heavy cream and sweetened condensed milk, or use the plastic bag method, shaking ice and salt around a sealed bag of your mixture.
You can also freeze your concoction in a bread pan. With a few simple ingredients and a little creativity, you can enjoy homemade ice cream in no time!
How to Make Ice Cream With 3 Ingredients?
To make ice cream with just three ingredients, you’ll need heavy cream, sweetened condensed milk, and vanilla extract.
Start by whipping 2 cups of heavy cream until stiff peaks form.
In another bowl, combine 14 ounces of sweetened condensed milk and 1 teaspoon of vanilla extract.
Gently fold the whipped cream into this mixture, then pour it into an airtight container.
Freeze it for at least 4 hours, and enjoy your homemade treat!
Can I Use a Blender to Make Ice Cream?
Yes, you can definitely use a blender to make ice cream! Just blend together heavy cream, sweetened condensed milk, and your favorite flavorings until smooth.
For a creamier texture, consider blending in batches to incorporate more air.
Once blended, pour the mixture into an airtight container and freeze for at least four hours.
If it gets too hard, let it sit at room temperature for a few minutes before scooping.
Enjoy your homemade treat!
Conclusion
Who knew making ice cream could be so easy without an ice cream maker? You can whip up a creamy, delicious treat in no time, proving that sometimes the best things in life don’t require fancy gadgets. So, go ahead and indulge in your homemade ice cream—just don’t blame us when your friends start asking for seconds, and you find yourself suddenly running a bustling ice cream parlor right in your kitchen. Enjoy the sweet irony of it all!
