Chocolate shavings topping adds elegance and rich flavor to any dessert. To create them, use a good quality chocolate bar—dark, milk, or white works, depending on your taste. A vegetable peeler or grater helps you achieve beautiful shavings. When placed atop cakes, cupcakes, or ice creams, these shavings enhance both texture and flavor. So, whether you’re preparing for a special occasion or a simple treat, continue exploring more about this delightful finishing touch!
Key Takeaways
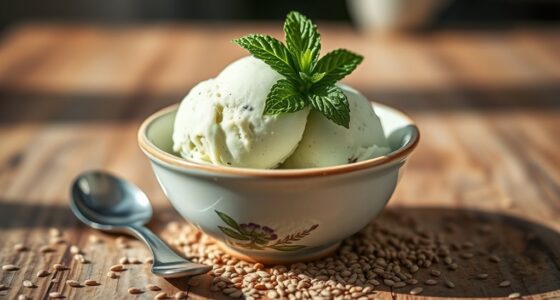
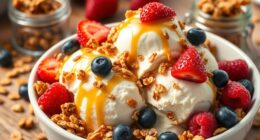
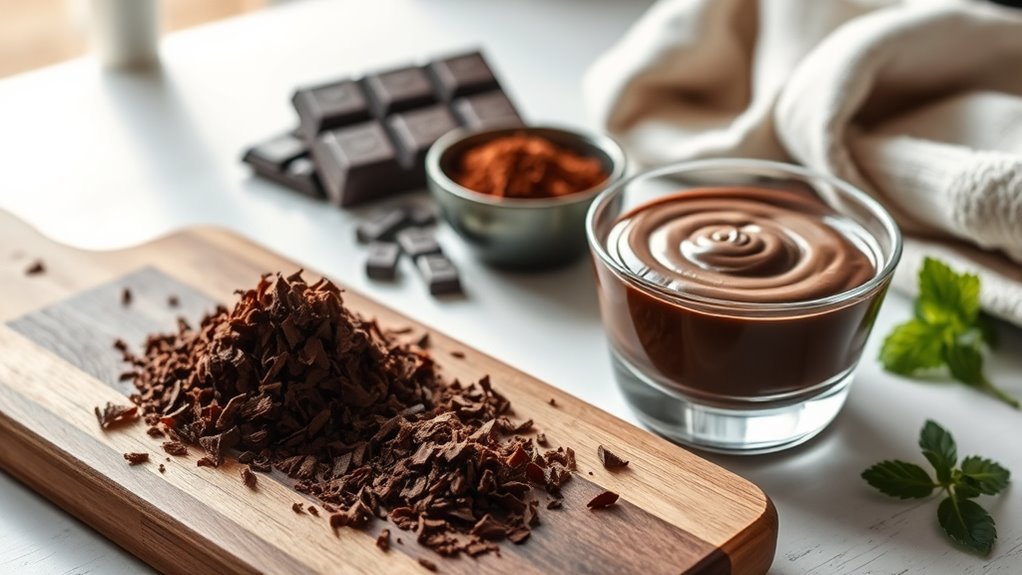
- Chocolate shavings enhance the visual appeal and texture of desserts like cakes, cupcakes, and ice creams.
- Use high-quality chocolate bars, such as dark, milk, or white chocolate, for the best flavor.
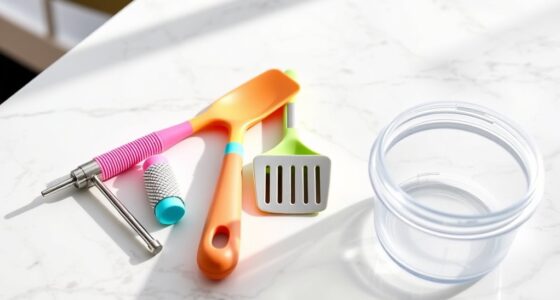
- A vegetable peeler or grater works well for creating uniform chocolate shavings.
- Melt chocolate with cream for a glossy topping to drizzle over desserts.
- Experiment with different chocolate types and shapes for unique flavor profiles and presentations.
History
Chocolate shavings have a rich history that dates back to the origins of chocolate itself. When you think of chocolate, it’s easy to overlook its ancient roots. The Mayans and Aztecs cherished cacao, using it in rituals and as a currency.
As chocolate spread through Europe in the 16th century, it transformed from a bitter drink into the sweet treats you enjoy today. The art of creating chocolate shavings emerged as chocolatiers sought to enhance desserts, adding elegance and flavor.
You might find shavings on cakes, ice creams, and pastries, each bite reflecting centuries of culinary evolution. This simple yet luxurious topping connects you to a long-standing tradition, highlighting the versatility of chocolate in your favorite dishes.
Recipe
Chocolate shavings are a delightful topping that can elevate a variety of desserts, from cakes and cupcakes to ice creams and pastries. The process of making chocolate shavings is simple but can add a touch of elegance and a burst of flavor to your sweet treats. Whether you’re preparing a special dessert for a celebration or simply want to enhance your everyday treats, mastering the art of chocolate shavings is a must.
Elevate your desserts with delightful chocolate shavings, adding elegance and flavor to every sweet treat.
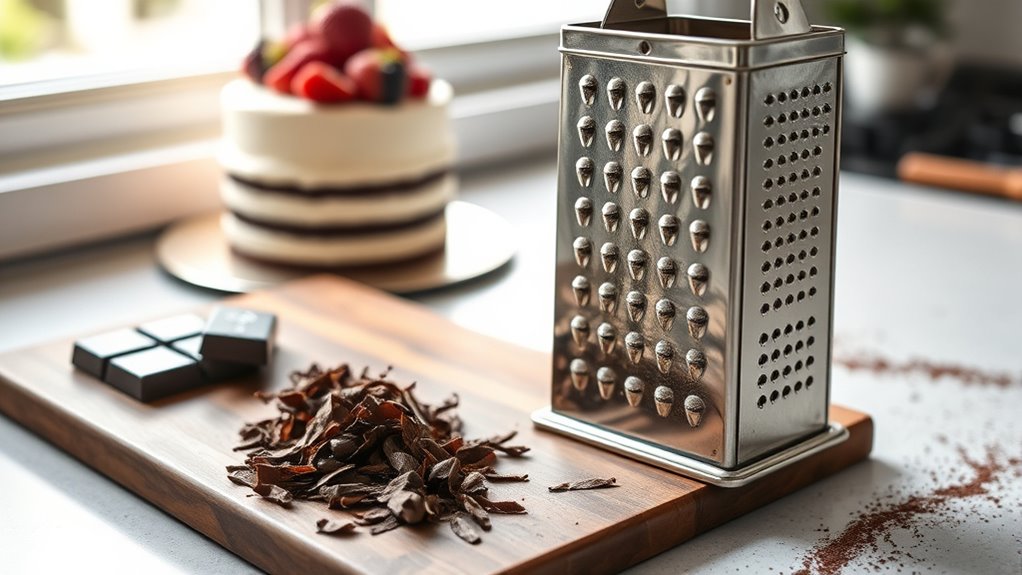
To start, you’ll need a good quality chocolate bar. Dark, milk, or white chocolate can all be used to create shavings, depending on your personal preference and the flavor profile of your dessert. It’s important to guarantee that the chocolate isn’t too cold, as this can make it difficult to shave and result in uneven pieces.
By using a vegetable peeler or a grater, you can create beautiful shavings that will melt in your mouth and provide a rich chocolatey experience.
Ingredients:
- 1 bar of chocolate (dark, milk, or white)
- Optional: a small amount of cocoa powder for dusting
Cooking Instructions:
Begin by allowing the chocolate bar to sit at room temperature for about 10-15 minutes if it’s been stored in the refrigerator.
Then, using a vegetable peeler, hold the chocolate bar firmly and run the peeler along one edge to create thin shavings. Alternatively, you can use a box grater to achieve a similar effect. Gather the shavings in a bowl or directly onto your dessert, and if desired, lightly dust with cocoa powder for added flavor and a professional finish.
Extra Tips:
For the best results, choose high-quality chocolate that has a good cocoa content, as this will enhance the flavor of your shavings.
If you live in a warm climate, consider placing the chocolate in the refrigerator for a few minutes before shaving to make it firmer and easier to work with. Additionally, you can experiment with different shapes and sizes by adjusting the pressure on the peeler or grater, giving your desserts a unique and personalized touch.
Cooking Steps
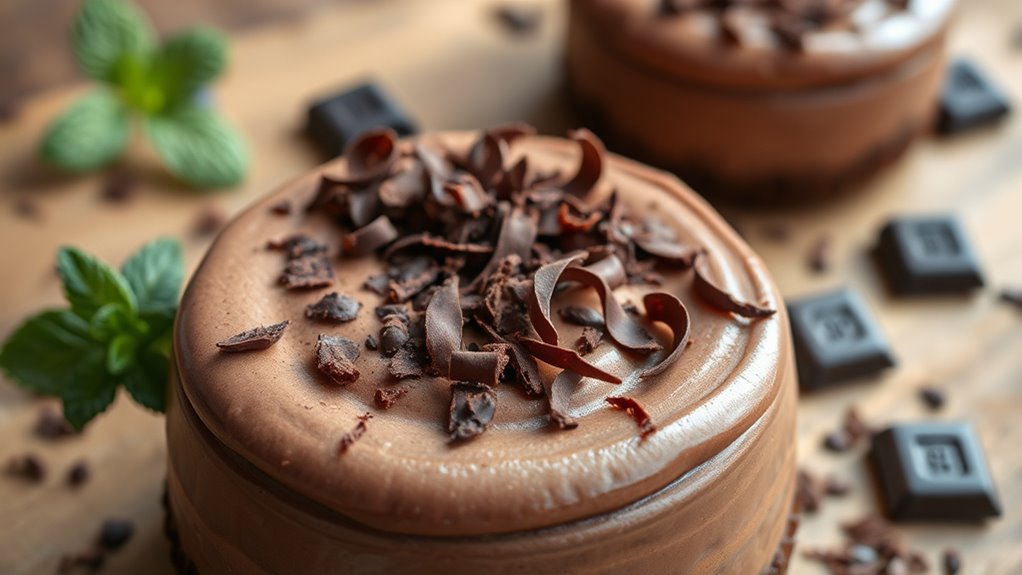
To create your chocolate shavings topping, start by grating dark chocolate finely for the best texture.
Next, melt the chocolate and mix in cream to achieve a smooth consistency.
Finally, drizzle the mixture over your dessert and chill it to set for a delicious finish.
Step 1. Grate Dark Chocolate Finely
While preparing to add a delightful touch to your dessert, grating dark chocolate finely can elevate the presentation and flavor.
Start by selecting a high-quality dark chocolate bar, ideally with at least 70% cocoa content for a rich taste. Using a box grater or a microplane, hold the chocolate firmly and glide it against the grating surface. Be sure to apply even pressure for consistent shavings.
If the chocolate feels too hard, briefly warm it in your hands to make grating easier. Collect the shavings into a small bowl, ensuring you have enough to generously sprinkle over your dessert.
This technique not only adds visual appeal but also infuses your dish with that irresistible chocolatey goodness everyone loves. Enjoy!
Step 2. Melt Chocolate for Topping
After grating dark chocolate finely, you might want to melt some for a smooth and glossy topping.
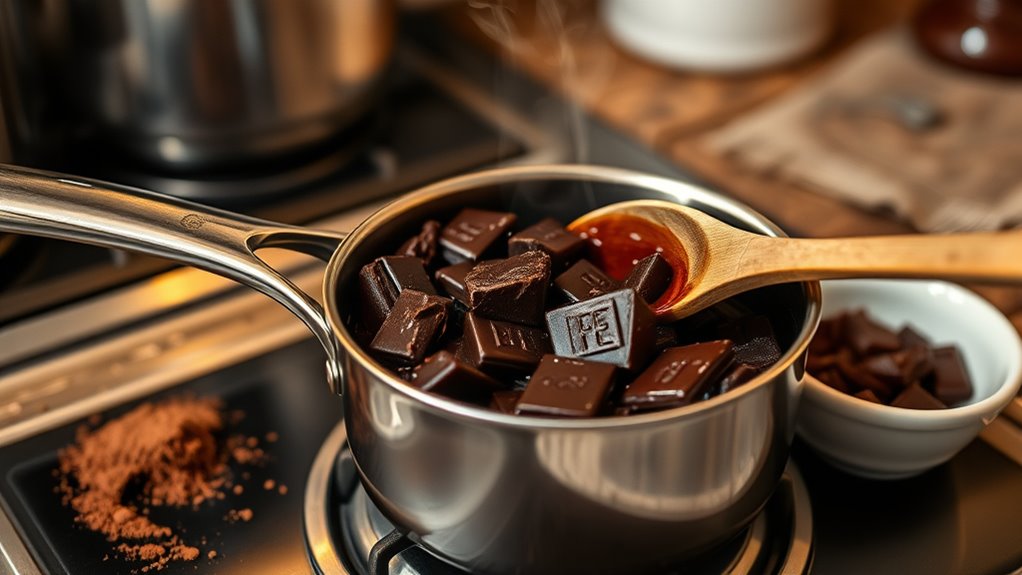
Begin by chopping the chocolate into small, uniform pieces to guarantee even melting. Place the chopped chocolate in a heatproof bowl.
Next, choose your melting method: you can use a microwave or a double boiler. If using the microwave, heat the chocolate in 20-second intervals, stirring in between until it’s fully melted.
For the double boiler, fill a pot with water, bring it to a simmer, and place the bowl on top, stirring continuously.
Once melted, let it cool slightly before drizzling it over your dessert. This will create a deliciously rich topping that enhances your chocolate shavings beautifully.
Step 3. Add Cream for Smoothness
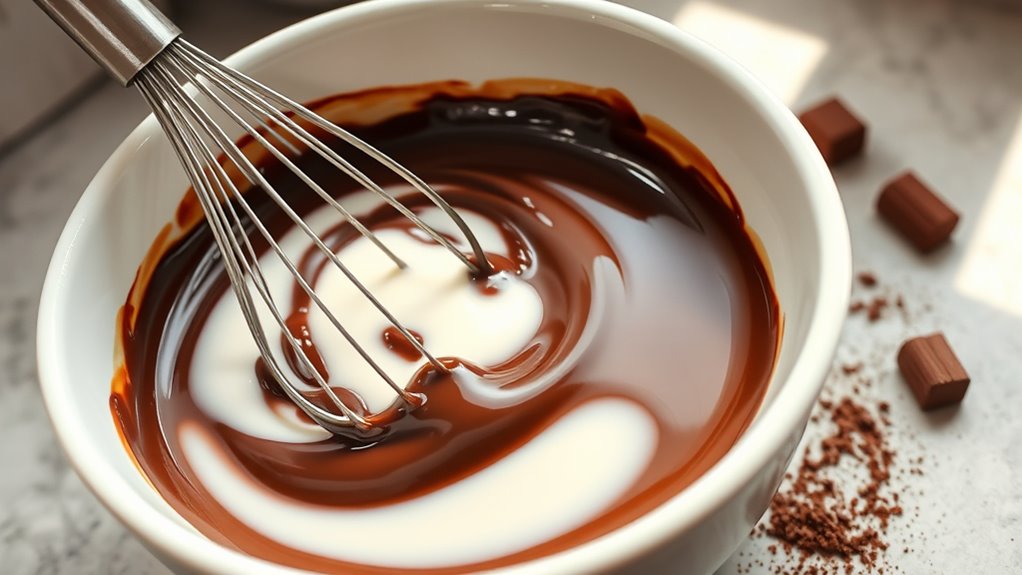
Adding cream to your melted chocolate transforms it into a luxuriously smooth topping, perfect for drizzling over desserts.
Start by measuring out your heavy cream; about a quarter cup usually does the trick. Gradually pour the cream into the warm melted chocolate while stirring continuously. This helps the chocolate absorb the cream evenly, creating a velvety consistency.
Keep stirring until you achieve a uniform mixture, ensuring no lumps remain. If you prefer a thinner sauce, add more cream gradually until you reach your desired consistency.
Remember, the quality of the cream matters—opt for fresh, high-fat cream for the best results.
Once combined, let it cool slightly before using, allowing the flavors to meld beautifully.
Step 4. Drizzle Over Dessert
To create an enticing dessert, start by preparing your chocolate topping, ensuring it’s still warm and smooth.
Once it’s ready, grab a spoon or a squeeze bottle for easy drizzling. Position your dessert on a serving plate, giving yourself enough space to work.
Begin by gently drizzling the warm chocolate over the top, letting it cascade down the sides for a beautiful presentation. If you’re using a spoon, let the chocolate fall from the edge for a more free-flowing effect.
You can also create patterns or zigzags for added flair. Don’t forget to work quickly; the warmth of the chocolate enhances the visual appeal.
Finally, step back and admire your masterpiece before serving it to family and friends!
Step 5. Chill to Set Topping
Once you’ve drizzled the warm chocolate topping over your dessert, it’s essential to let it chill for a bit.
Place your dessert in the refrigerator for about 30 minutes. This cooling time allows the chocolate to firm up, creating a deliciously smooth layer that enhances your dessert’s texture.
While it chills, keep an eye on the consistency; you want it set but still slightly soft for that perfect bite.
If you’re in a hurry, you can speed up the process by placing it in the freezer for about 10-15 minutes, but be careful not to freeze it completely.
Once ready, take it out, and enjoy the rich, glossy finish that adds a touch of elegance to your treat!
Final Thoughts
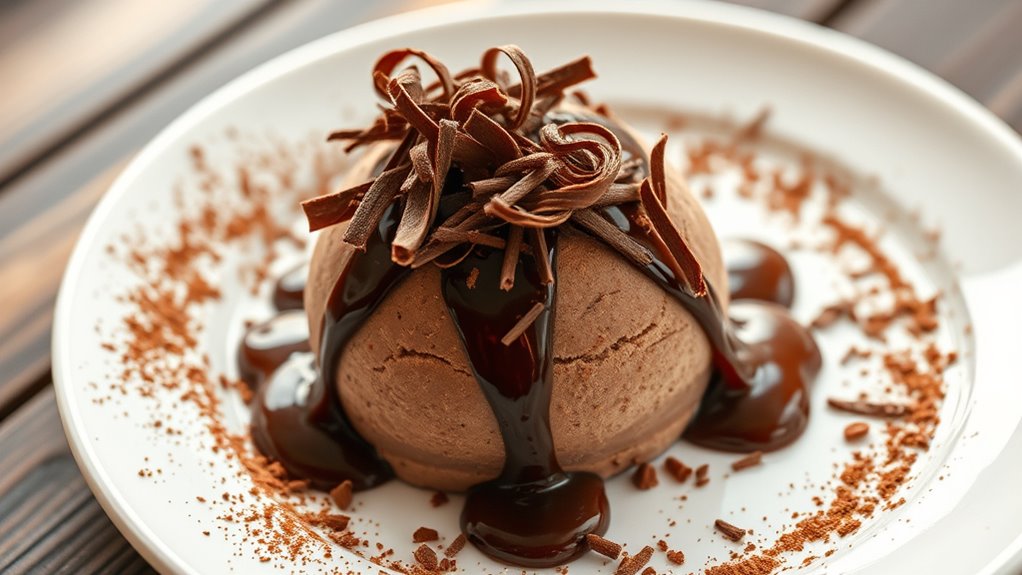
While chocolate shavings can elevate your dessert game, their impact goes beyond mere aesthetics. They add a rich, velvety texture that enhances the overall experience of any sweet treat.
When you sprinkle those shavings on cakes, ice creams, or pastries, you’re not just appealing to the eyes; you’re also tantalizing the taste buds. Their subtle bitterness balances out sweetness, creating a harmonious flavor profile.
Moreover, chocolate shavings are versatile, allowing you to experiment with different types of chocolate, from dark to white.
Frequently Asked Questions
Can I Use White Chocolate for Shavings?
Absolutely, you can use white chocolate for shavings! It melts beautifully and adds a creamy sweetness to your dishes.
Just make sure to chill it slightly before grating, as this makes it easier to handle.
You’ll find that white chocolate shavings can enhance desserts like cakes or mousses, offering both a visual appeal and a delightful taste.
How Do I Store Leftover Chocolate Shavings?
To store leftover chocolate shavings, you’ve got a couple of options.
First, place them in an airtight container to keep them fresh.
Second, store the container in a cool, dry place away from sunlight to maintain their quality.
Third, if you want to extend their shelf life, you can refrigerate them, but make sure they’re sealed properly to avoid moisture.
Following these steps will help you enjoy your shavings later!
Are Chocolate Shavings Gluten-Free?
Yes, chocolate shavings are generally gluten-free, as they’re made from chocolate, which doesn’t contain gluten.
However, you should always check the packaging for any potential cross-contamination or added ingredients that might include gluten.
If you’re buying pre-packaged shavings, look for brands that specifically label their products as gluten-free.
When in doubt, you can also make your own by shaving a gluten-free chocolate bar at home.
Enjoy your treats worry-free!
What Tools Are Best for Making Chocolate Shavings?
When it comes to creating chocolate shavings, think of your kitchen as an artist’s studio.
You’ll need a few essential tools: a sharp vegetable peeler works wonders for thin shavings, while a box grater can yield finer pieces.
If you’re feeling adventurous, a microplane can add a delicate touch.
Don’t forget a warm knife for smooth cuts!
With these tools, you’ll transform chocolate into elegant shavings that elevate your desserts beautifully.
Can I Use Chocolate Shavings as a Garnish for Drinks?
Yes, you can absolutely use chocolate shavings as a garnish for drinks! They add a delightful touch and enhance the visual appeal.
Just sprinkle them on top of your favorite cocktails, hot chocolate, or even coffee. The rich flavor complements various beverages, making them feel more indulgent.
Don’t be afraid to experiment with different types of chocolate shavings; dark, milk, or white chocolate can create unique flavor profiles for your drinks.

Giulia is the creative force behind our content strategy. With a knack for storytelling and a deep understanding of what our readers want, she plans and develops the content that keeps “Icecream Hater” fresh and exciting. Giulia works closely with the editorial team to ensure that every article, recipe, and review aligns with our mission and vision. She aims to inspire our readers to explore, create, and enjoy ice cream in new and innovative ways.