
To make perfect ice cream at home every time, start with high-quality ingredients like full-fat dairy and natural sweeteners, then mix thoroughly until smooth. Use an ice cream maker or chill ingredients properly, stirring during freezing to prevent ice crystals. Pay attention to proper storage and temperature control to keep it creamy. For flawless flavor and texture, incorporate mix-ins gently and troubleshoot any issues promptly. Keep going to discover more tips for icy perfection!
Key Takeaways
- Use high-quality ingredients and stabilize your base for a smooth, creamy texture and consistent flavor.
- Chill your mixture thoroughly and freeze in shallow containers, stirring regularly to prevent ice crystal formation.
- Mix flavors and add-ins gently and evenly to ensure balanced taste and appealing presentation.
- Maintain a constant, cold freezer temperature and avoid overfreezing to keep ice cream scoopable and smooth.
- Properly troubleshoot texture issues by softening before serving and adjusting ingredients or freezing time as needed.

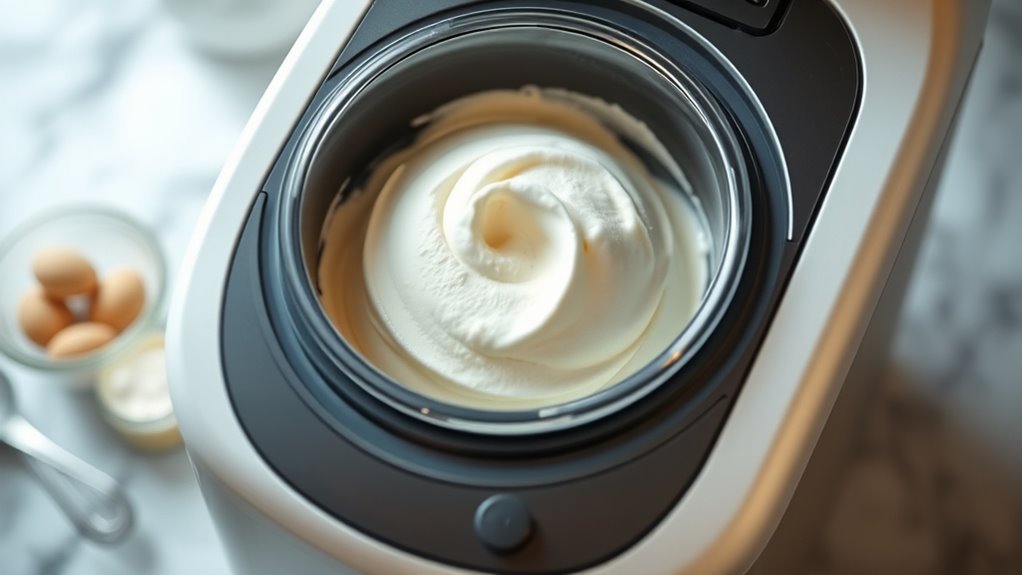
Cuisinart Ice Cream Maker Machine, Fully Automatic, Stainless Steel, 2 qt
- Large 2-Quart Freezer Bowl: Holds ample frozen desserts
- Fully Automatic Operation: Makes desserts in under 30 minutes
- Stainless Steel Design: Durable and stylish construction
As an affiliate, we earn on qualifying purchases.
As an affiliate, we earn on qualifying purchases.
Choosing the Right Base Ingredients for Your Ice Cream
Choosing the right base ingredients is essential for creating smooth, creamy ice cream. Your choice impacts not only texture and flavor but also how you store it afterward. When considering ice cream storage, opt for ingredients that freeze well and maintain consistency over time. Use whole milk, heavy cream, or alternative dairy options to achieve richness, but keep nutritional considerations in mind—lighter options can reduce calorie content if desired. Incorporate natural sugars or sweeteners to enhance flavor, and consider adding stabilizers like gelatin or cornstarch to improve texture and prevent ice crystal formation. Selecting high-quality ingredients also ensures a better taste and longer shelf life. Additionally, using ingredients with suitable freezing properties can help maintain ice cream quality over extended storage periods. To further optimize texture, consider the emulsification process, which can improve creaminess and prevent separation. Proper temperature control during freezing is also crucial for preventing ice crystal growth and achieving a smooth consistency. Implementing effective mixing techniques during preparation can also enhance the final product. Incorporating air incorporation techniques can create a lighter texture and improve mouthfeel. By carefully choosing your base, you set the foundation for perfect homemade ice cream every time.
The Importance of Properly Mixing Your Ice Cream Batter
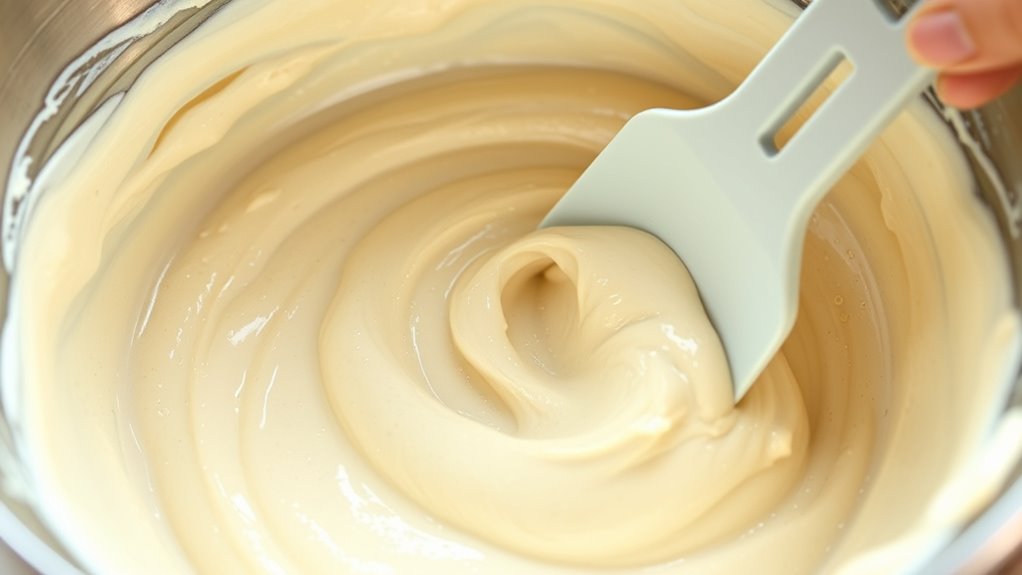
Properly blending your ice cream batter guarantees a smooth, creamy texture and prevents icy chunks. It also guarantees that flavor is evenly distributed throughout. Taking the time to mix well makes all the difference in creating perfect homemade ice cream. Additionally, understanding projector technology can help in selecting the right equipment for your home setup, ensuring your viewing experience is as optimal as your ice cream texture. Incorporating modern smart appliance features can further streamline your ice cream-making process, making it more efficient and enjoyable. Paying attention to texture consistency during mixing can significantly improve the final product and ensure a delightful treat every time. Moreover, selecting the appropriate air purifier technology can help maintain a clean environment, which is essential for food preparation and storage.
Achieving Smooth Texture
Since an unevenly mixed batter can lead to a grainy or icy texture, it’s vital to focus on achieving a smooth, uniform mixture. Proper mixing ensures texture enhancement and ingredient balance, resulting in creamy, consistent ice cream. Visualize your batter like a perfectly layered cake:
| Layer 1 | Layer 2 | Layer 3 |
|---|---|---|
| Milk | Sugar | Egg Yolks |
| Cream | Stabilizer | Flavoring |
| Whisked | Blended | Smooth |
Mix until all ingredients are fully incorporated, avoiding lumps or streaks. This thorough integration creates a balanced batter that freezes evenly, preventing ice crystals and ensuring a silky, smooth texture. Focus on your technique to optimize texture enhancement at every step.
Preventing Ice Crystals
To prevent ice crystals from forming, it’s essential to mix your ice cream batter thoroughly before freezing. Proper mixing ensures even distribution of ingredients, which helps maintain a smooth, creamy texture. If you’re adding fruit infusions, stir them in well to prevent uneven pockets that can cause crystallization. Incorporating ingredients evenly also enhances texture, making every scoop consistently delightful. Avoid overmixing, which can incorporate excess air and result in a grainy consistency. Instead, blend just until smooth and well combined. Chilling the batter after mixing helps further prevent crystal formation, which is essential for maintaining a velvety texture, and guarantees your ice cream stays velvety. Using proper storage techniques like airtight containers can also minimize moisture exposure, reducing the risk of ice crystal development over time. Additionally, choosing quality ingredients can impact the overall texture and flavor of your homemade ice cream. By paying attention to thorough mixing and ingredient distribution, you’ll enjoy ice cream with ideal texture and flavor every time.
Ensuring Uniform Flavor
Ensuring a uniform flavor in your homemade ice cream starts with thorough mixing of the batter. Proper mixing helps distribute ingredients evenly, maintaining flavor balance throughout every scoop. Use fresh ingredients, as they contribute vibrant, consistent taste and prevent dull or off-flavors. Pay attention to blending until the mixture is smooth and uniform, avoiding pockets of concentrated flavor or bland spots. If you’re adding mix-ins or swirls, fold them gently to ensure they’re evenly dispersed without disrupting the batter’s consistency. Proper mixing not only guarantees every bite has the same great flavor but also helps prevent ice crystal formation caused by uneven distribution. Additionally, employing mixing techniques can enhance the overall quality of your ice cream. Being aware of ice cream ingredients and their impact on texture and flavor can help you tailor your recipe for optimal results. Using the right equipment can also improve mixing efficiency and consistency. By focusing on ingredient freshness and thorough mixing, you’ll achieve a perfectly balanced, delicious ice cream every time.
Techniques for Achieving a Creamy and Smooth Texture
To get a creamy, smooth ice cream, you need to focus on proper mixing techniques that incorporate air and prevent ice crystals. Chilling your mixture thoroughly before freezing helps it freeze evenly and maintain texture. Additionally, how you freeze your ice cream—using the right temperature and stirring methods—makes a big difference in achieving that perfect consistency. For enthusiasts aiming for optimal results, employing proper tuning techniques can also ensure your freezer operates at the ideal temperature for ice cream making. Recognizing the importance of emotional support can help you handle the frustrations that sometimes come with perfecting your ice cream recipe, making the process more enjoyable and less stressful. Staying aware of the latest AI discoveries can inspire innovative approaches to home ice cream crafting and troubleshooting. Ensuring you use high-quality ingredients can significantly enhance the flavor and texture of your finished ice cream.
Proper Mixing Techniques
Achieving a creamy and smooth ice cream texture hinges on mastering proper mixing techniques. To guarantee a perfect consistency, focus on maintaining an even mixing process, which promotes uniform ingredient integration. Use a steady, gentle motion to blend your ingredients thoroughly without over-mixing, which can introduce excess air or cause ice crystal formation. Pay attention to mixing consistency by scraping down the sides of your bowl regularly, ensuring all ingredients are fully incorporated. This prevents pockets of unmixed ingredients that could affect texture. Whether you’re using a whisk, spoon, or electric mixer, aim for a smooth, homogenous mixture that combines all elements seamlessly. Proper mixing guarantees a creamy, velvety finish, setting the foundation for excellent ice cream every time. Additionally, understanding the importance of proper equipment maintenance can help prevent disruptions in household water supply, ensuring your kitchen always has reliable water flow for your culinary needs.
Chilling and Freezing
Once you’ve mixed your ingredients thoroughly, the next step is to chill and freeze your ice cream base properly. Proper chilling guarantees a smooth, creamy texture and prevents ice crystals from forming. For dairy-free options or sugar alternatives, chilling is especially important to achieve the best results.
- Use an airtight container to prevent freezer burn and odors
- Chill the base in the fridge for at least 2 hours or overnight
- For faster freezing, stir the mixture every 30 minutes during the first 2 hours
- If using sugar alternatives, make sure they’re fully dissolved before freezing
- Freeze until firm, typically 4-6 hours, for a creamy consistency
Following these steps helps you make irresistibly smooth ice cream every time.
How to Incorporate Flavors and Mix-ins Perfectly
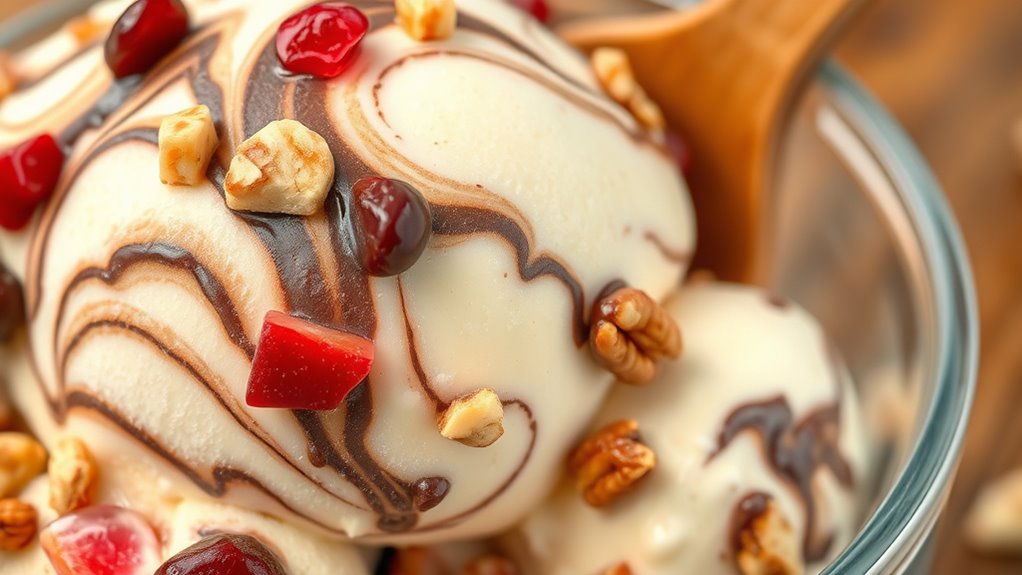
Incorporating flavors and mix-ins seamlessly into homemade ice cream enhances its texture and taste. To achieve this, focus on flavor balance—adding enough mix-ins without overpowering the base. When mixing in ingredients like chocolate chips, fruit pieces, or nuts, guarantee they’re evenly dispersed to prevent clumping or sinking. Stir gently but thoroughly to promote good mix-in distribution throughout the ice cream. If you’re adding delicate items like fruit or candy, fold them in near the end of the churning process to keep their texture intact. Remember, evenly distributed mix-ins create a consistent flavor experience in every scoop. Properly balancing flavors and ensuring thorough mix-in distribution elevate your homemade ice cream from good to perfect.
The Best Methods for Chilling and Freezing Your Ice Cream
Proper chilling and freezing are essential steps to guarantee your homemade ice cream reaches the perfect creamy texture. To do this effectively, use a high-quality ice cream maker or a sturdy freezer-safe container. For seasonal flavors, ensure they’re fully incorporated before chilling. Here are some tips:
- Chill your mixture in the fridge for at least 2 hours before freezing
- Use a shallow, wide container for faster freezing
- Stir every 30 minutes during the first few hours to prevent ice crystals
- Keep at a constant temperature of 0°F (-18°C) for ideal freezing
- Experiment with serving suggestions like garnishes or toppings to enhance seasonal flavors
Following these methods helps you achieve smooth, scoopable ice cream every time, perfect for any occasion.
Preventing Crystal Formation for Softer, Creamier Results
To keep your ice cream soft and creamy, avoid adding too much alcohol, as it can prevent proper freezing. Make sure to stir the mixture regularly during freezing to break up forming crystals. These simple steps help guarantee a smooth, velvety texture every time.
Use Alcohol Sparingly
While alcohol can help prevent ice crystals from forming, using too much can make your homemade ice cream overly soft and difficult to scoop. To maintain the perfect texture, practice alcohol moderation. Keep in mind that a small amount can also enhance flavor, making your ice cream more interesting. Here are some tips:
- Use only a tablespoon or two per batch
- Opt for spirits with strong flavor profiles for added depth
- Mix alcohol evenly to avoid icy patches
- Combine with other ingredients to balance sweetness and texture
- Remember that too much alcohol can compromise the desired consistency
Regularly Stir Mixture
Stirring your ice cream mixture regularly during the freezing process helps prevent the formation of large ice crystals that can make your treat icy and hard. Consistent stirring maintains a smooth mixing consistency and ensures even ingredient distribution throughout the freezing time. This prevents the ingredients from separating or settling, which can lead to a grainy texture. By stirring every 30 to 45 minutes, you break up ice crystals as they form, resulting in a softer, creamier ice cream. Keep a close eye on the mixture’s texture and stir gently but thoroughly each time. This simple step helps you achieve that perfect, velvety consistency every time, making your homemade ice cream as delightful as store-bought varieties.
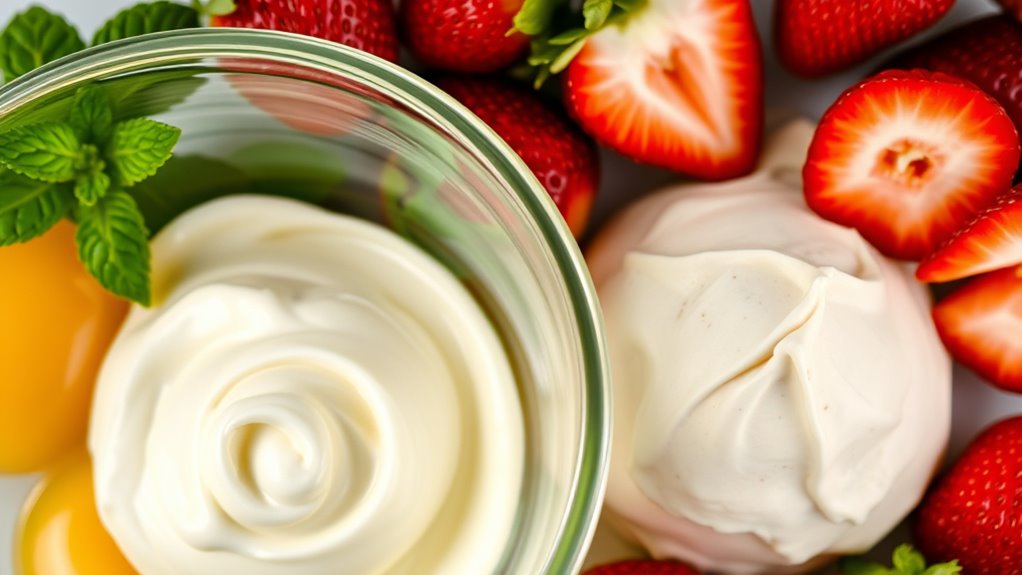
Using an Ice Cream Maker vs. No-Churn Methods

Choosing between an ice cream maker and no-churn methods depends on your preferences and available equipment. An ice cream maker offers superior texture improvements and allows for more consistent results, especially with flavor infusions. It churns air into the mixture, creating a smoother, creamier texture. No-churn methods are simpler and require no special tools, making them perfect for quick treats. However, they often result in a denser texture. Consider these factors:
An ice cream maker delivers creamier, more consistent texture; no-churn is quick but denser.
- Ice cream maker provides better aeration and creaminess
- No-churn is quicker and easier with fewer ingredients
- Ice cream maker allows precise control over flavor infusions
- No-churn is ideal for small kitchens or spontaneous cravings
- Texture differences can influence your enjoyment
Choose based on your desired texture, flavor complexity, and convenience.
Tips for Achieving the Perfect Consistency and Serving Temperature
Achieving the perfect ice cream consistency and serving temperature requires attention to a few key details. To guarantee smooth texture, chill your ice cream briefly before serving, especially if it’s been stored for a while. When it comes to sweetening options, consider adjusting sugar or adding syrups for a softer, scoopable result. Proper serving presentation enhances your experience—use a warmed scoop or briefly dip it in hot water for clean portions. For ideal temperature, serve directly from the freezer but let it sit at room temperature for 1-2 minutes to soften slightly. Keep this table in mind to balance consistency and presentation:
| Tip | Explanation |
|---|---|
| Chill before serving | Prevents ice crystals, guarantees smooth texture |
| Adjust sweetening | Affects softness and flavor intensity |
| Serve at right temp | Softer for scooping, cooler for firmness |
| Warming your scoop | Creates cleaner, more attractive servings |
| Timing for softness | Ensures ideal serving temperature and presentation |
Creative Flavor Combinations to Try at Home

Revealing new flavor combinations is one of the most exciting ways to elevate your homemade ice cream. Experiment with unique flavor pairings to surprise your palate. Mix vibrant color combinations for visual appeal—think purple and yellow, or red and turquoise. Try bold pairings like blueberry and basil, or caramel and sea salt for a sweet-savory twist. Incorporate fresh ingredients such as lemon and raspberry, or match spicy with sweet, like chili and mango. To make your creations stand out, consider these options:
- Blueberry and lemon zest
- Matcha and white chocolate
- Pineapple and coconut
- Strawberry and balsamic vinegar
- Coffee and cardamom
These combinations make your ice cream both eye-catching and delicious, inspiring creativity in every scoop.
Troubleshooting Common Ice Cream Making Issues
Even experienced ice cream makers encounter common issues that can affect the final product, but most problems can be easily remedied with some troubleshooting. If your ice cream is too hard or icy, check your ice cream storage—freezing it too long can cause ice formation. To fix this, let it sit at room temperature for a few minutes before scooping. If your mixture is too soft, ensure your freezer isn’t too warm, or try churning longer. Ingredient substitutions can sometimes cause texture issues; for example, replacing heavy cream with milk may result in a less creamy texture. Adjustments like adding a stabilizer or using full-fat dairy can improve consistency. Troubleshooting these issues helps you achieve that perfect, smooth ice cream every time.
Frequently Asked Questions
How Long Should I Churn or Freeze My Ice Cream for Optimal Results?
For the best ice cream, aim for a churning duration of about 20-30 minutes until it reaches a soft-serve consistency. After that, transfer it to your freezer and let it freeze for at least 4 hours or overnight for firm texture. Keep in mind, the freezing time guarantees the ice cream firms up properly, so patience guarantees a creamy, scoopable treat every time.
Can I Make Dairy-Free or Vegan Ice Cream at Home?
Imagine turning your kitchen into an ice cream paradise! Yes, you can make dairy-free or vegan ice cream at home. Simply swap out traditional ingredients with dairy-free alternatives like coconut milk, almond milk, or cashew cream. Use vegan ingredient swaps like maple syrup or agave for sweetness. With these simple substitutions, you’ll craft creamy, delicious vegan ice cream that rivals store-bought varieties—no dairy needed!
What Equipment Is Essential for Making Perfect Ice Cream?
To make perfect ice cream, you need essential equipment like an ice cream maker, which helps achieve smooth texture by evenly churning the mixture. A good-quality freezer is vital for proper setting. Remember to maintain your equipment regularly to prevent ice crystal formation, ensuring the ideal ice cream texture. With the right tools and upkeep, you can consistently create creamy, delicious ice cream at home.
How Do I Prevent Ice Crystals From Forming During Storage?
To prevent ice crystals from forming during storage, you should focus on proper air circulation and using the right storage containers. Cover your ice cream tightly with a lid or plastic wrap to minimize air exposure, which causes crystals. Store it in airtight containers that prevent moisture entry. Additionally, periodically check and smooth the surface, and consider placing a piece of parchment paper on top to further reduce crystal formation.
Can I Make Ice Cream Without Any Special Equipment?
You can create creamy, crave-worthy ice cream without special equipment using simple DIY methods. Freeze a sturdy, sealable container, then pour in your flavorful base. Stir every 30 minutes to break up ice crystals—this prevents icy chunks and promotes smoothness. Experiment with flavor variations like chocolate, fruit, or nuts. With patience and perseverance, you’ll craft delicious, homemade ice cream that satisfies sweet cravings every time, no fancy tools needed.
Conclusion
Now that you know how to craft perfect ice cream every time, remember that patience and attention to detail are your best friends. With the right techniques, your freezer transforms into a magic wand, turning simple ingredients into a dessert masterpiece. Don’t rush the process—embrace each step like a chef’s secret. After all, isn’t the sweetest reward worth the extra effort? Keep experimenting, and soon you’ll be the maestro of homemade ice cream.